| Thread Tools |
| This thread is privately moderated by bhoov128, who may elect to delete unwanted replies. |
|
|
|
|
Thread OP
|
Discussion
DPS-600PB Dual Build
It's not an original concept but for the sake of a few others here's a post about the two Hewlett-Packard DPS-600PB power supplies I have converted to run my Thunder Power TP820HVC.
2 x DPS-600PB running in series for 25.0V output. I have them currently shunted with wires but once I get an appropriate switch I will be putting the shorts on a switch to have an overall kill switch, so I don't have to unplug the main power lines. |
|
Latest blog entry: Guillows Kit #502 - Focke Wulf FW-190...
|
|
|
|
|
|
|
|
Thread OP
|
I knew I would be running them in series so I knew I had to build on as floating DC ground.
To do that you must open the case and isolate the case from the DC ground, which is on the two screws on the output side of the PSU. Remove all of the screws on the case, and get the side off. Then peel the top free from the insulation which is glued or double-sided taped on, not sure which. I removed the fan so I had a little better access as well. Once you have it disassembled you can see the PCB just in front of the blade and pin connectors. The two screws are what grounds the system to the case. One screw is removable, the other is underneath the PCB and if you don't want to go through a ton of trouble disassembling everything to get to it, there are two jumpers that can be cut which will kill the circuit to that post. Circled in red all of the screws that need to be undone (it's all of them)    And remove the fan 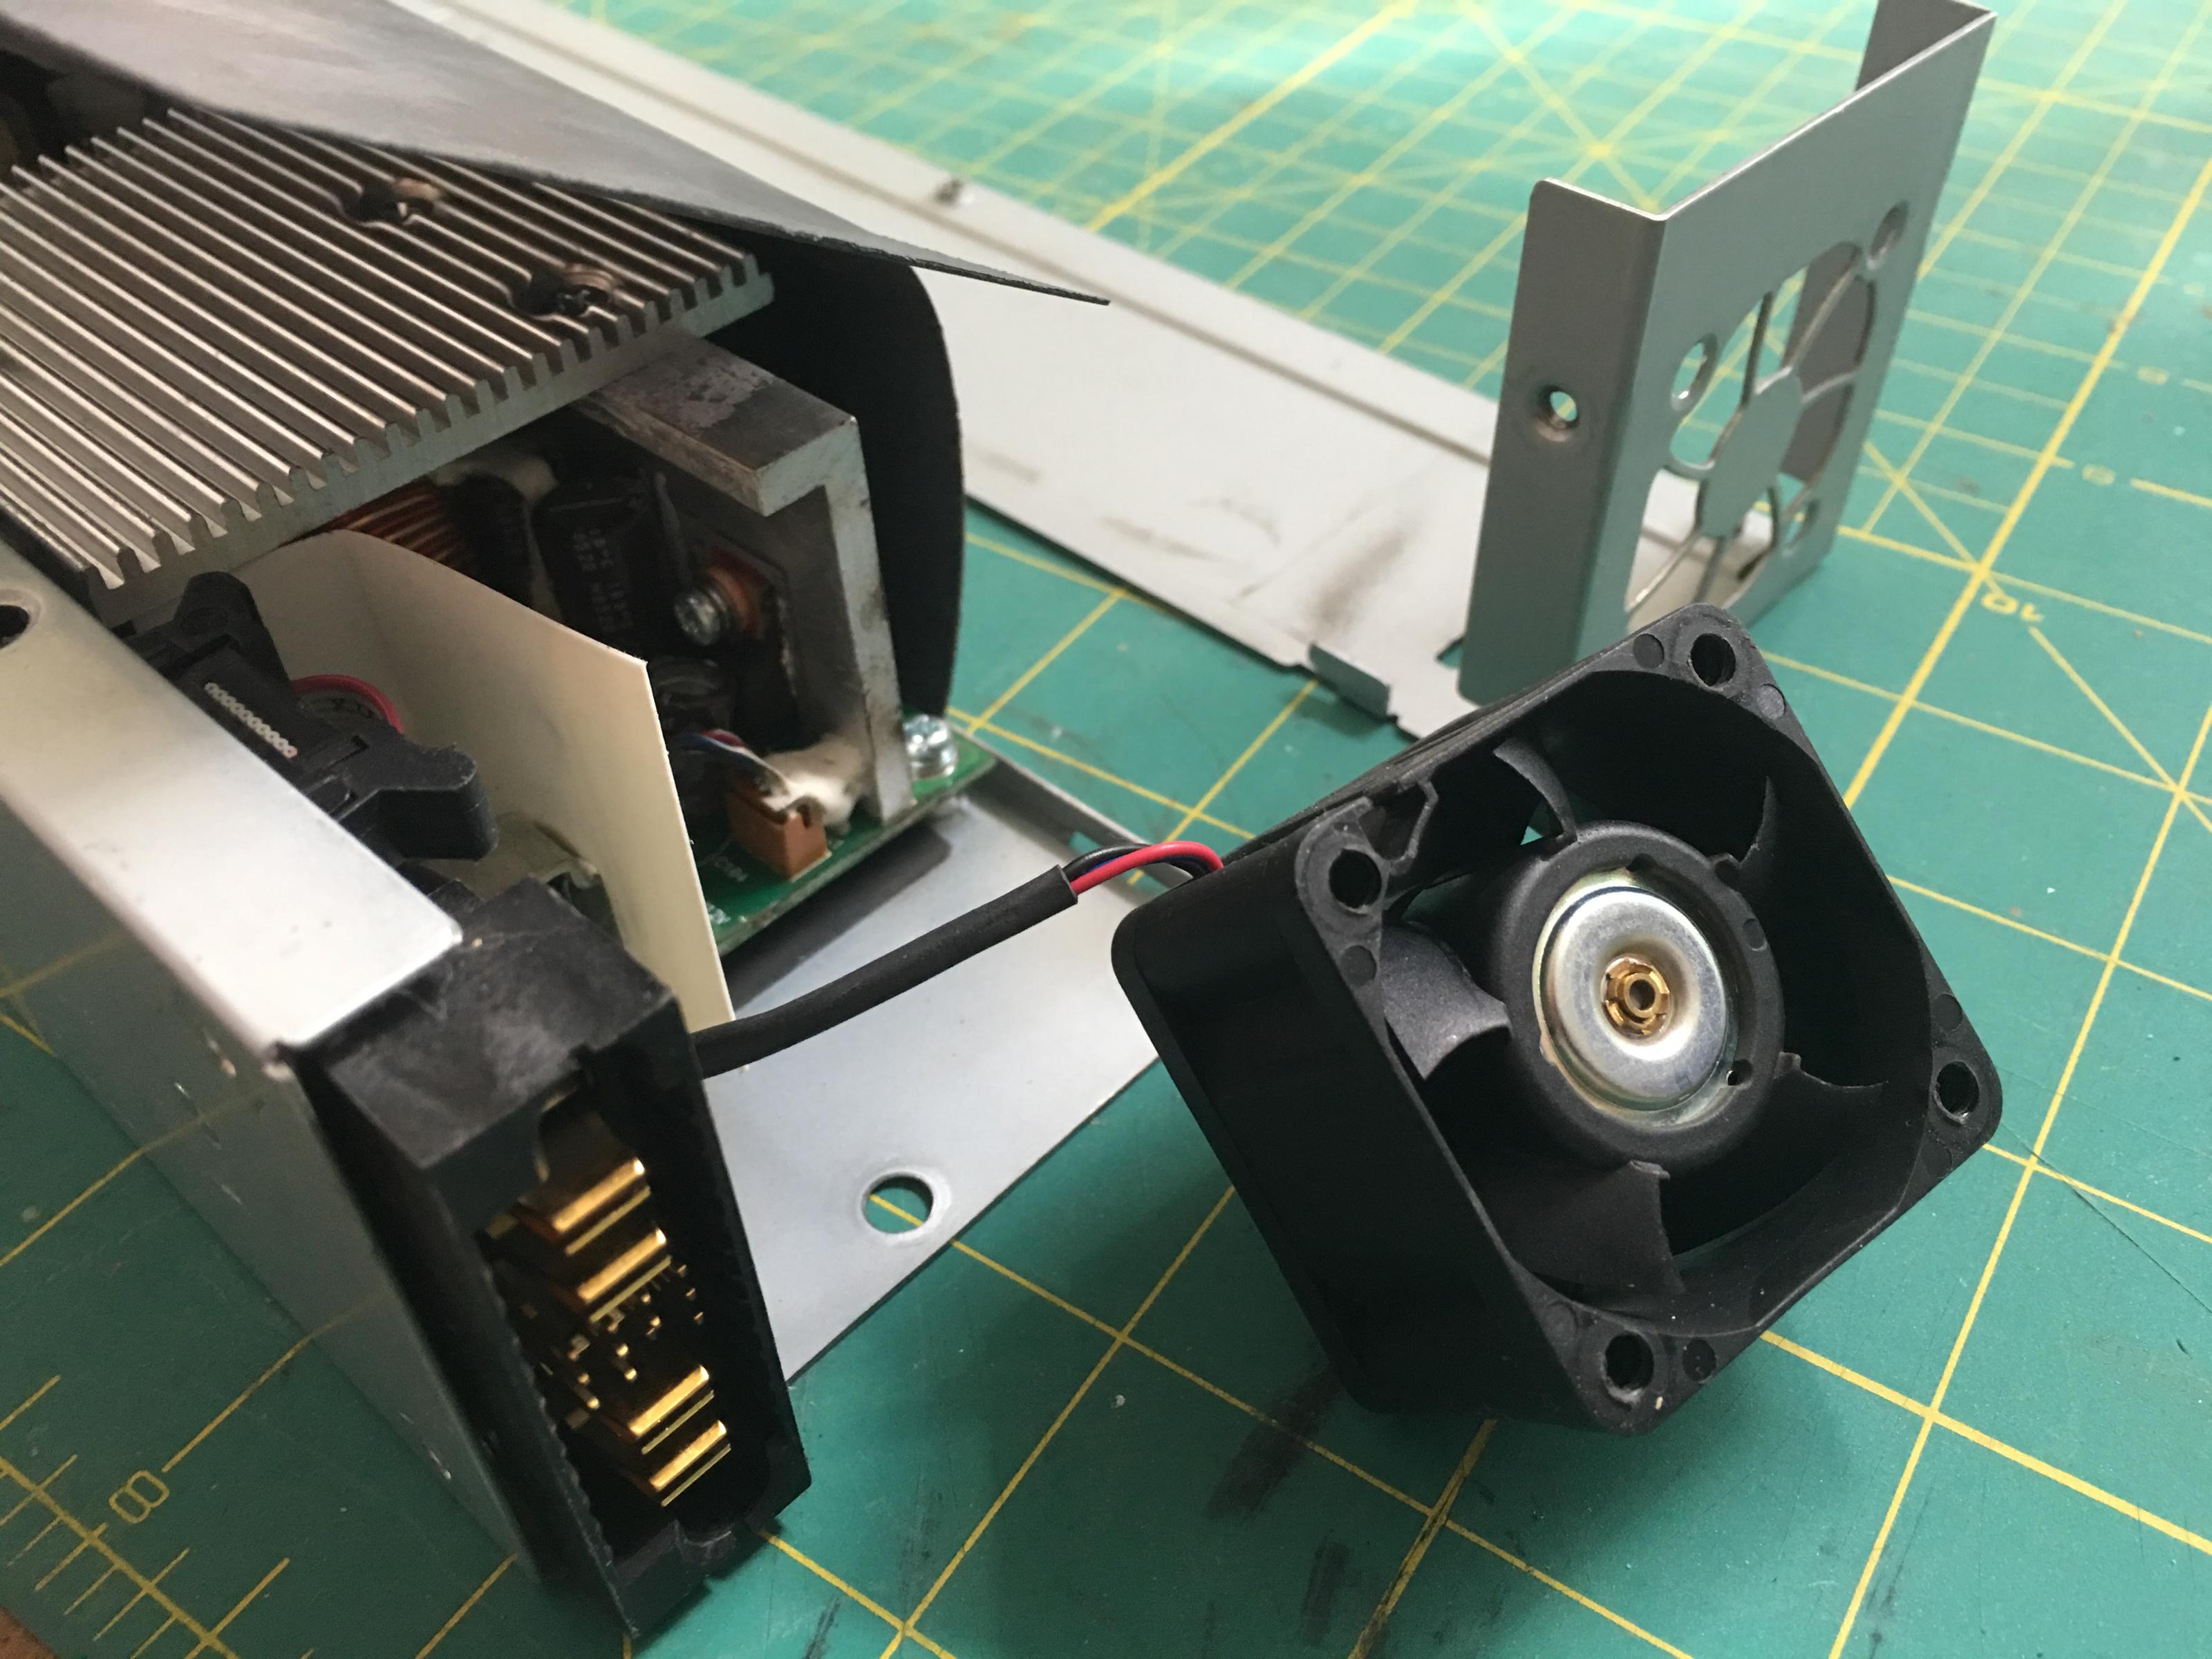 Here is the set of jumpers that need to be cut and removed:  And this is the screw that has to be removed and insulated: 
|
|
Last edited by bhoov128; Oct 14, 2017 at 07:49 PM.
|
|


|
|
|
|
Thread OP
|
If you don't have a voltmeter or know how to check for continuity you better learn that first and know what you're doing because these power supplies have some enormous caps in them and they contain a LOT of energy. You can most certainly zap yourself very badly if you don't know what you're doing and screw up. Bad injury or even worse can happen!
I set my voltmeter to check ground continuity..... It'll beep a continuous tone and show 0 (or very close to 0) when the circuit is closed. Here's my voltmeter showing open and closed circuit: Open:  Closed: 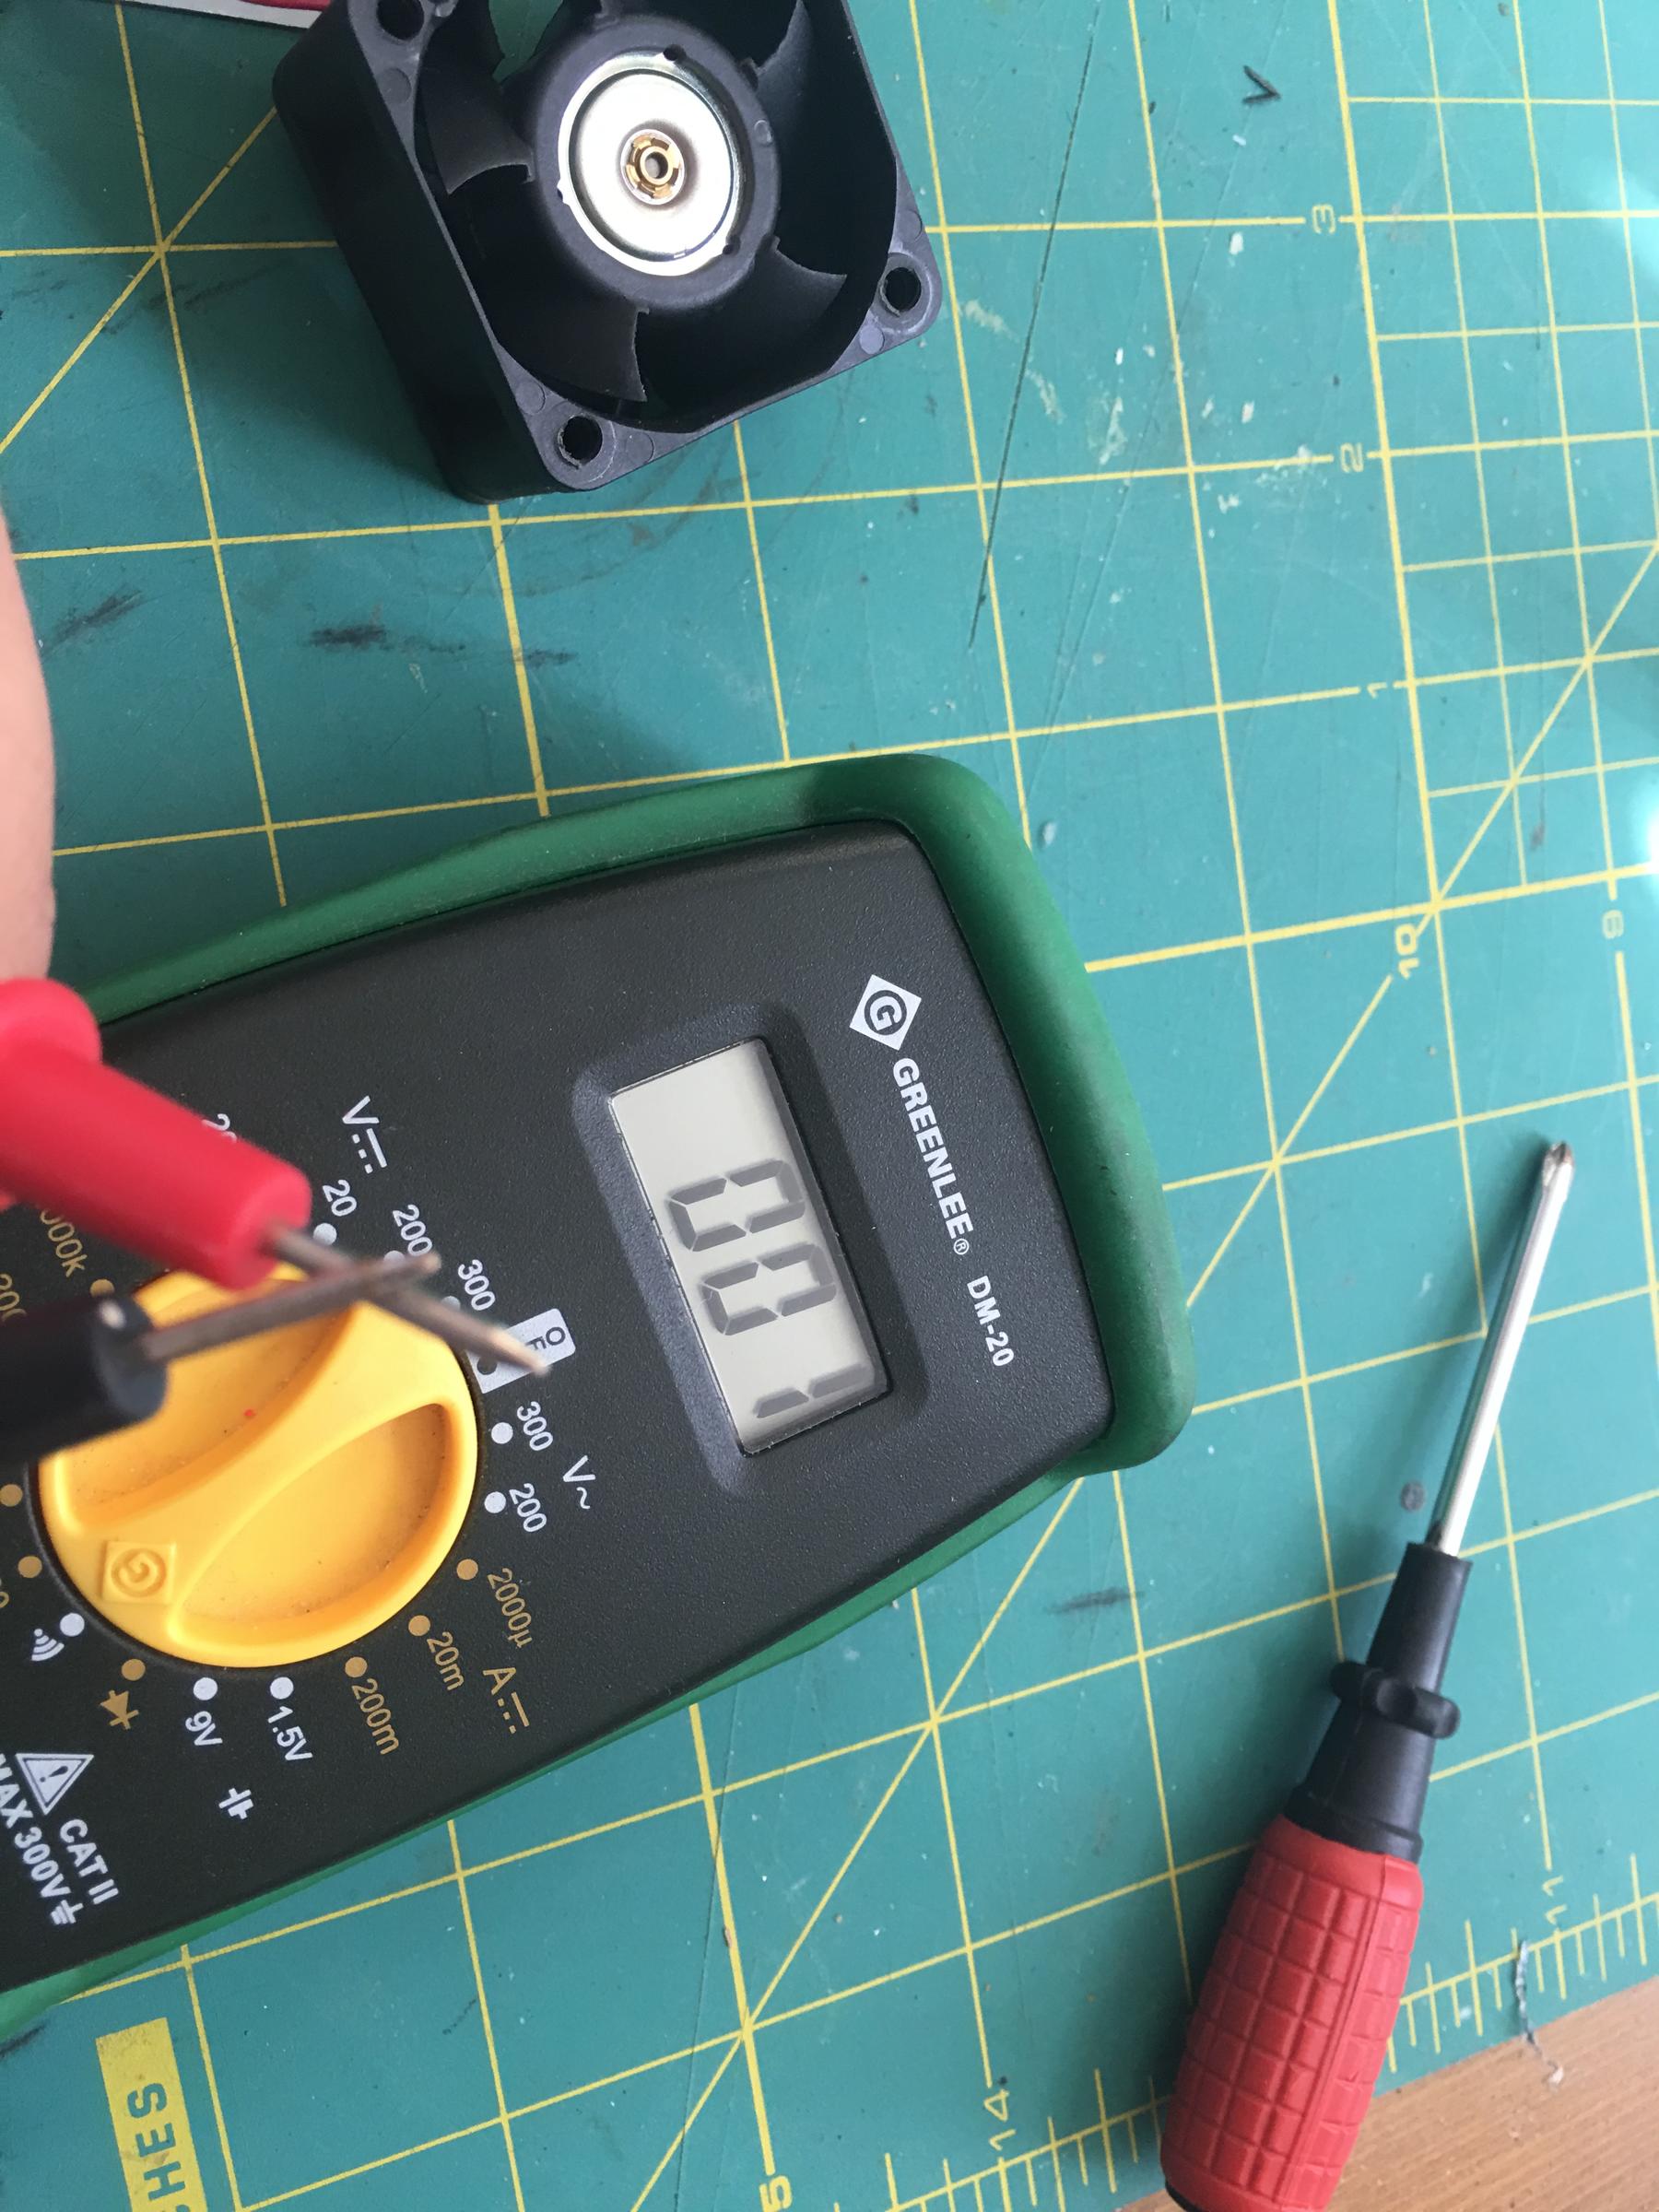 Now checking continuity between DC ground and case:   I used a thick piece of marine heat shrink tube to isolate the screw side ground after removing the screw:   Cut the jumpers (sorry the pic is a little blurry), you can also see the heat shrink here too 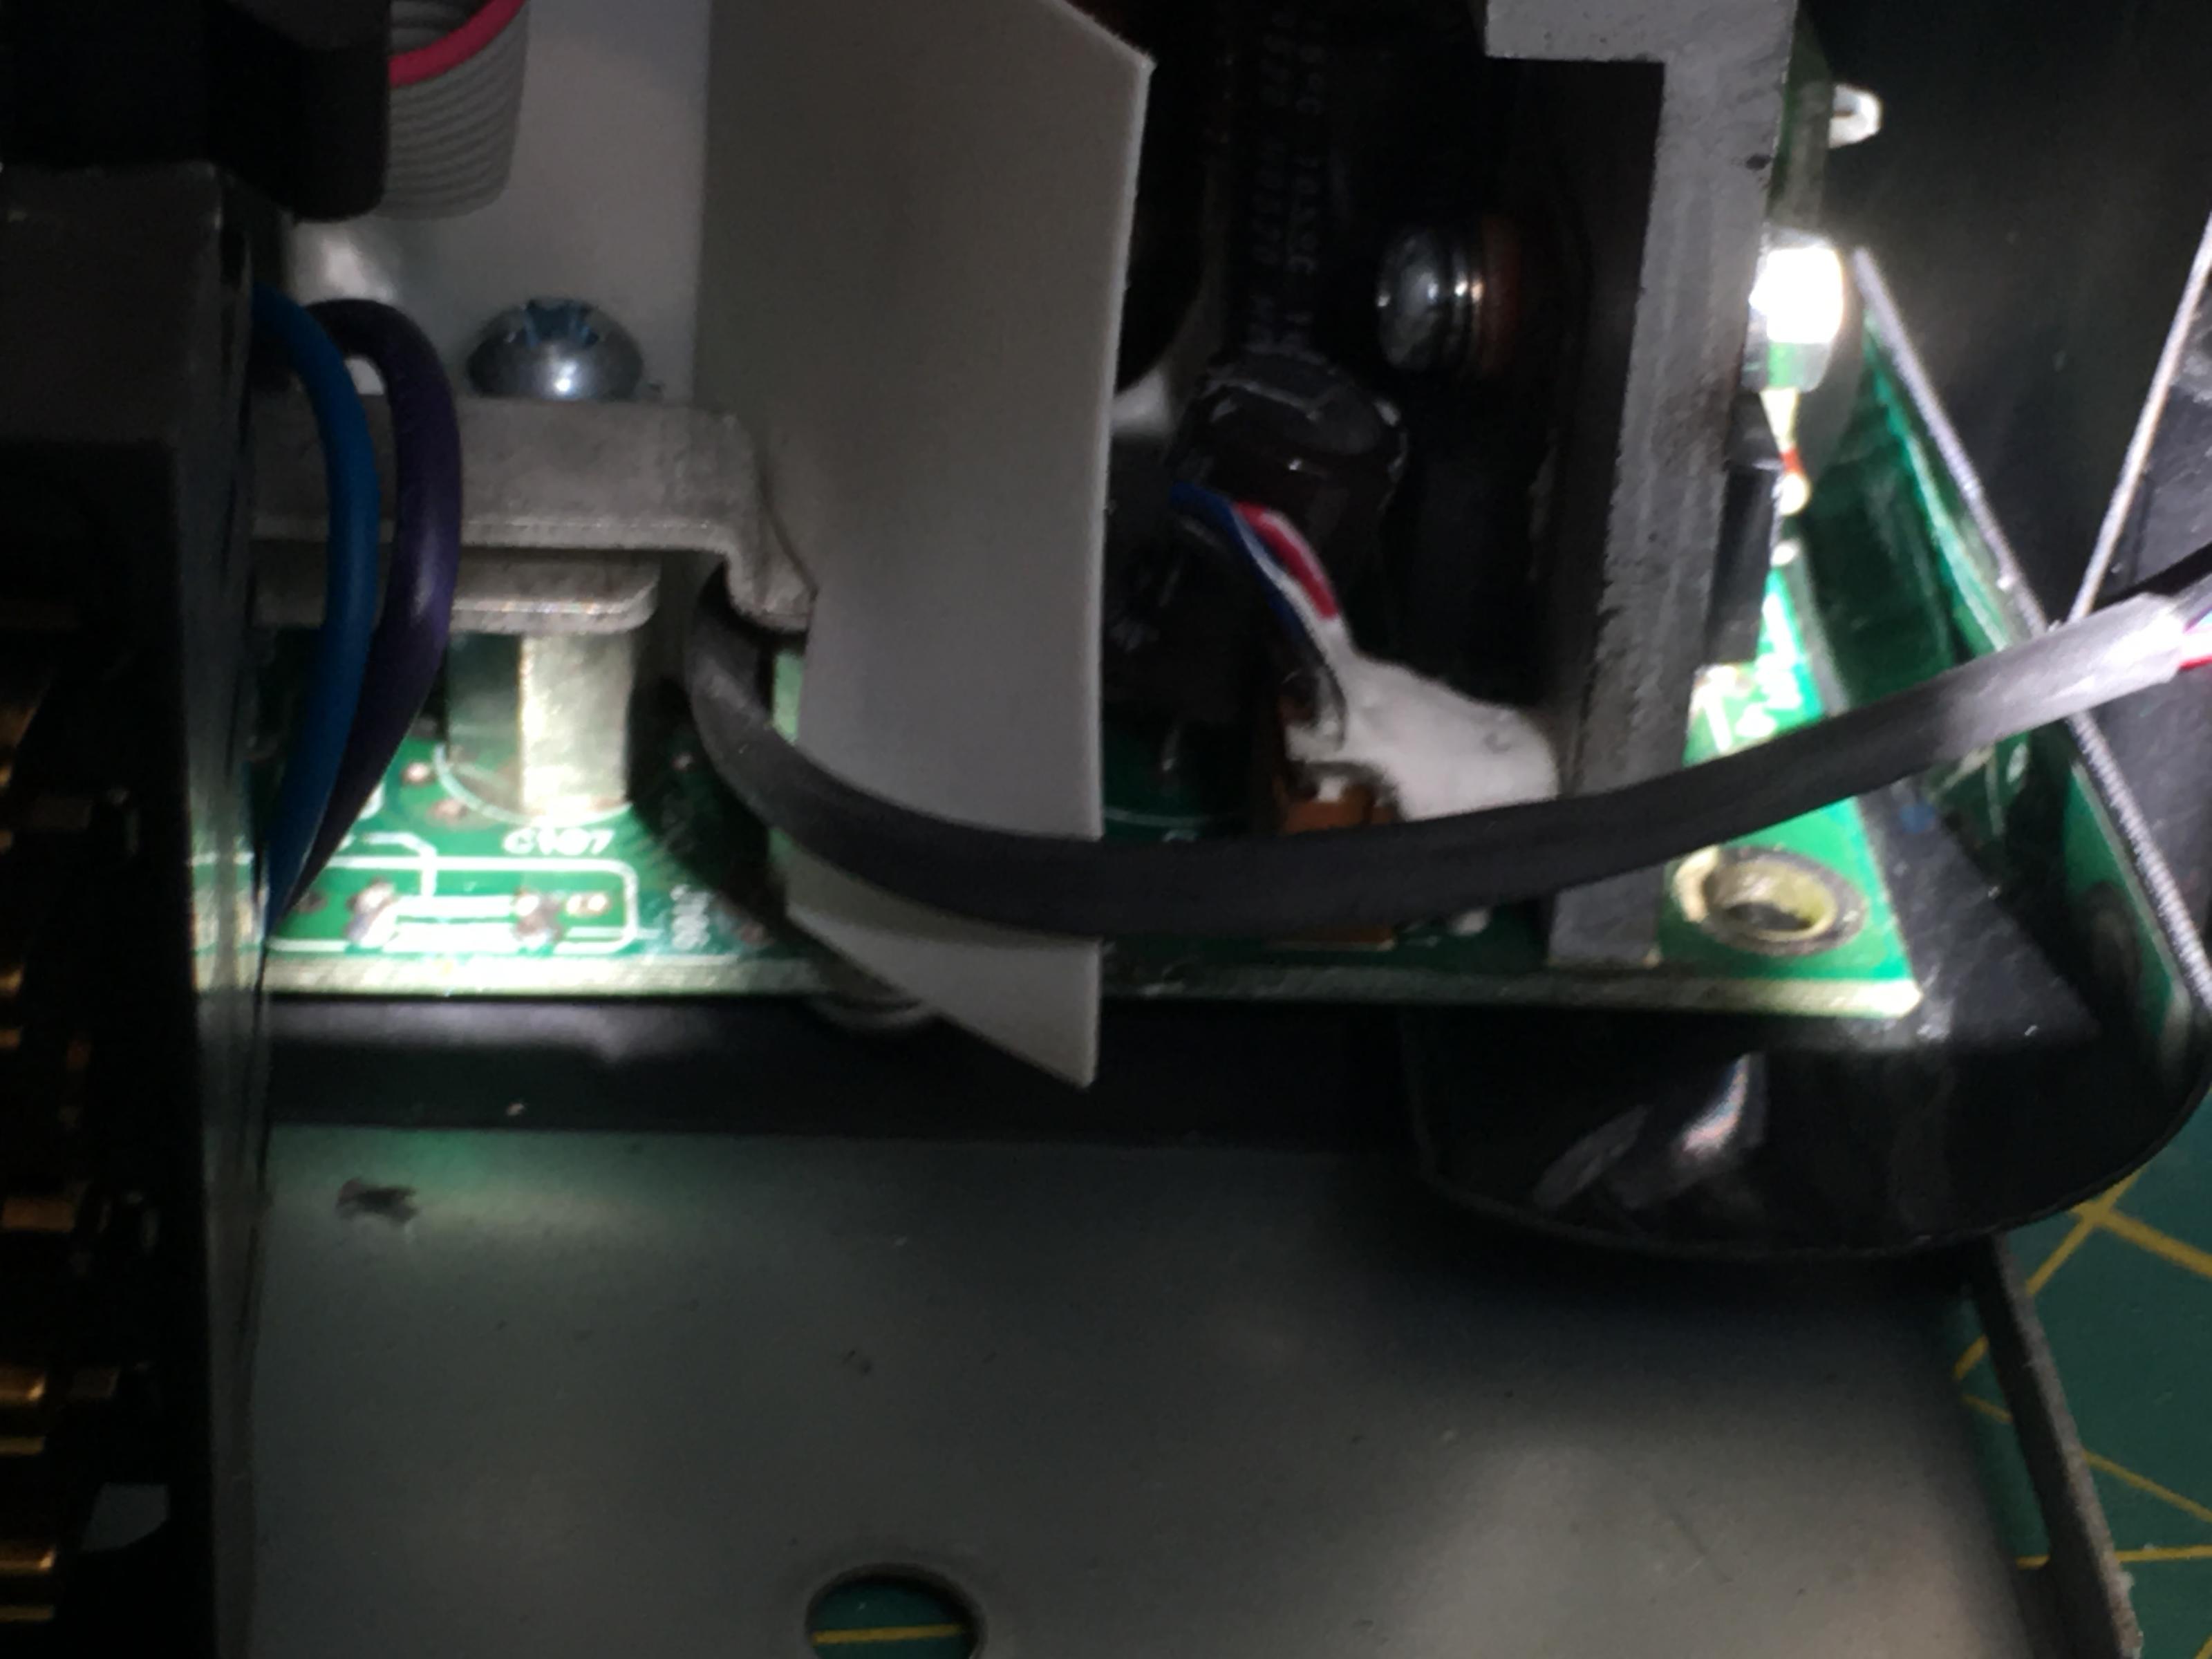 Now check for continuity - there is no more beeping! 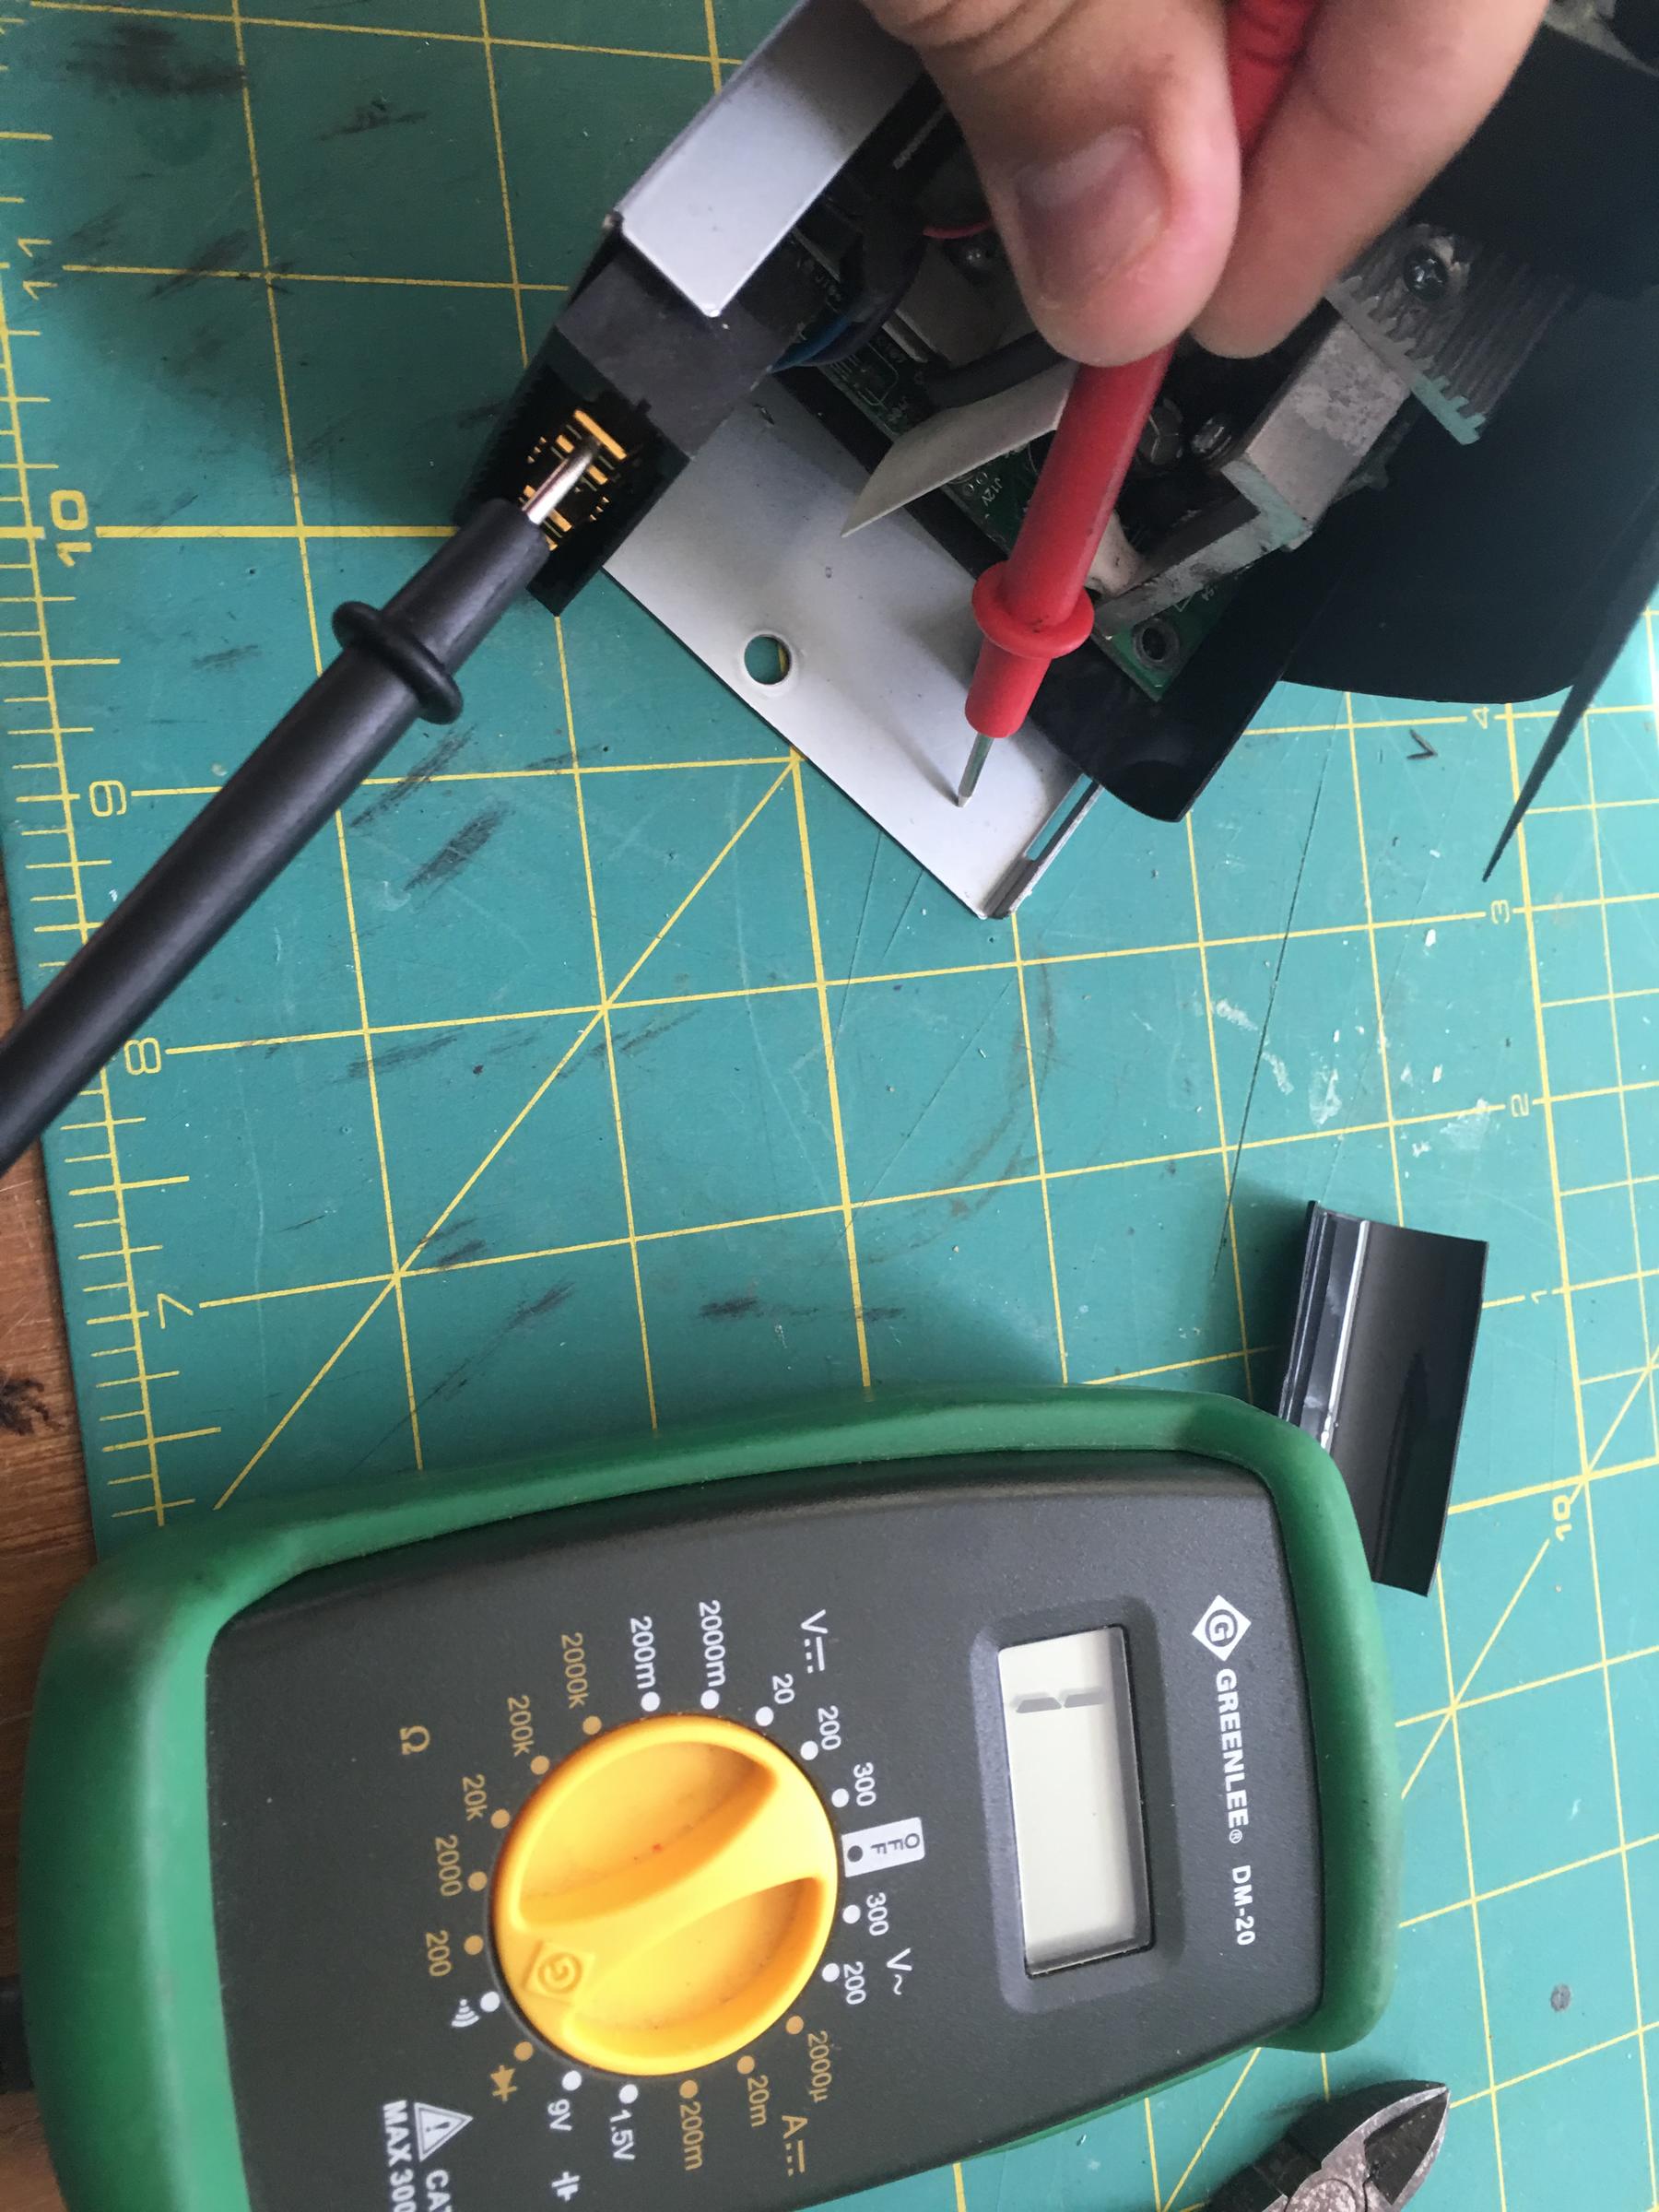  I also took the opportunity to remove the spring clips. They're sorta kinda riveted on, easy to break free with a screwdriver and some lever action 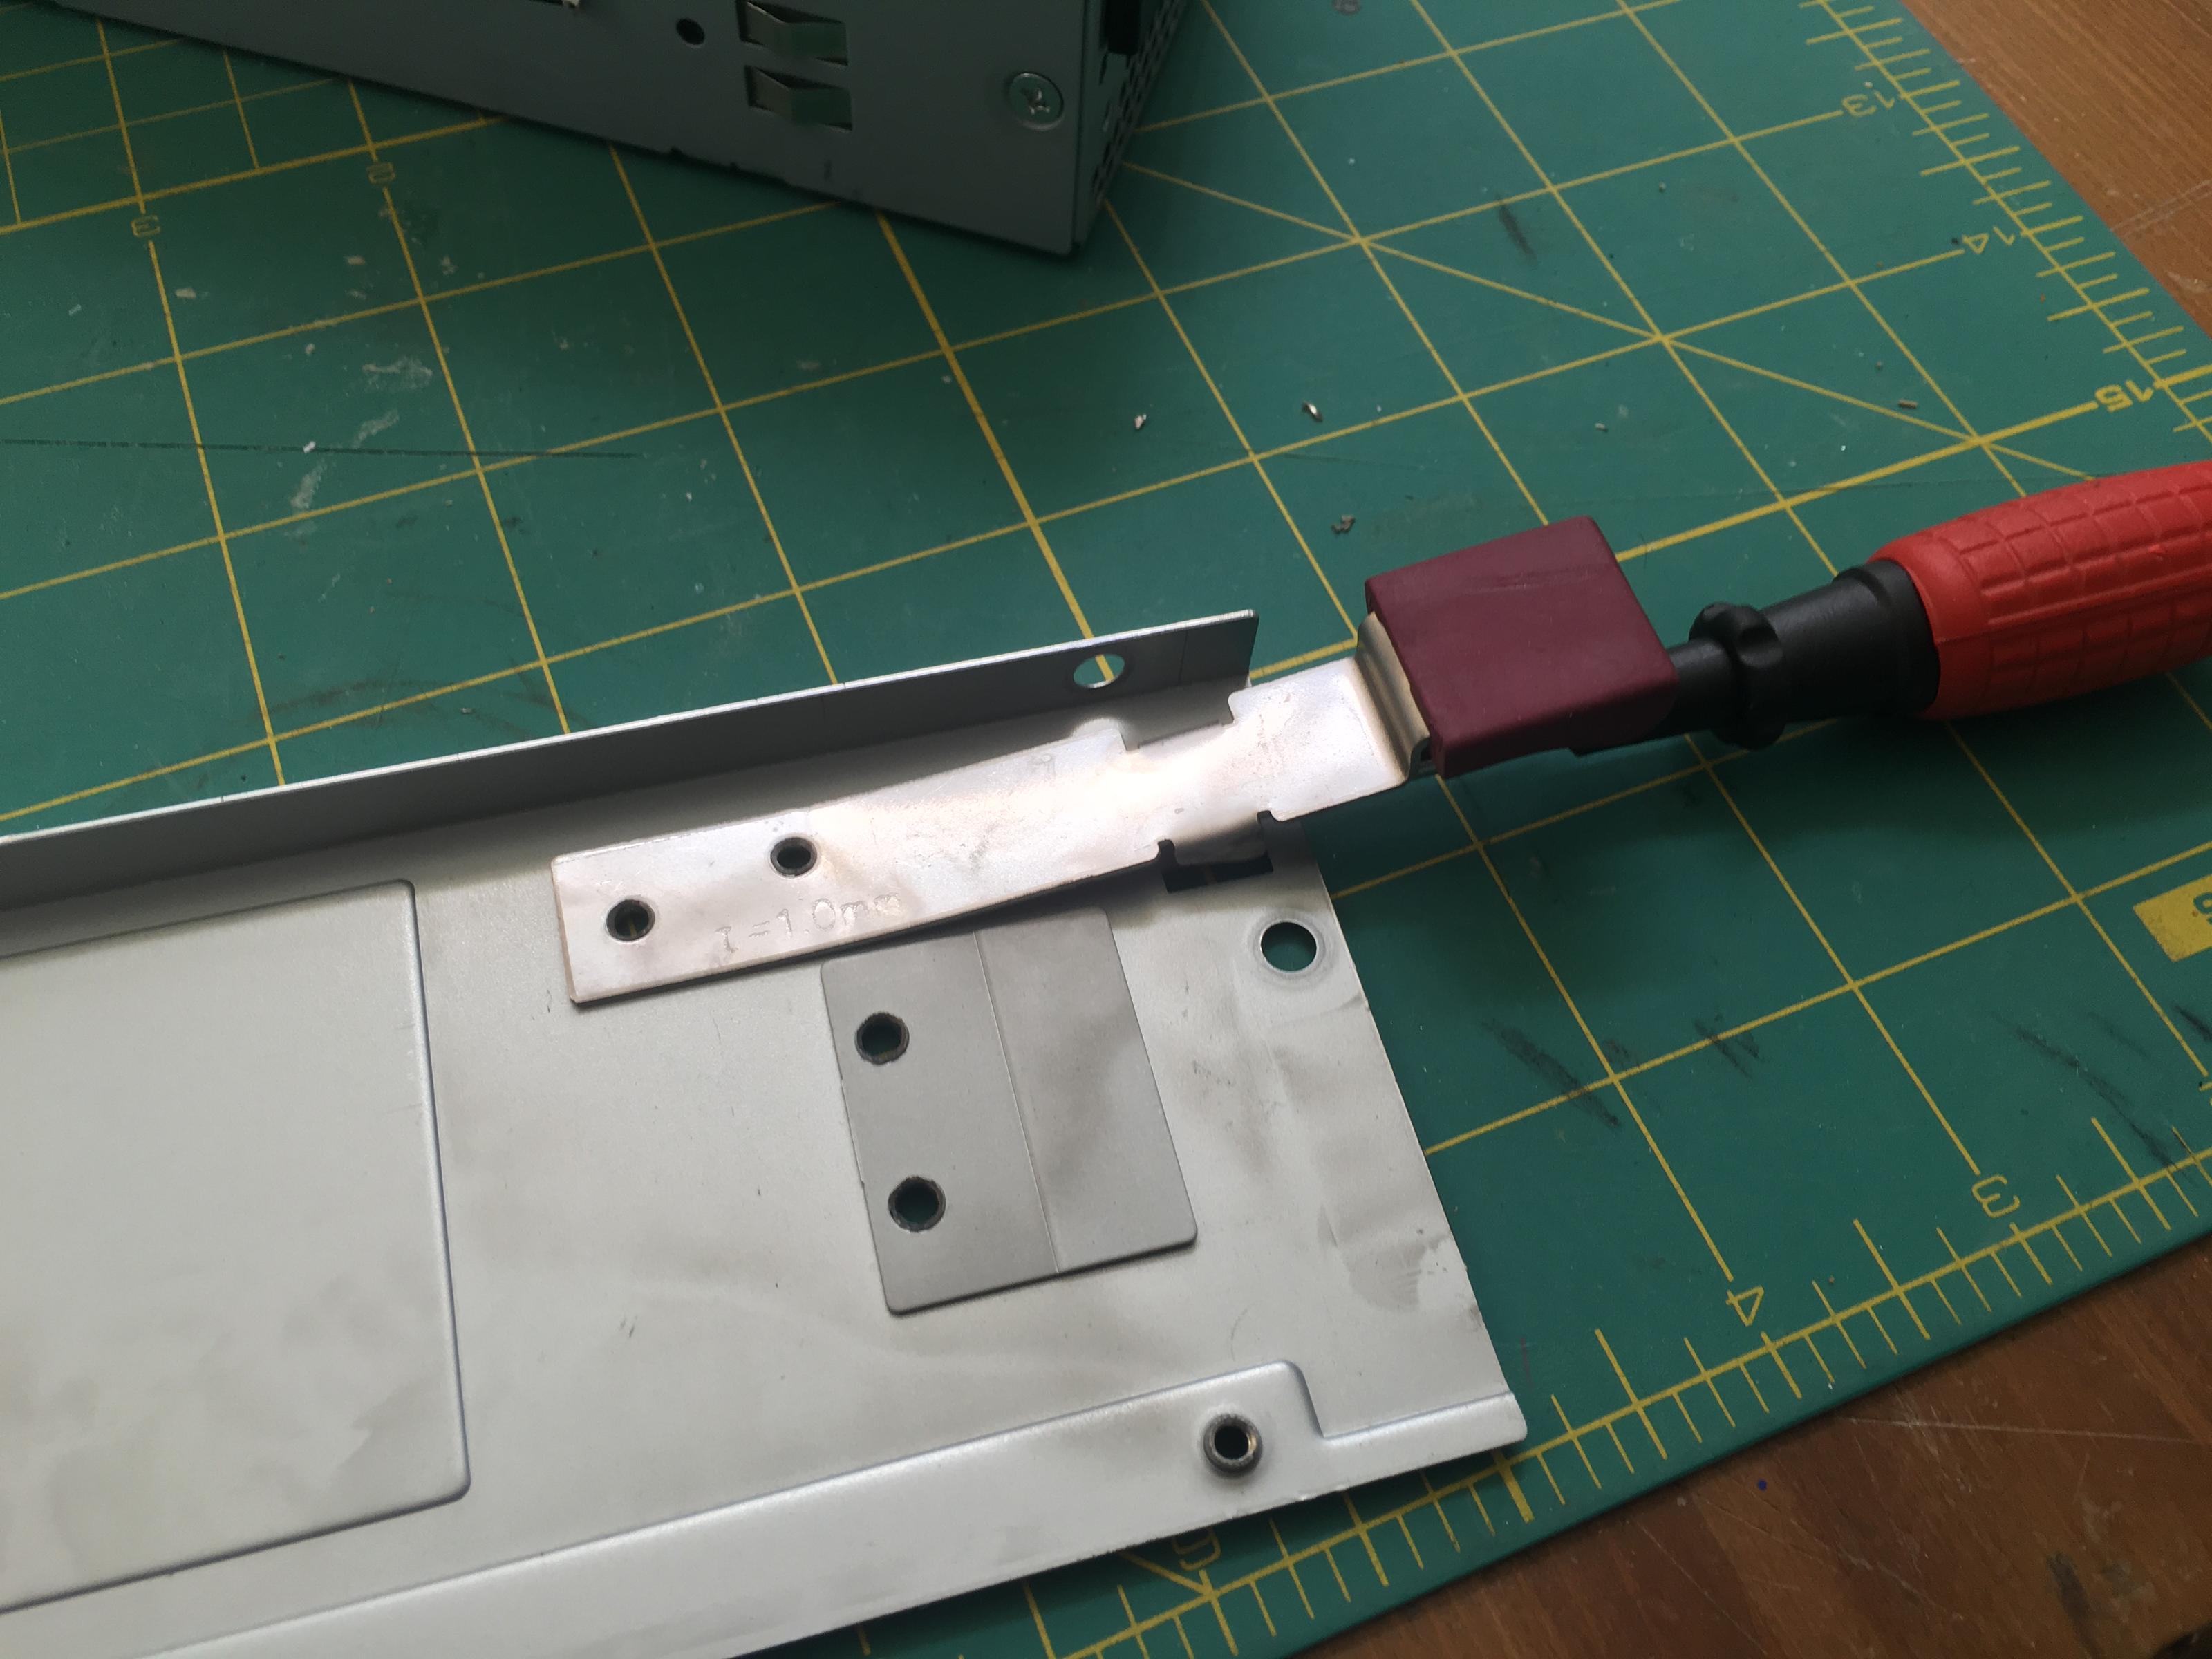   I marked the PSU as having Floating Ground with FG in both marker and etched into the case with a dremel tool 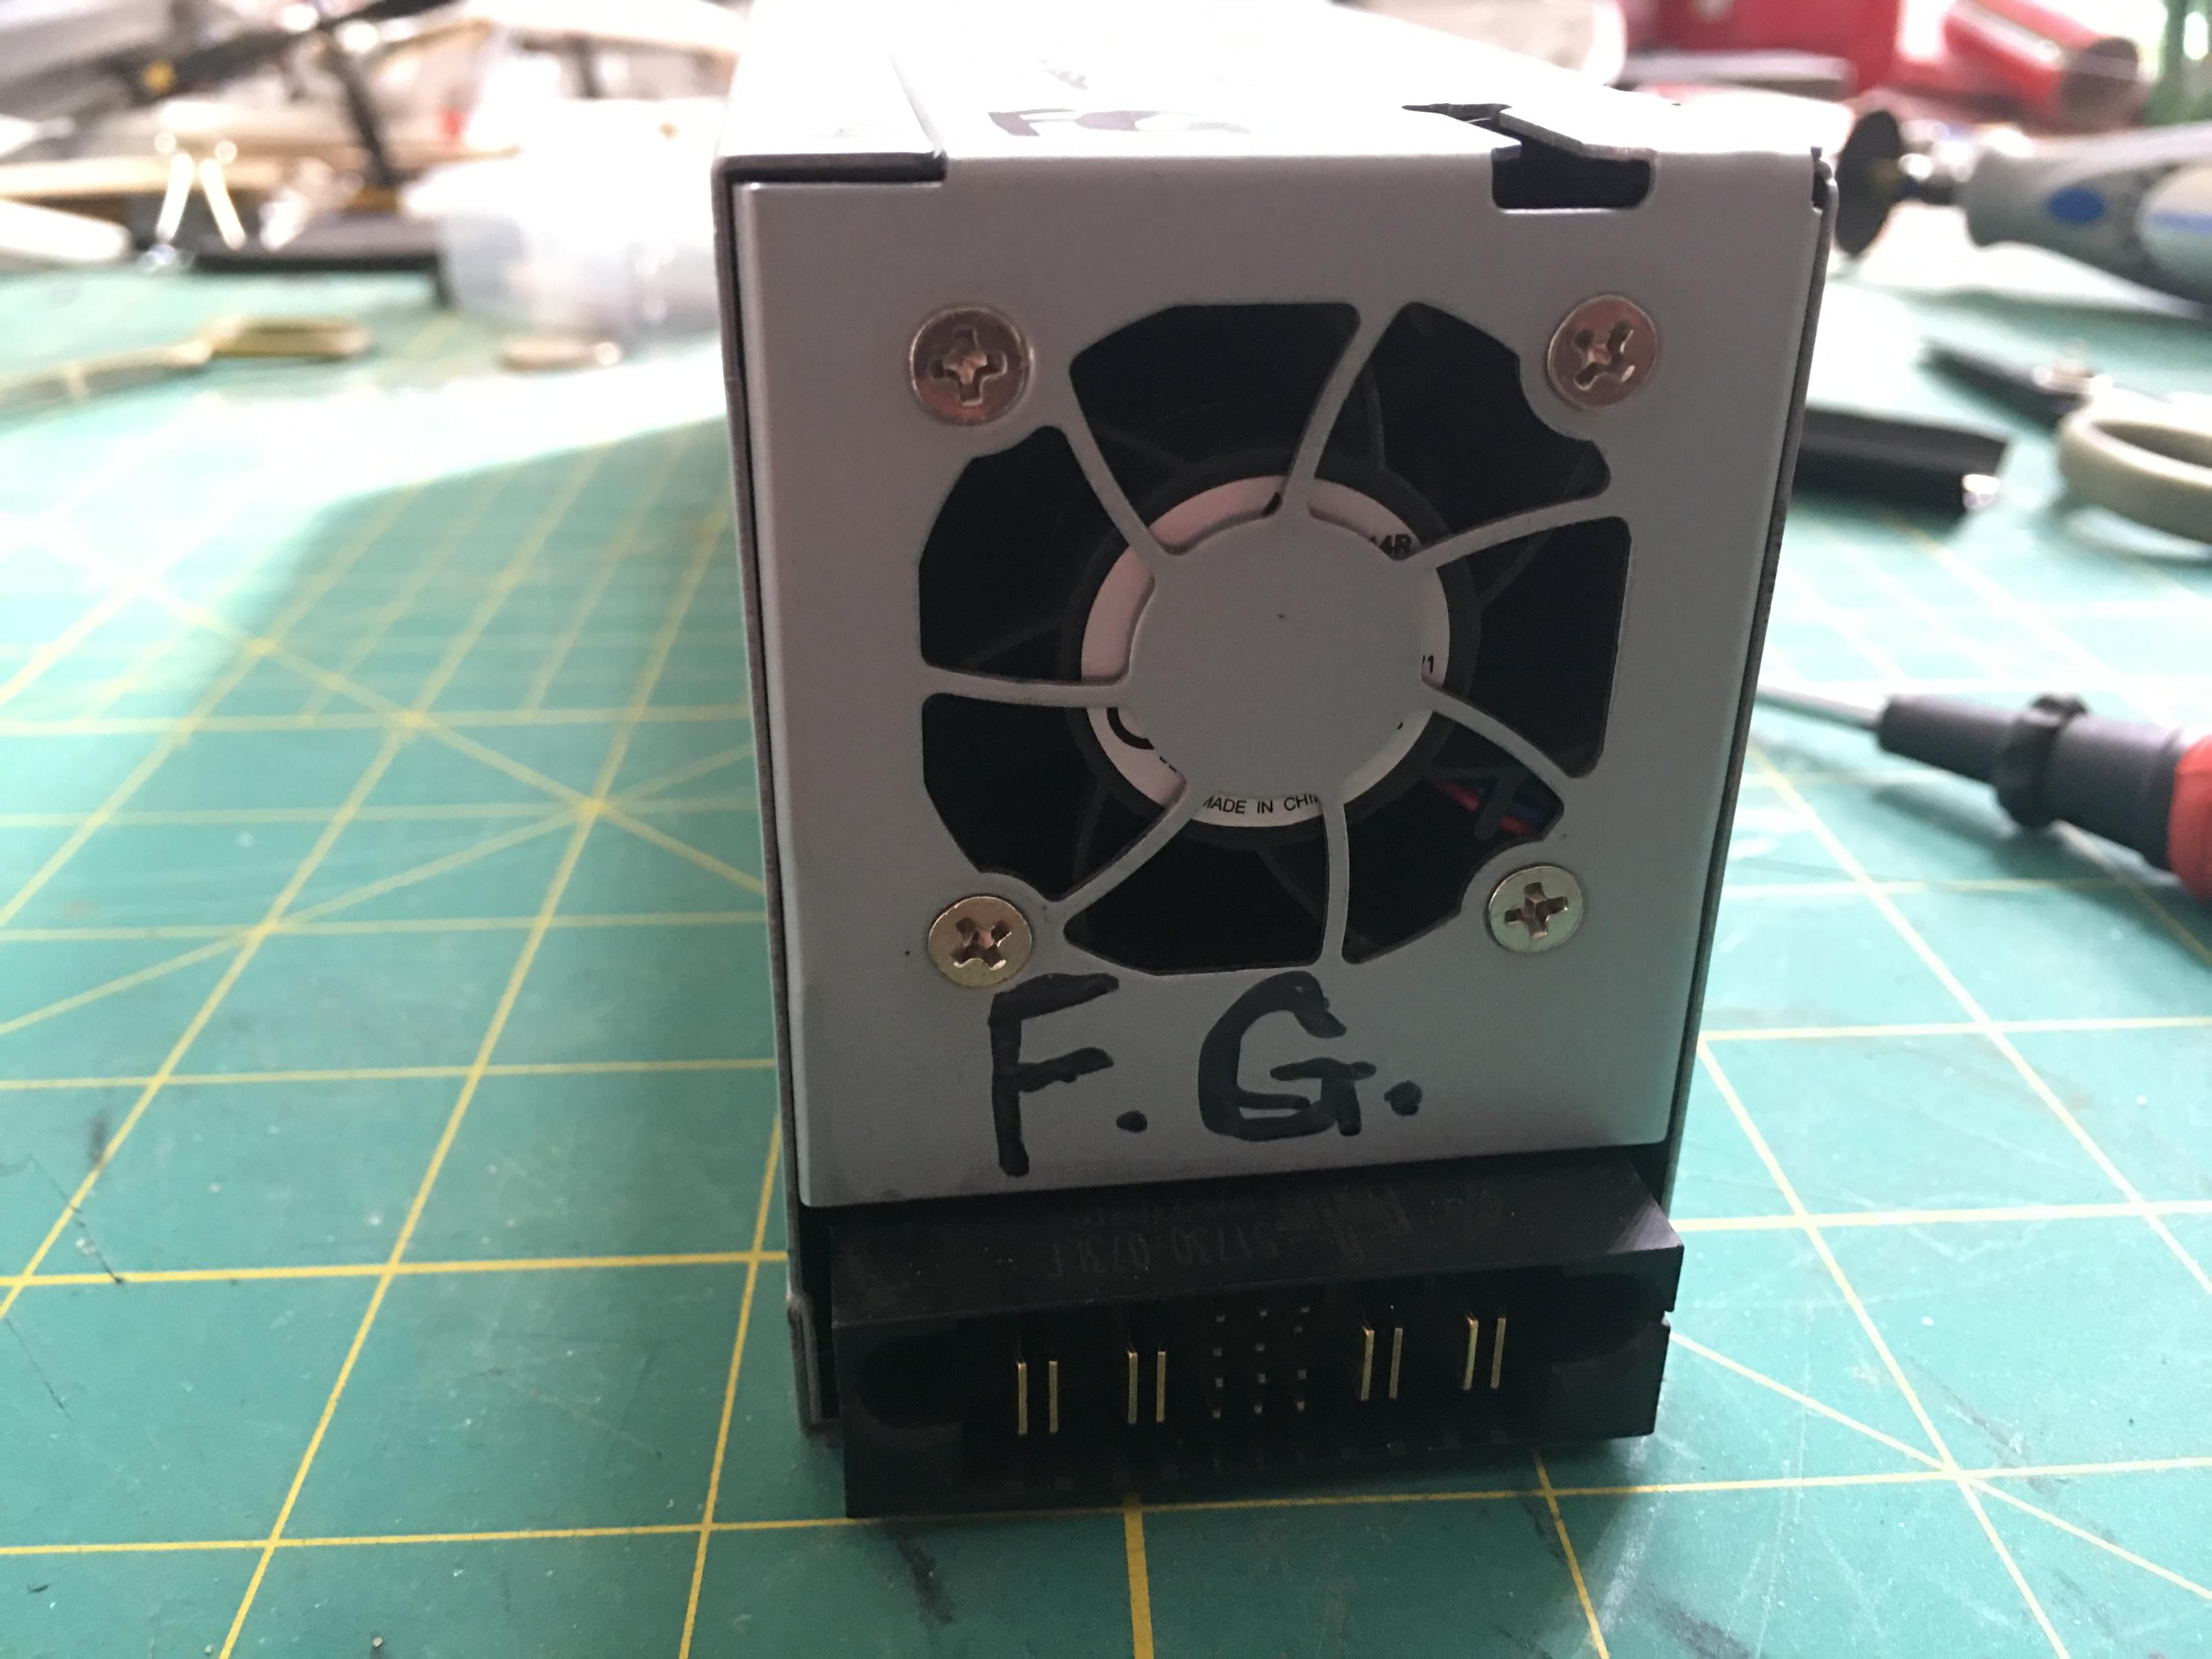 
|
|
Last edited by bhoov128; Oct 14, 2017 at 08:06 PM.
|
|


|
|
|
|
Thread OP
|
Then to make the output connections I just soldered 6mm bullets to the hot swap blades of the PSUs. Pins 6, 8, and 10 are shorted to fool the PSUs into turning on. The pin pitch is perfect for servo plugs, and since I plan to get a proper switch in the future, I used servo leads with the wires I don't care about cut off. At the moment they're all soldered together but once I get a good switch I'll desolder them, and tie two into one pole of the switch and one into the other, so that only when the switch is on will all 3 pins be shorted.
6mm Bullets soldered in:   The servo plugs, before soldering together. The switch in the picture proved too small to work properly with the wires.  And then the two PSUs, wired together. I used an 8awg wire to connect them in series. Output is right at 25V, perfect! 
|
|
Last edited by bhoov128; Oct 14, 2017 at 08:17 PM.
|
|


|
|
|
|
Thread OP
|
Yeah me too. Mine are just sitting there on that little end table. I want to get something that doesn't suck...and get that kill switch put in!
|
|
Latest blog entry: Guillows Kit #502 - Focke Wulf FW-190...
|
|
|
|
|
|
|
I'm debating if I want to make a fancy case and have 12v and 24v available through bullets or just strap them together and toss them in the box I'm using now. All of my mobile chargers can handle the voltage, so I'll probably go the easy route and just join the 2 and toss them in my case. Maybe I can bolt the two together? My pins are already all soldered together, so I'm screwed there!
|
|
|
|
|
|
|
|
Thread OP
|
First run up test of the new tp820hvc, using a China Hobby Line 2200 55C @ 3C
Kinda geeked out lol.... I�ve been in the hobby for five years and this is the first time I�ve been able to charge anything at more than 5A..... never have been able to see cell IR either... coooooolllll |
|
Latest blog entry: Guillows Kit #502 - Focke Wulf FW-190...
|
|


| Thread Tools | |


| Similar Threads | |||||
| Category | Thread | Thread Starter | Forum | Replies | Last Post |
| DPS-600PB Builds - hints, tips and build plans | rchelijc | Batteries and Chargers | 1905 | May 03, 2022 05:32 PM | |
| DPS-600PB -Reaktor 300w - which banana plug? | NordicBlue | Batteries and Chargers | 13 | Mar 07, 2016 08:58 PM | |
| DPS-600PB Power Supply Shuts Down | wcsd106 | Batteries and Chargers | 3 | Jun 23, 2013 06:11 PM | |