|
|
|
|
|
Cool
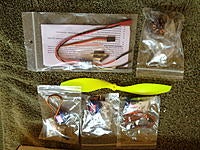
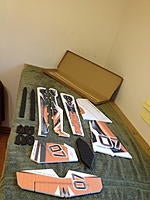
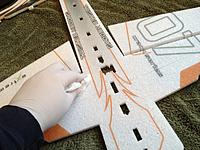
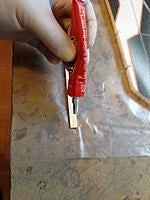
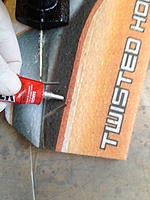
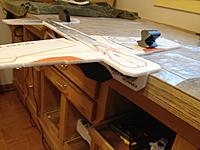
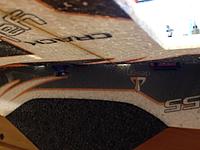
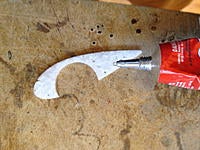
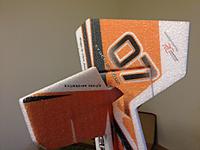
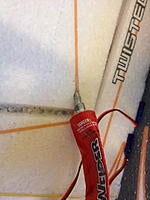
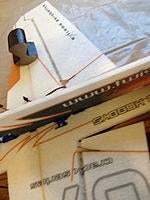
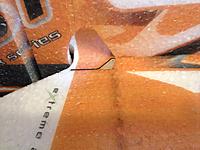
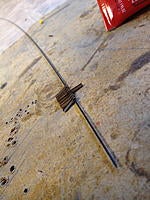
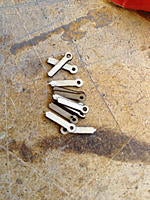
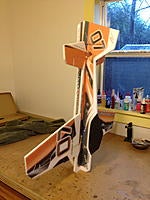
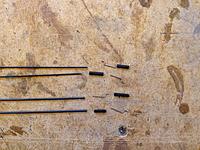
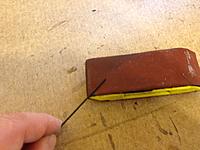
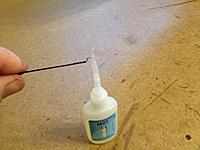
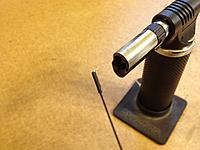
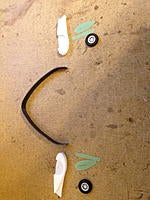
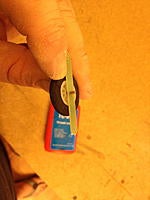
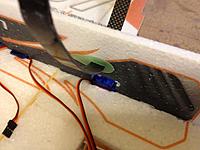
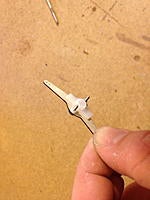
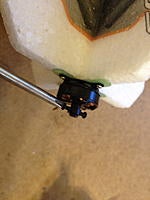
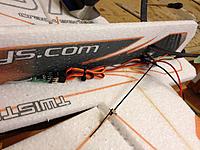
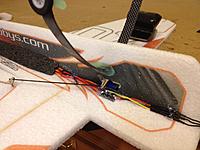
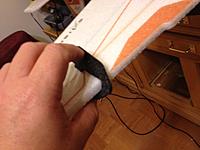
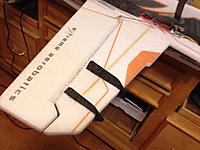
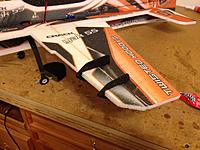
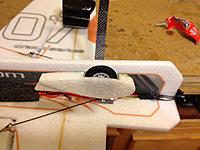
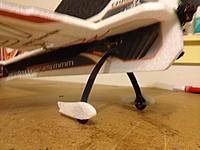
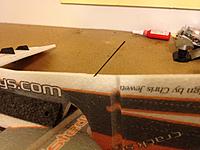
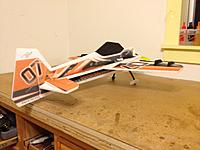
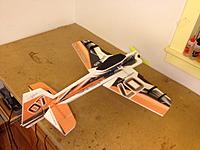
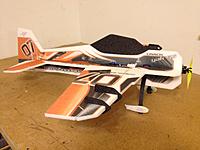
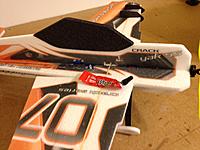
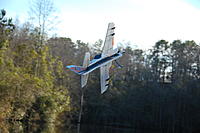
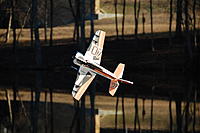
Twisted Hobbys - 32" Crack Yak - Build Thread (Lots of new pics!) Today I received the first production model of the Crack Yak! Man I am impressed with the work RC Factory did on this plane! It is amazing! I will put the build notes in the photos as usual. This is the full Twisted Crack Yak combo with Carbon gear. Tools and materials required: -Welders Adhesive -Hot Glue and gun -CA and Kicker -Small Phillips screwdriver -Small Flat Tip screwdriver -Blue loctite -Red loctite -Sharp Exacto with a number of fresh blades -Paper towels -Small dykes for cutting carbon rod -300 grit or similar sandpaper -Heat gun or torch -Box of rubber gloves if you don't want Welders and paint on your fingers If you follow the build flow that I do in these photos you will be able to build this thing in one afternoon with Welders adhesive without having to stop for too long waiting for parts to dry. Enjoy the build! ------------------------------------------------------------  One thing about the landing gear that I noticed is that it slows the roll rate down a bit and adds a little more heft to the plane. The roll rate thing is a negative IMO but the heft part gives it a little better penetration and mass which is good. It's going to be a preference thing as to whether you like it better with or without the gear. I am going to have on each way  . .----------------------------------------------------------------------------------------------------------------------------------------------------------------------------------------------------------------------------------------------------------------  Data from the intro thread: So the Crack Yak was designed to fit a very specific purpose. In the Twisted lineup of small inexpensive profile foamies we have a lot of stuff that is designed for learning 3D flying. We have a lot of demand for these smaller planes and have gone to great lengths to have a full offering of them. Here's a bit of history leading up to where we are now: -We've got the Vector, which is very floaty and was designed from the beginning to be a 3D trainer for the most basic of 3D maneuvers like hovering and very slow flying harriers and so forth. -We've got the Xtra Slick which, is designed as a step up in capability from the Vector. It is great for learning slightly more advanced maneuvers like continuous rolling, knife edge, walls, waterfalls snaps etc... The Slick has been very popular and a great addition to any fleet. For a long time my learning curve for new maneuvers went like this: Sim, Slick, Telink and then Balsa. -We have the Crazy 88 in there for bipe lovers and to add some spice. That plane will do just about anything and if you are into bipes it is a great plane for learning the ins and outs of what makes bipes a little different to fly. -Enter RC Factory. Prior to RCF joining up with Twisted all of the small foamies were made in house by Brad by hand. They were also painted in house by Brad and his helpers like Dan. With RCF now on board we have access to their expertise in EPP construction methods, a source for quality EPP foam and top of the line production and printing. The major benefit being that now Twisted is left more time to spend on designing and customer support. It also means we can now get enough kits to meet demand. -Enter the new power combo. The new motors we have now are way more efficient, reliable, powerful and they come with connectors all ready to go. A major improvement to the lineup across the board! -With RCF/Twisted we now have the new Edge and Sbach. They are great designs with excellent production and construction details. They are kind of taking over for the current Xtra Slick. They are stiffer, better built and in several ways just an improvement to fit into our bread and butter 3D plane slot.  That kind of brings us up to speed on where we are now. Some time after the Slick first came out Brad and I decided we needed a small EPP profile to add to this lineup that was more advanced than the Slick. We wanted something that had a slightly higher wing loading than the others. We wanted a plane that was stiffer and had a faster roll rate. One that would be more capable and fly more similar to balsa but yet still offer some of the characteristics that would make it a good learning tool for people progressing up the learning curve. We wanted an Xtreme Aerobatics plane that was not just 3D, something a little more precise. The Crack Yak is the end result of a long line of prototypes designed to fit those criteria. The very first prototype was supposed to be a pattern type plane and Yak was no where in the thought process when I designed it. We tried several different construction techniques to get the most rigid plane that we could. We ended up with a construction technique similar to what is on the RC Factory Clik but it had a laminated EPP wing with three layes a different thickness EPP. Keep in mind this was well before the two companies came together. The main thing we learned from this first prototype was about SFGs, turbulators, leading edge slots and other aero devices that might help in our design goal. We experimented with everything from canards to spades to vortex generators trying to find out what really works with small EPP stuff and flat plate wings. From these tests we came upon the leading edge design, SFG shape and locations and aileron counterbalance design that would eventually end up in the Crack Yak. We also figured out the right dimensions and geometry of a plane that would yield the flight characteristics that Brad and I both agreed would be what we were looking for. The end result at the time ended up being too complicated and expensive to kit given Twisted's in-house production capability. About the same time the Telink stuff showed up and we left the project unfinished. Then Brad got the bug to do a Yak and asked me if I wanted to do it. He loved the old Yak 55 that started this whole small EPP profile segment and wanted to do something similar. I felt that the Yak was over done and that if I saw another model of a Yak 55 I might just poke my own eyes out. The end result of that discussion was that we would look into doing a Yak but that it would be a Yak done how I envisioned a Yak should be. So, I started working on this thing one night, trying to look at what makes a Yak a Yak and what were the good parts of it. Then I looked at the old pattern plane proto three view drawing that I made and kind of superimposed the Yak three view drawing on top of it and there it was, the most badass looking little Yak there could possibly be. I mean, it looked like a cross between a fighter jet, a supermodel and a Yak 55SP  After I drew it up I sent a copy to Brad and he said, "Holly #$%^, that's different"! He said, "I thought we were doing a Yak, you must be on Crack or something". We tossed some ideas back and forth and before you could find a tube of Welder's at Lowes I had the first prototype built and flying. Prototype 1. Too heavy. The construction techniques we used on the pattern plane with laminated EPP wings was too heavy. However, I could tell from this first plane that it had a lot of potential. It flew like I wanted a foamy to fly but needed much more work before we could sell them to the public. Prototype 2. Too flimsy. We could not get the higher quality EPP in from our supplier anymore and it was making this project tough. I was getting more excited by how this plane was flying. The roll rate was fast! The stalls were clean like and Edge but it would snap and spin like an Extra. Prototype 3. Wasn't happy with the elevator response. Changed elevator design, moved the stab forward and changed the servo location. This kind of brought the whole flight envelope into focus. I could now see that we had a plane that would out perform the rest of the fleet. It was a joy to fly! Prototype 3. Coupling. Moving the stab forward changed the coupling and I needed to redesign the fuselage and rudder shape. I was very happy with the design by this point. The rudder response was so perfect now that you could just jam the stick in either direction and it would turn flat all by itself all day long. I have never flown a plane that had so little coupling all the way from small throw to huge throw. If I could get it just a little bit stiffer I would be happy to go to production. Prototype 4, 5. I got tired of messing with it and my buddy Ken built two of them. We could not get it stiff enough to perform like we wanted partly because we could not get the right density or quality foam. Prototype 6. I sent Brad the templates and he built one to verify what I was telling about this plane flying awesome. Brad flew it a lot! Then he kept flying it and then couldn't stop flying it! That's all he flies now. He loved it and agreed we were onto something special that people would really like. It's addictive like ______! So now it was in Brad's hands. He needed to find us the right quality foam and build the jigs and everything to make the plane. Then, RCF came along and the Edge was born. That plane was so stiff and so well built that we both immediately saw that having RCF build the Crack Yak was the missing ingredient to make this plane absolutely phenomenal. Brad sent the drawings to RCF and they very quickly sent us a couple more prototypes. Prototype 7. Perfect!! I love the work RCF did on the production and oh my god does it fly well. It is such a pleasure to fly and so capable for a little foamy that everyone who I have let fly it has asked to be on the list to get one of the first ones. Prototype 8. Dan built this one which is exactly the same as mine but Dan tested out the paint scheme to see if it works as well in real life as it did on the computer. It does and WOW does it look cool! This thing should have guns on it! We made a couple of very minor suggestions on production details and now it is in the hands of RCF to churn out the kits. My understanding is that we should be seeing it soon (Feb maybe). My only request was that we could get them in everyone's hands early enough that people could have them built and ready for SEFF.  Size. It is a little pocket rocket. 32" wingspan. Fly it anywhere and in any space or wind condition. Generally I like the bigger is better idea but in this case we tried several sizes and people who have flown them like the smaller size best. Even in high winds, people liked the smaller version. Roll rate. This thing rolls fast. If you have flown an Extreme Flight EXP or 3DHS Slick you will experience a similar roll rate here. So many of our smaller foamies have been slow rollers and that's fine for learning the maneuver but with this plane you can now wind it up and go crazy like a depron indoor foamy. Rolling 8s and loops are a blur! Leading edge. The leading edge on this plane is notched to provide a clean stall break on elevator type maneuvers but also to give less wing area at the tips so that it will snap, turn and roll better. So, unlike a double taper wing that may tip stall to one direction or the other dramatically in a stall this one will stall relatively straight. It gives better harrier performance than a fully tapered wing but still retains some of the advantages of the taper. The notch also seems to act like a little vortex generator which also helps with slow speed rolls and turbulence going over the stab. Elevator and rudder control. The tail length, position and design of the tail control surfaces make this plane a little more whippier (if that's a word) than the Xtra Slick for example. You can toss it around with the elevator with tight waterfalls and tumbles. The rudder will turn it around so fast that you can do knife edge loops in your trailer. We are really exited to get this plane out to you guys. All of us have put a lot of work into it and are so happy with it that it is going to be a pleasure for us to see you all enjoying them! Happy flying! Other than that you guys are just going to have to wait until we get some production kits to get out..  ************************ Crack Yak now available for Real Flight! Here:  ************************ -------- 12/03/2012 Great tips from TheEarl Of Whirl: The Best of Crack Yak Tips & Tricks I spent some time running thru the entire Crack Yak Std thread from beginning to end compiling many of the best tips & tricks. I figured before I built mine I could learn allot from others who are willing to share. If I am going to get addicted then I want to make sure I have got some super crack. Follow this link to the post: https://www.rcgroups.com/forums/show...postcount=4891 ImagesView all Images in thread
|
|
|
Last edited by hercdriver7777; Dec 17, 2012 at 04:37 PM.
Reason: Crack Hits
|
|
|
|
|
|||||||||||
|
|
Crack hit 2!
Video - Chris Jewett:
Video - Jiri Sotola:
Video - Cody Wojcik
Video - Mike Collins and Patrick Dimig
Night antics at FX3D 2012
|
||||||||||
|
|
Last edited by hercdriver7777; Jun 26, 2012 at 06:11 PM.
|
||||||||||
|
|
|
|
|
Build notes and pics GTG..
|
|
|
|
|
|
|
|
|
Looks Great Herc!
|
|
|
|
|
|
|
|
|
Nice job on the the build and great pics, mine will be here Monday. Welders is like contact cement so when you let it tack up don't you have to be super accurate when you join the two parts or is there some wiggle room? Also, wouldn't be easier to center the aileron servo and attach the horn prior to installing it?
What is your AUW now that it is built? |
|
|
|
|
|
||
|
|
Quote:
Yes, I recommend centering all the servos and installing the servo arms prior to installing them. I always do it after so I do not have to fiddle with my transmitter while I still have sticky fingers and glue all over the bench. I'm building these things fast to get the build threads up before everyone gets theirs. If I had more time I would do it your way. I haven't weighed the production model but it is 6.XX oz depending.. |
|
|
|
||
|
|
|
|
|
Yes, they are pre hinged and hinged very well with a laser cutter but if you dig a control surface into the ground it will tear it out. That is unless you put a thin beat of Welders at the inner and outermost parts of the hinge line. Not required but a good idea.
|
|
|
|
|
|
|
|
|
Thanks Kris! I can't wait for it to hit the UK either! I look forward to seeing what you guys do with it!
|
|
|
|
|
|
||
|
|
Quote:
Azarr |
|
|
|
||
«
Previous Thread
|
Next Thread
»
| Thread Tools | |
| Similar Threads | |||||
| Category | Thread | Thread Starter | Forum | Replies | Last Post |
| Build Log | Twisted Hobbys - Telink 3D Buster EPP Bipe Build Thread, Flight Video just posted!!!! | aerofundan | 3D Foamies | 617 | Sep 14, 2020 03:11 AM |
| Build Log | Twisted Hobbys - Telink 43" Yak 55 - Build, Fly, Vid | hercdriver7777 | 3D Foamies | 1008 | Apr 04, 2017 12:39 PM |
| Discussion | Twisted Hobbys - RC Factory USA YAK-55 39" Build Thread/Videos & Flight Video!!!!! | cbriggs11 | 3D Foamies | 78 | May 28, 2014 05:40 PM |
| Discussion | Twisted Hobbys Crack Yak! | hercdriver7777 | 3D Foamies | 181 | Sep 13, 2013 03:54 AM |
| Discussion | RC Factory USA - Twisted Hobbys - 1.2m SU 29 Build Thread. | hercdriver7777 | 3D Foamies | 97 | Oct 19, 2011 06:34 AM |


