borntoolate's blog View Details
Posted by borntoolate | Aug 26, 2019 @ 10:59 AM | 12,190 Views
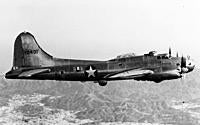
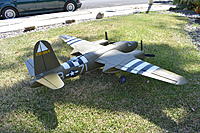
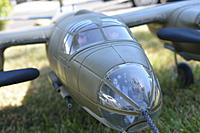
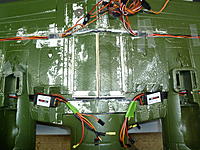
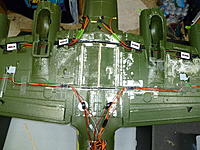
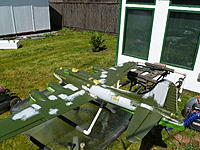
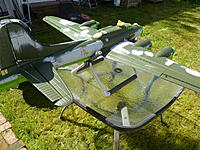
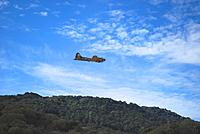
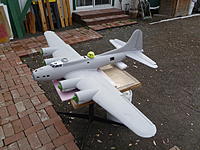
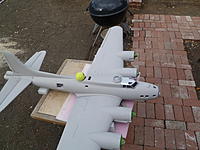
The XB-38 was an experimental B-17 fitted with Allison liquid cooled engines. There was some concern that production of the radial engines might not meet the production demand of the War Department. There was only one XB-38 built. It did not have a long life - during flight #9, engine #3 caught fire forcing the test crew to bail out. The prototype was, of course, destroyed. The program was ended.

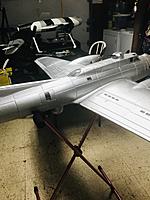
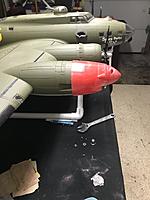
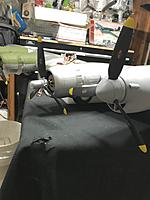
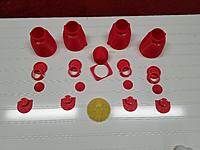
One of our members on RCG, Travis, 3D printed the parts necessary to convert the B-17 into the XB-38. I was lucky in that Travis - also known as - Redhood - agreed to provide me with the necessary parts. He sent me the motor mounts, back plates, hubs and spinners, as well as the remote controlled ball turret. The custom nose glass was also provided. He also modified the spinners to accept the FMS B-25 props, which I prefer to use on all of my 1875mm B-17s. Thank you, Travis for all your hard work!


...Continue Reading
Posted by borntoolate | Feb 17, 2019 @ 04:50 PM | 23,333 Views
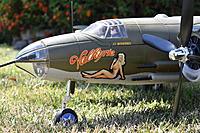
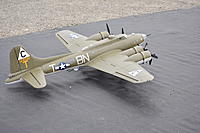
After an unfortunate crash of my Silver B-26, there were some repairs needed. I thought this was a good time to modify the bomb bay that I had originally installed. Now, this B-26 has already been modified to remove and replace the stock motors, ESC's and retracts. All of these mods are identical to the mods made to my green B-26 "Valkyrie", so there is no need to rehash them here.

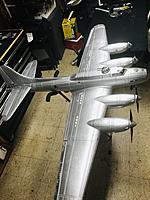
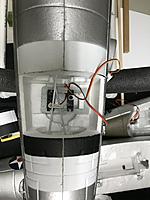
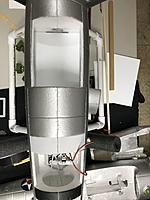
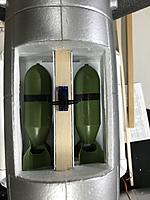
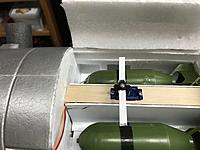
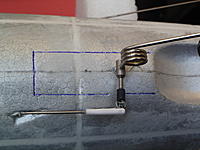
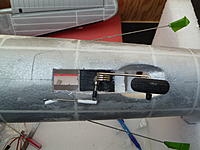
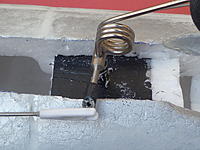
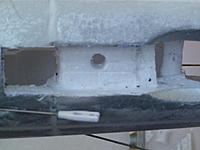
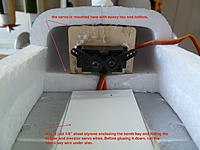
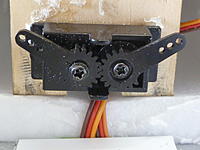
This mod was to re-make the bomb bay to make it better and to increase the capacity of the bomb bay. To make room for the bombs and bomb release system, I moved the rudder and elevator servos about 10 inches aft. Using the damaged fuselage as a model, I was able to make some precision cuts to create the new servo bay. To access these two servos, I created a hatch with rare earth magnets to secure it in place.

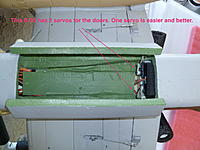
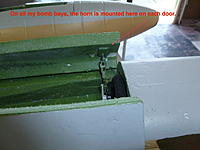
With the servos removed, I was able to basically gut the interior of the fuselage to make additional usable space. It was my intention to utilize the very good "Adam Bombs" for this plane. Yes, the bombs are out of scale, but dropping these bombs filled with powder on ground targets is so much more impressive. I could have fit 4 or 5 of "the Adam Bombs" in the bay but by doing this, there was no room for a bomb drop device. So, I opted to make a bomb release device which only allowed the use of 2 of the bombs. I recommend the "Adam Bombs" to anyone that has the urge to drop bombs with their aircraft. This project is still in-process, but I will...Continue Reading
Posted by borntoolate | Nov 19, 2018 @ 03:38 AM | 46,017 Views
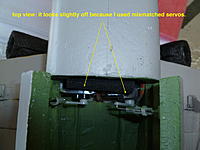
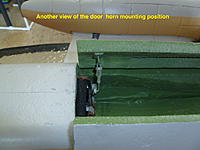
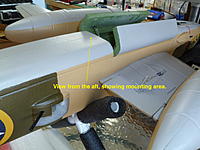
A friend printed up some nose gear doors for the Flightline B-24. He was nice enough to provide me with a set. It is a relatively easy install. You just need the printed doors, 2 servos (ONE REVERSE) a short "Y" connection and two small (~40mm control rods).

Flightline B-24 nose gear doors (0 min 25 sec)


Bob
Posted by borntoolate | May 05, 2018 @ 05:09 AM | 47,332 Views
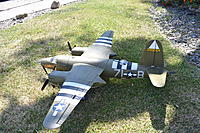
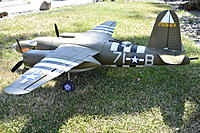
Dynam was supposed to release an OD green B-26 after the silver B-26 was released. I had a feeling that, for some reason, Dynam would fail to do so. So, I bought 2 of the silver versions. After waiting for some time, I opted to build the second B-26 in a green scheme.
The silver B-26 was built stock with the exception of an added bomb bay. As it turned out, the stock plane seemed a bit under powered. I decided to upgrade the motors on the green B-26.

Dynam planes are sort of the "bargain level" planes. If you take care to fix their various quality control issues, you can end up with a very nice aircraft. I decided to build the green B-26 with some mods:

1. Upgraded motors
2. Upgrades ESCs
3 Remove and upgrade the chronically inferior Dynam landing gear
4. select a scheme from the 497th BS, 344th BG

After correcting the various quality control issue - ill fitting parts, loose weights and loose magnets. I removed the stock motors and installed a couple of 11Hobby Bearcat motors. I also added some new 60 amp reversable ESCs from Hobby King. The stock Dynam landing gear failed (surprise, surprise) on the very first day of the build. I removed the stock gear and installed Freewing MiG-21 retracts. I paired these up with some Oleo struts from RC Castle.

I replaced the stock "road racer" wheels with some Robart diamond tread wheels. The stock wheels were donated to a worthy cause to a friend's project.
The paint scheme is of a bomber in the...Continue Reading
Posted by borntoolate | Mar 29, 2018 @ 01:51 AM | 48,315 Views
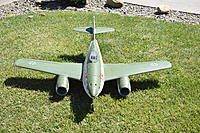
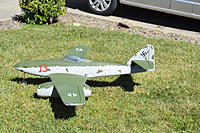
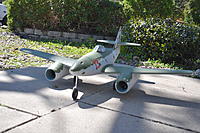
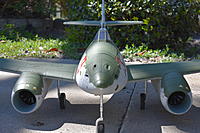
I recently completed a Dynam Me-262. I do not own many edfs so I was putting this one off for a while.
Originally, I figured I would rebuild a used Me-262 that I had hanging in my hangar for a long time. However, after buying the new foam components, I decided to build one up from parts.

After listening to advice from my friends and from the guys on the Me-262 thread, I opted for new FMS 70mm 12 blade fans/motors. The build went pretty smooth. I did not have a manual so I was just learning as I went along.

Besides the new motors and fans, I added 70 amp FMS ESCs. I knew the retracts would be an issue with the plane as I also have a Dynam F4U, P-47, Grand Cruiser and a B-26. So I knew that retracts were going to be an issue. I figured I would see how long the stock gear would last before requiring replacement.

As it turned out, the retracts began having problems right on maiden day. After the maiden flight -which went very well - (no trim at all was needed) I took her home and removed the retracts.

Mods done on this Me-262:

1. FMS 70mm 12 blade fans/motors installed
2. 70 amp FMS ESCs installed
3. Freewing MiG-21 main retracts installed (with oleo struts from RC Castle)
4. FMS P-39 nose gear installed (with oleo strut from RC Castle)
5. Opened up the front 4 cannons to create airflow along with opening the rear of the nose gear compartment
6. New 2.75" Lite Flight wheel added to raise the nose up a little
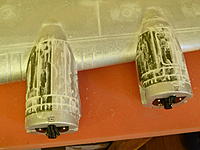
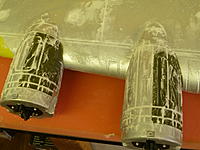
7. modified the engine nacelles to be...Continue Reading
Posted by borntoolate | Mar 04, 2018 @ 12:34 AM | 46,778 Views
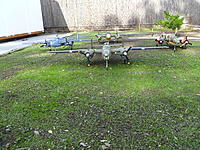
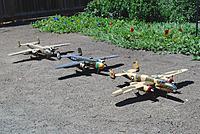
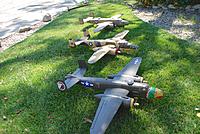
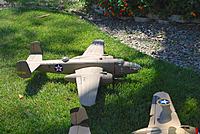
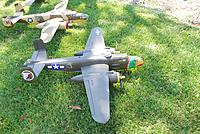
Spring is coming and it was time to evaluate the readiness of the bomber group. Eleven bombers answered the call. Only one, a newly acquired B-25, did not pass inspection. I did not have time to inspect the new arrival. Since the picture was taken, she is now ready for flight ops. Thank you "Air Sally" for parting with "Show Me".

Bob
Posted by borntoolate | Mar 31, 2017 @ 04:26 AM | 51,719 Views
These 1875mm B-17s are very fun to build, mod and fly. It is one of my favorite planes to fly and I have 5 of them operational. I decided that a plane this size absolutely needed a working bomb bay. So, I dug into my hangar and got the parts together for B-17 #4 - to be named "The Duchess". The plan was to use the knowledge gained for others before me. There is no sense re-inventing the wheel. I will acknowledge that "Slacker" and "Quitcherbitchen" played a big part in my project. Their experiences helped me along the way. I selected a V1 Fortress as I did not want to cut into one of the pretty V2's hiding in my shed.

This was my first experience with the cutting of carbon fiber sheet. Some say it is very difficult and you will wear out blades. My experience is a bit different. I traced the templates for the spars (thank you, Adam!) and had no trouble cutting them out on my table top jig saw. There was a bit of a mess but nothing that could not be cleaned up. If you do cut carbon fiber, please use the correct type of respirator. You do not want to inhale carbon fiber dust.

After assembling the wing, I traced the fuselage opening on the top of the wing so I could cut it out cleanly. I could have just hacked it out but I wanted to preserve the foam bomb bay doors molded on the bottom of the wing. For a more scale look, I shaved these doors to a thin veneer. It was about 1/8" thick. I then glued these veneers to the plywood doors I had...Continue Reading
Posted by borntoolate | Jan 09, 2017 @ 01:31 AM | 50,615 Views
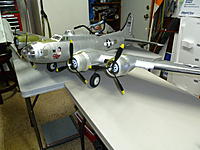
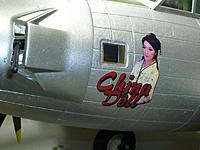
B-17 China Doll has joined the heavy bombardment group. She is complete and awaiting a maiden flight. She joins her squadron mates - Aluminum Overcast and the Meathound.

China Doll was commissioned to honor our friend, Suzanne, at the B-17 factory. She was extremely helpful to many of us in our quest for spare parts. She not only provided the parts that we needed, Suzanne was very customer oriented and truly went out of her way to ensure we received just what we needed. Sadly, Suzanne has moved on from the company however, we developed a great working relationship and I am happy to have her as a special friend. I wish her success in her next adventure.
Posted by borntoolate | Nov 07, 2016 @ 04:45 PM | 55,619 Views
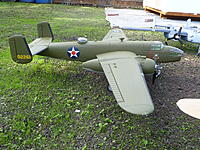
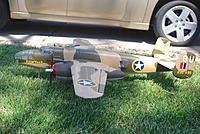
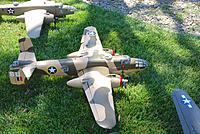
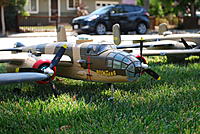
After losing my original Ruptured Duck to a loss of signal 2 years ago, I knew one day I would replace her. While not totally done - she needs port and starboard rear fuselage windows and I need to remove the yellow tips from her props and paint the hubs black - she is now airworthy. She joins her 4 sister ships in the Medium Bomber squadron.

Bob
Posted by borntoolate | Oct 20, 2016 @ 04:40 AM | 51,155 Views
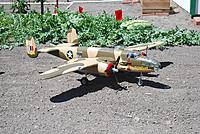
The B-25 is one of my favorite aircraft. I had the opportunity to acquire a slightly damaged B-25 from a friend in the area. Now, I already have a couple of FMS B-25s, but it is hard to turn one down!

So, I bought the damaged lady for a very low price and took her back to my hangar. I let her sit for a week or so before I started to go through her to see what needed to be done to bring her up to flying condition.

She had suffered a broken front fuselage and a damaged nose gear. The other minor damage was a damaged cowling and prop.

After some thought, I decided to remake her as a Navy PBJ Gunship. This is the version with a solid nose featuring 8 .50 caliber machine guns. I had previously vacuum formed a number of these solid noses for my own B-25J Gunship as well as a few to my friends scattered around the globe.

I proceeded to disassemble her and then put her back together. I did not do this to imply anything was done incorrectly by the previous owner, I just do it for my own peace of mind.

I installed new servos for the elevator and rudder and put new extension cables. I taped all connections and tested and centered each servo before moving on to the wings. The wings did not need much work. I just tested and centered each servo, then taped the connections.

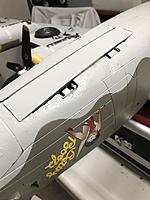
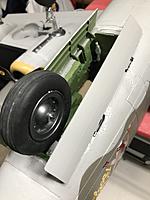
I did remove the landing gear doors and their servos. I prefer to not bother with the doors. Instead, I glued the doors in place and cut slots for the gear to retract into the nacelles. I also removed...Continue Reading
Posted by borntoolate | Feb 17, 2015 @ 09:47 AM | 57,536 Views


This is not a new modification. I am just adding it to my blog as I neglected to do so when I made the modification:

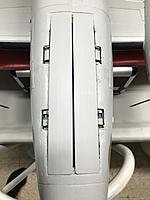
I decided to add bomb bays to my existing fleet of FMS B-25 bombers. It is not too difficult and is a lot of fun to drop bombs on targets when we fly. Here is the mod.

On the bottom of the fuselage of the B-25, there is a panel line approximately 2 inches back from the nose gear door. Using that panel line, I measure back 8.5 inches and draw another line. Do it on each side of the bottom of the fuselage so when you draw a line across, it will be square with the front line. Make sure they are straight. If you make them angled, it may impact how well the doors close.

Then I use a very sharp long razor and slice across the fuselage on the lines. Please make sure that all your wires are nowhere near where you are cutting. It is a pain to repair servo wires.

Next, using the sharp blade, cut along the low panel line that runs the length of the fuselage. You don't have to cut this cut with the long blade. Retract the blade so it just goes through and cut all the way from the front line to the rear line you drew earlier.
Don't be tempted to cut the doors in 2 pieces yet. It makes a really nice fit it you hinge the doors prior to cutting them apart.

Remove your wings off of the aircraft. The reason for this is so you do not accidentally slice any servo wires... ASK ME HOW I KNOW!!!

Now you need to cut inside the fuselage in the wing root.
This...Continue Reading
Posted by borntoolate | Dec 02, 2014 @ 08:04 PM | 54,525 Views
Here is my B-17 99% completed. I just have some cosmetic mods to do in the nose as well as adding the twin .50's.
Posted by borntoolate | Nov 29, 2014 @ 08:41 PM | 54,504 Views


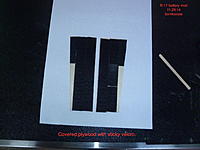
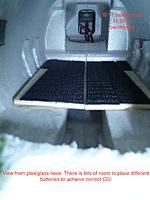
I wanted to improve the battery compartment in order to fully utilize the space for different size batteries.

It was pretty easy to do this mod. I measured and cut 1/8" plywood to fit the floor of the forward fuselage. I removed, with a long sharp razor knife, some blocks of foam.
This enabled the floor to fit flush. I had to cut the new floor in two sections in order to fit them in the fuselage. Before epoxying the floor sections in, I covered them with sticky backed velcro. I then epoxied the two floor sections in and made sure they remained flat while the epoxy cured.
Posted by borntoolate | Nov 24, 2014 @ 01:12 AM | 54,011 Views


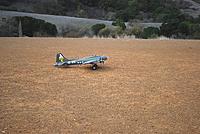
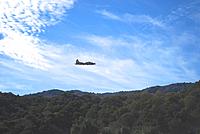
I completed her on Saturday and the weather cleared enough to maiden her on Sunday.
Posted by borntoolate | Nov 11, 2014 @ 09:02 AM | 54,293 Views


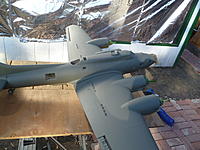
Here are a couple of pictures of the B-17 with it's OD upper and grey under colors.
Radio has been installed. Just need to install the windows,put on a couple of coats of WBPU and the decals. She will be ready to maiden.
Posted by borntoolate | Nov 01, 2014 @ 12:10 PM | 54,167 Views


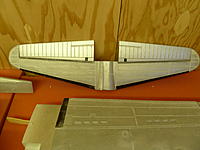
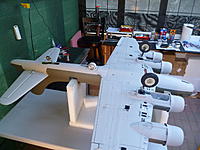
Here are a couple of pics of the wings being dry fitted to get an idea of the size.
This thing is big!.
Posted by borntoolate | Oct 28, 2014 @ 08:41 PM | 54,493 Views


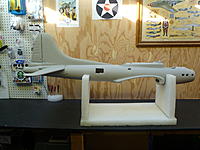
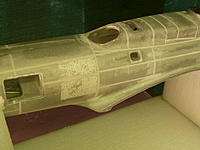
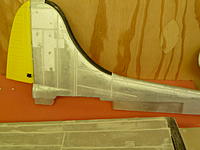
I have filled in the rather severe panel lines as best I could. I am not happy with the result, but I feel I could be working on them for weeks! I airbrushed a coat of grey paint on the fuselage and tail surfaces. The grey will remain as the underside color. The upper will get some OD green paint.

I forgot to add, I also trimmed the curved rudder to make it more straight - like the full scale plane.

Bob
Posted by borntoolate | Oct 13, 2014 @ 05:52 PM | 55,624 Views


I have started to build my first 1875mm B-17. I will not get too fancy on the mods. I will probably fill in all the oversized panel lines first. I have planned to add a retractable tail wheel and maybe a operating bomb bay. I might also make the turrets rotate. I say maybe, because this thing is big and it is taking a larger amount of time than my other builds.

I do plan to do a repaint (thanks mainly to the panel line situation). I am not sure what scheme I will do on this first bomber, but it will most likely be an olive drab upper and grey undersides.

Work was delayed on this plane because I needed a bigger space to do the build. The new space is ready and I have started.

The first thing I did after, un-boxing it and checking for damage , was to peel the decals off. They are rather thick decals and it was very easy to peel them off of all surfaces. I saved the decals just in case I needed to measure them when ordering a new set from Callie. The next step was to remove all of the "glass"parts. This took a bit of prying. I was lucky, I only scratched one of the windows. I left the clear parts in the tail gunner's position alone for the time being.

To date, I have nearly finished filling in the cavernous panel lines. I used lite weight spackel from Home Depot. It is not a difficult thing to do but the sheer size of the plane makes it a long process. I found it best to do this in 2 or 3 steps. I would fill them in and let them dry completely before sanding with #400 grit sandpaper. After sanding I repeated to process to fill it the low spots that were missed on the first round.

I brushed on a coat of WBPU to cover more of the minor low spots and to give the plane an all-over uniform surface to ready it for painting. I want it as smooth as possible before spraying the first coat of paint.