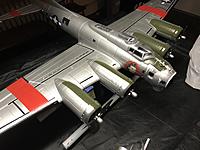
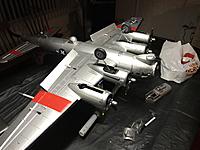
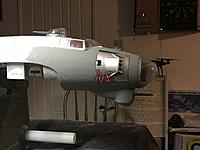
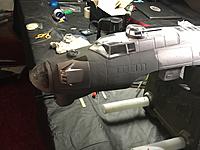
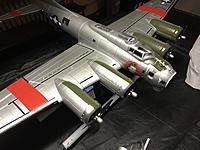
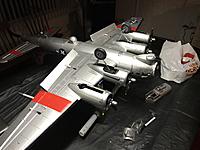
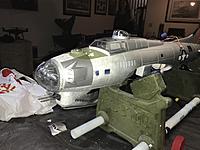
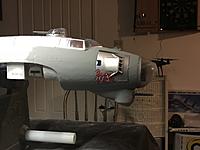
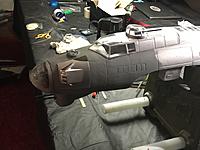
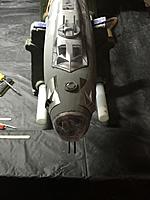
The pics show the progress through the repair. First I boiled a large pot of water and dunked the entire nose of the fuselage multiple times until the foam expanded back to the original shape. The foam looked awful... worst orange peel ever. I covered the entire area that was boiled with balsa filler, waited until dry, and sanded as smooth as I could get it on the lumpy foam. I keep adding more filler to the bad areas and sand again. After a few times of doing that I put a couple coats of latex paint I had laying around. Then I did the process of covering ugly spots or pits with filler, sanding and painting. The first round I used the dark grey, second was the light grey and the last coat is silver. It’s the correct color, but it needs to have a clear dull coat sprayed last to get rid of the shine that the paint I used had. I’m still not done. I’ll probably do one or 2 more rounds of balsa filler before making the paint match. The reason I paint in the middle of the process is that it holds the dry filler together from becoming brittle and it covers small deficiencies and rough spots. I have done this to many planes and it holds up fine. This was my first time boiling it. I will post the finished pics.
Update 20 October 2018
It’s still not finished... but looks much better. I purchased the last replacement nose cone. I need to paint the damaged section at least once more and coat the entire plane in dull coat. I figured I would fly it in this condition for my re-maiden.
...Continue Reading
 Views: 109
  Views: 113
  Views: 121
  Views: 113
  Views: 116
  Views: 118
  Views: 123
  Views: 113
