Comments (0)
Add Comment


-
 Views: 175
Built with added CF reinforcement. -
 Views: 149
Ready to install receiver. -
 Views: 173
1000 mm wingspan. Everything but lipo battery and Flight controller include. A 3300 4S packages well. -
 Views: 175
GPS, Flight Controller and Current Sensor plus all wiring included. Easy peasey. -
 Views: 182
Less reflex reduces climbing whe powering uo -
 Views: 181
Greater than pre production. -
 Views: 167
Thingiverse delivers again -
 Views: 181


 ...
...


-
 Views: 203
-
 Views: 219
Video signal from a run of the mill Blade Torrent on board camera displayed using AV in on my Skysight monitor. Blade Torrent VTX that uses the stock short dipole antenna. -
 Views: 235
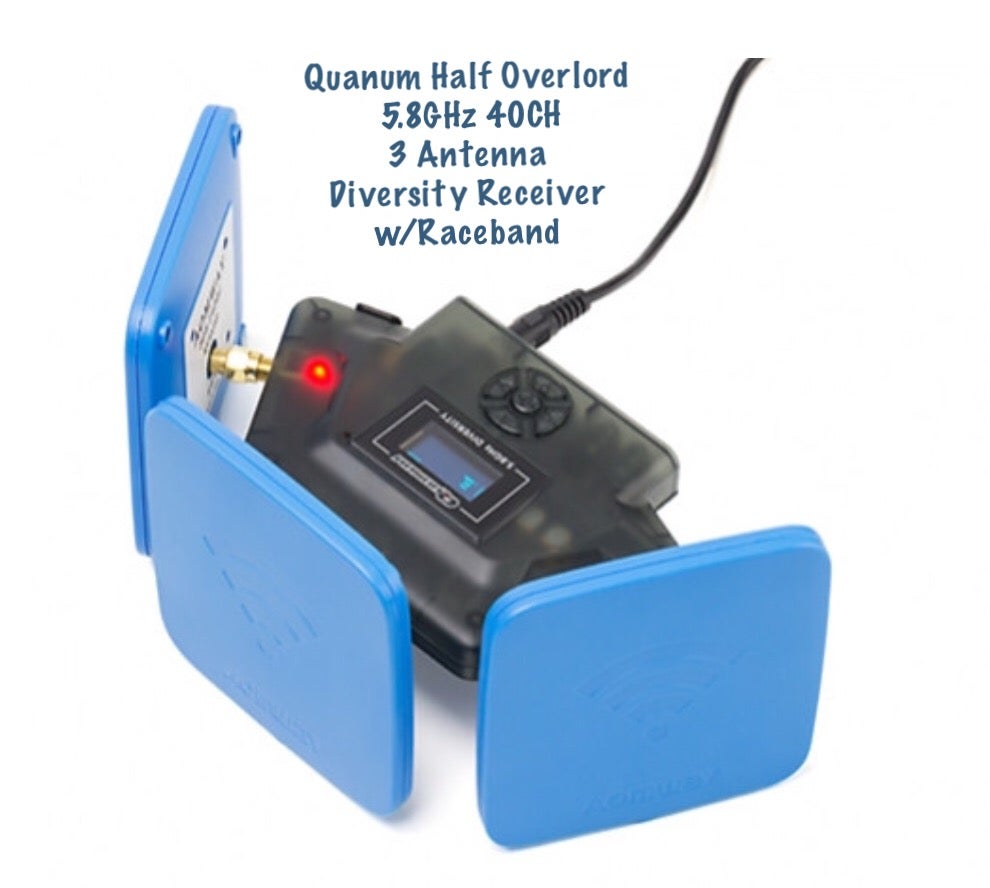
Diversity receiver with spectrum analyzer as a bonus. -
.
Battery voltage upper right.") Views: 196
Views: 196
Signal strength (percentage option selected, default are bars). Battery voltage upper right. -
 Views: 211
Signal RX 1, RX 2 and battery voltage at the far right. -
 Views: 190
Spectrum analyzer function. User selectable. -
 Views: 193
Channel scan is the default item that comes up when the receiver is powered up.


-
") Views: 229
Views: 229
Disassembled nose gear (stock retract) -
 Views: 217
Bent threaded shaft or worm gear. It is pretty soft. It can be straightened. -
 Views: 228
Straightened shaft by holding in a wood vise and tapping gently with a deadblow hammer. -
 Views: 215
STOCK EFLITE RETRACT with Dubro low bounce -- More clearance in wheel well added by Dremel work. Also the faux plastic oleo that covers the 4mm wire has to be sanded with Dremel sanding drum to permit free rotation. -
 Views: 207
2.25 inch diameter or 57 mm -
 Views: 211
Pocket enlarged for larger Dubro low bounce and also an upgrade to Freewing Super Scorpion nose gear retract with a real suspension. -
 Views: 238
-
 Views: 218
Servo reverser so the nose retract goes up and down with the mains.


-
 Views: 245
-
 Views: 276
ProDVR written instructions found on line are flat out wrong regarding how to access the ProDVR setup menu. -
 Views: 257
Wires pass through the 1/8” hole drilled in the case. -
 Views: 253
3m two sided tape affixes the DVR. -
 Views: 257
Paint Mark tells me I updated the firmware to use HD capability. -
 Views: 297
AV cables needed to playback video. -
 Views: 292
-
 Views: 301
-
 Views: 260
-
 Views: 236
-
 Views: 226
-
 Views: 239
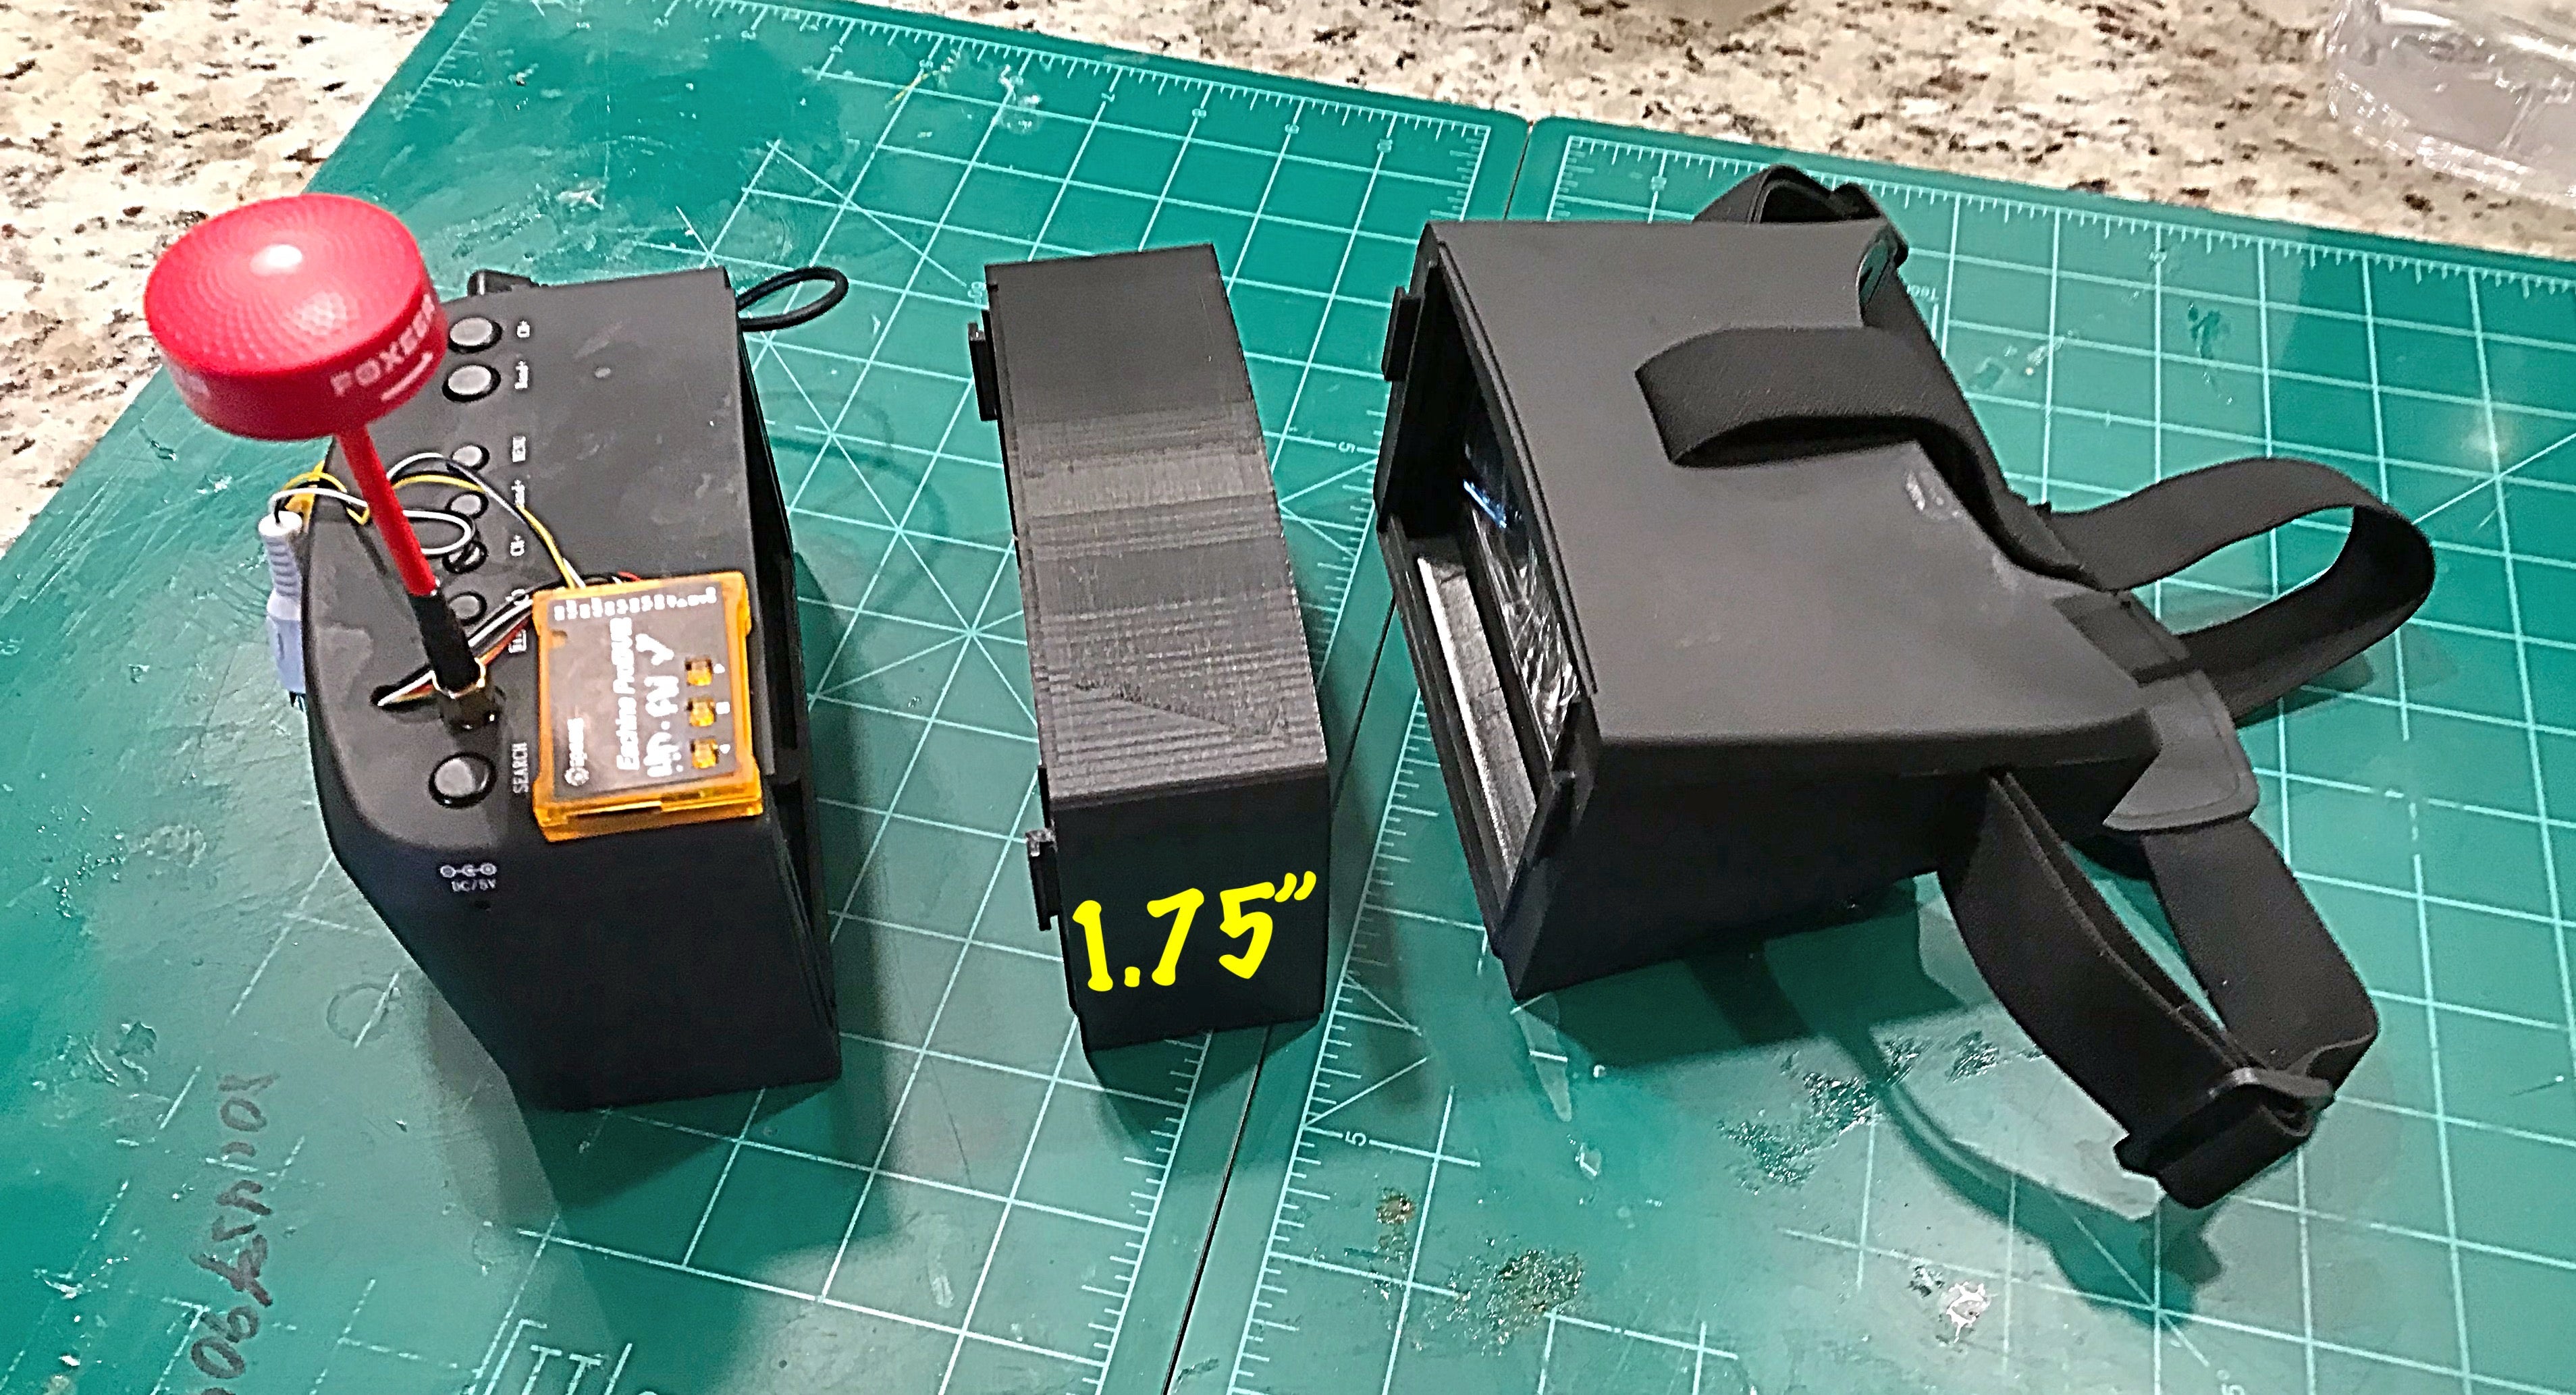
3D printed 1.375 inch spacer. Free download. -
 Views: 244
Spacer thickness 1.375 inches. This was perfect for my eyes. -
 Views: 247
Shrink applied after this photo, plus Velcro and shrink applied later. -
 Views: 267
Wiring diagram. Wire colors vary on balance leads. Pay attention to wire position when soldering to cell. -
 Views: 230


 that flatten the wing.")


