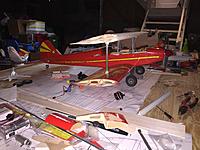
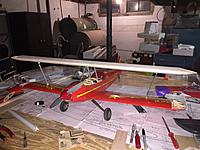
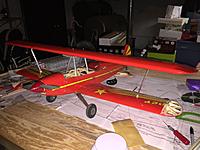
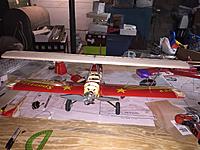
Posted by ChillPhatCat |
Jan 02, 2022 @ 08:47 PM | 58,624 Views
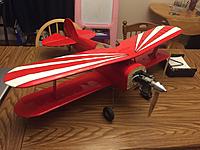
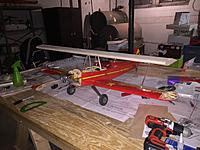
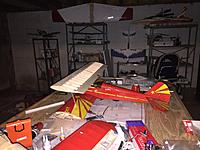
It’s been a while but I am getting psyched for my latest build… and I am still obsessed with biplanes, and my Pitts is still going strong without mishaps… it’s just a fantastic plane.
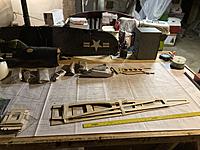
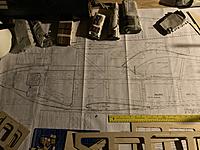
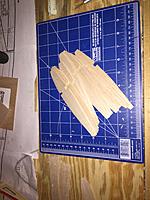
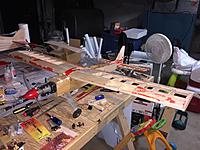
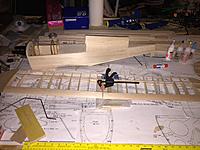
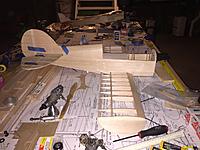
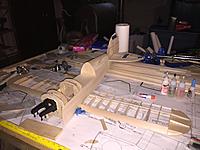
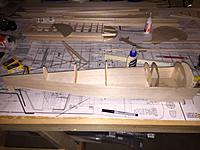
Anywho, I have been trying to move into bigger airframes and have finally taken the leap. I had Balsaworkbench (Rob) cut me a short kit for the Bowman Ultimate which is on outerzone… it’s a 28% 10-300 plan and designed for 30cc class gassers.
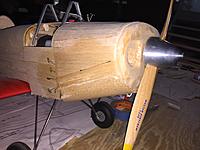
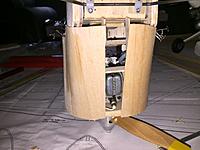
Well, no offense to Darren but it’s a sport scale plan (which is totally fine) and doesn’t fit the dimensions perfectly and, well, I simply can’t leave well enough alone in the first place… the plane has a 64 inch span and is 66 inches long… it’s basically too short, and I also didn’t like the turtle deck which is not parabolic rather just has a circular cross-section at the top with straight sides… and the sides of the fuse themselves are completely flat whereas the full scale plane has more of an inverted trapezoidal cross section.
Anyway what really set my insanity off was that I realized that 64”WS and 66”L was dead on for a 33% 10-200.

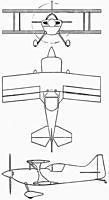
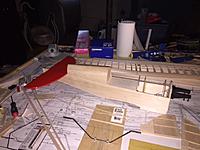
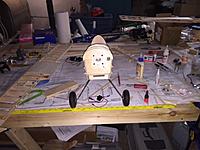
So now I’ve taken notes and studied 3-view drawings to the point my wife probably thinks I’m nuts and I have scrawled all over my plans like I’m building Devils Tower out of mashed potatoes.
This is a rough list of what has to happen… Add cheeks to the central fuselage box to expand the from 8 inches to about 12-13 inches at the top tapering down to about 9 inches at the bottom and following suit
...Continue Reading
Posted by ChillPhatCat |
Sep 14, 2018 @ 09:14 PM | 10,373 Views
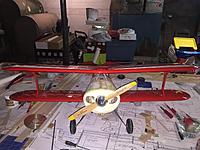
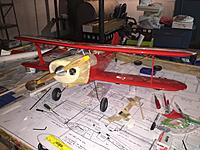
Taking it out to the field tomorrow to get the engine running and hopefully a test flight. Needs a cowl and a belly pan but it’s otherwise complete. I targeted 72 oz as my empty weight when I started and it is currently sitting at 75 oz... so about 79 with fuel and a takeoff wing loading of approximately 24.7 oz/ sq ft using 80% efficiency. It should behave like a Pitts. The paint I got for the forward deck is not a match... duplicolor “Bright Red” is nothing like “Missile Red”. Good enough to test it. The plane balanced right as the plans suggested without a drop of ballast... and the the CG hits the fuel tank smack in the center.
Update: Engine was not happy turning a 12x6 propeller, was topping out below 8k RPM with nothing extra in the top half of the throttle range... Seems that the engine was detonating and robbing power without the optional head shim, which I do not possess. So I put a 10x7 on, the only other prop I had in suggested sizes and it pulled 11,700 RPM on the Tach. I thought that might be a bit much so I richened it up to bring back down to the low 11's. I lined up on the runway, it tracked nearly straight down the runway and took off. It seems to have a warp in the wing which I had feared. It likes to roll left just a bit and I didn't have enough ailron trim in the air... I will be working that out in the next couple days. Aside from that it felt really good up there and i nailed two perfect 3 pointers on my two short test flights... that 4-stroke sound... I don't know that I'll ever buy another 2 stroke glow engine. haha
Posted by ChillPhatCat |
Sep 13, 2018 @ 07:47 AM | 10,671 Views
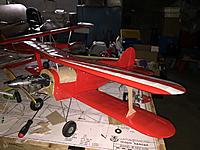
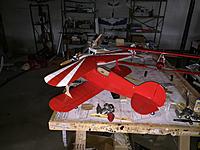
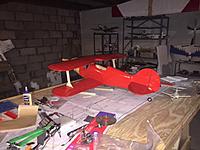
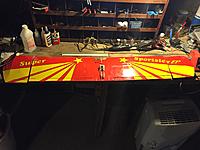
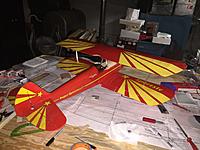
Only three things left before it is truly ready... only one of those keeps it on the ground. It needs some paint on the cowl and the forward deck, needs a belly pan, and the throttle servo is only half mounted. I finished the stripes on the top wing last night, and earlier in the week I bent the exhaust pipe (carefully) so that the muffler exits the cowl in the stock location.
Posted by ChillPhatCat |
Jun 11, 2018 @ 09:44 AM | 10,491 Views
It's been a while but I have recently made a little progress on this project. I have taken several breaks from the project over the last 2 years but it is so close to complete, I think I will be done by July?

I finished the cowling over the fuel tank which is somewhat scale and fitted a super sportster 40 canopy with some massaging... makes a pretty decent Pitts canopy. I used a whole pile of 2mm button head screws to secure the fuel tank cowl and canopy but I think the look is very nice. I re-made the landing gear to be slightly wider than scale and used my wirebender this time rather than the torch, to keep the spring in the wire. I put the switch inside the canopy thinking I was going to originally make it an open canopy, but now it needs to move elsewhere. All I really need to do is seal up the firewall area a little more to be fuel proof, finish the cowl, make a belly pan, mount the throttle servo and finish the port interplane strut... then it needs a little paint on the cowling and some more stripes and some diamonds.
This has become my practice plane for scale details, hopefully I can build something closer to scale for my next project.
Posted by ChillPhatCat |
Oct 19, 2017 @ 11:47 AM | 11,828 Views
No wrinkles!
Cowl needs finishing, Interplane struts need finishing, the starboard aileron is not finished yet, and the forward bottom of fuse and under the wing is still needed to be constructed and the throttle cable is soldered but still need to install the servo... and I have a set of wheel pants I plan to use. I ended up putting a 100 oz servo on the elevator since it was the 5th HV servo I have on hand... miiight be overkill.

Posted by ChillPhatCat |
Oct 07, 2017 @ 07:59 PM | 11,870 Views
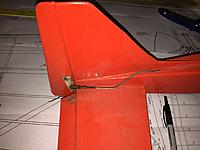
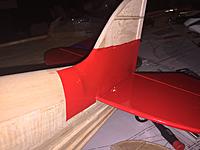
Took me a while to figure out how I wanted to execute this, but the fairing between the vertical and horizontal stab of this plane, if any of you have researched the full scale or built this piece in scale fashion, it isn't the most simple curve. The fabric on the full scale stretches from the first rib on the vertical stabilizer down to the horizontal stabilizer and there is nothing underneath to give it shape and you have to deal with the curve of the turtle deck and the flat of the TE of the vertical stabilizer. Anyway, I decided to do it in two pieces, and here is my story in pics.

Posted by ChillPhatCat |
Aug 28, 2017 @ 10:53 PM | 14,287 Views
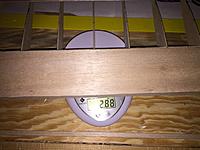
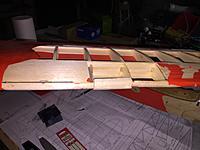
Upper wing tips on. Needs lower center sheeting, lower rear sheeting, cap strips and a few more sheer webs. It is very strong and very light... Current AUW exactly as pictured is 42.5 oz. I'm leaving the interplane struts as is but will dress them up on the top and bottom, it doesn't need any torsional strength from an N-strut.
Update: Finished upper wing. Just needs ailerons and lower wing tips recovered and then it will be flyable. Targeting Monday for test flight.
Posted by ChillPhatCat |
Aug 27, 2017 @ 10:52 PM | 14,917 Views
Added hardpoints to the center of the wing, aligned and centered the wing. Also made a makeshift interplane strut. I am not sure what to do here, an N brace doesn't look quite right. I may make a more modern strut or maybe just leave it like that and match with the other side. The plane is sitting at 40.5 oz with battery, prop and ESC tossed in. I don't think there is more than 4-5 oz left to add... looking pretty good to keep under 3 lbs. It's also balancing well with a shift of the battery about 1/2 inch forward.
Also trimmed and re-mounted the canopy.
Posted by ChillPhatCat |
Aug 19, 2017 @ 01:09 PM | 13,035 Views
Went down in the basement yesterday after having cut out some ribs the other day... built about 90% of a wing.
Also have performed some calculations. Horizontal tail volume ratio is 0.393 and neutral point is approximately 3.8 inches from the leading edge of the top wing. Going to try and balance at 3.5 inches.
Posted by ChillPhatCat |
Aug 05, 2017 @ 03:46 PM | 12,433 Views
Got bored. Maybe it needs another wing...
Posted by ChillPhatCat |
Jul 08, 2017 @ 06:01 PM | 29,806 Views
Took off the tape, trimmed up the sheeting, glued it to the subframe and sprayed it all down to set the shape. Should be ready for the last couple pieces in a couple days and then I can remove it from the plane. Oil cooler will have to go on after final sanding and before any exterior fiberglass.
Posted by ChillPhatCat |
Jul 07, 2017 @ 10:57 AM | 16,282 Views
Glued on the bottom sheeting for the cowling, sprayed it and wrapped it up with a mile of frog tape. Next I need to cut out for the valve cover and glue it onto the cowl frame, give it a final spray of water to set the shape and then I can pull it off of the plane and do the final sanding and filling.
Posted by ChillPhatCat |
Jun 26, 2017 @ 12:30 PM | 14,098 Views
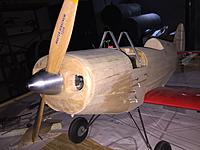
Been plodding along on this still... we've surpassed the year mark on this project but the light at the end of the tunnel has become a point of light in the horizon... it really is starting to look like a Pitts now that I have made some headway on the cowl. I never realized how important the cowl was for a Pitts Special until the last couple days. The plans show a cowl that just extends straight off from the fuselage and completely conforming to the fuselage... but we all know there should be some cheeks on that cowl.
I am not sure at this point if I'll just sand and fill this and paint it or sand and fill and fiberglass, or maybe even turn this into a mold. I think it will end up as some sort of hybrid balsa/fiberglass though. I think a more permanent two piece kind of thing might be good. The valve cover and remote glow plug clip is going to be covered with an "oil cooler"... looks like the proportions won't be totally out of whack either. Overall pretty pleased with how it is progressing.
Also... side note: For a while I was worried I'd have to re-do the joints on the gear, because the right tire was forward of the left... you can see the problem exaggerated in a couple of the shots below. Well after looking at it carefully and drilling some new gear mounting holes, I simply rotated the right side forward and re-mounted that side about half a centimeter forward. It's now imperceptible with a slight toe in on both rather than toe in on one and toe out on the other.
Posted by ChillPhatCat |
Mar 12, 2017 @ 09:41 AM | 16,113 Views
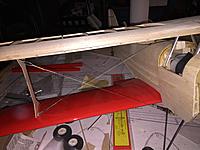
I used two 2-56 pull pull cable kits to make these wires... I wanted to use steel wires because these are intended to be fully functional. The way the spars are in my resized plane, not using spruce (balsa instead) and not properly grafted as on the plans but with dihedral braces, I am concerned that they won't be able to handle any aerobatic loading. Now I've got positive and negative bracing. I roughly followed the placing of these wires in the scale location, but only one wire per instead of pairs of wires. The interplane struts just need a little shimming now and the bottom of the top wing needs to be sheeted. The plane now weighs 61 oz without battery or throttle servo. I'm hoping I can keep it under 70 oz all up when it is all done. It nearly balances on the recommended CG as it sits.
Posted by ChillPhatCat |
Mar 05, 2017 @ 12:53 PM | 16,044 Views
I built this Cosmo 25 SR back in the winter of '95 into spring of '96 as part of a club event with the Ithaca Radio control Society which I was a member of for about 10 years. We used an old set of plans to kit this plane and met several times in the basement workshop of one of our members and held some kit building classes. And we planned an event for the open house called the Cosmo triflyathon, something we made up for the build... there was a bomb drop event with a cup holding a bag of flower we strapped on the top of the wing, a speed run and another event that escapes me, I think it was the limbo. We also set parameters for a maximum engine size of .50 CI, and you had to start with a pile of stock parts... we ended up with 10-12 complete cosmos. Some low wing conversions with the fuselage flipped upside down, some built stock with the tricycle gear and .20 class engines and a couple guys going for all out speed, one being myself.
I pretty much built the stock plane and reinforced the empennage with 1/32 ply... and of course I bought the cheapest BB .46 I could find, an ASP .46 (on 15% and swinging a 10x7 prop) and I put aluminum gear on with 2 1/4 Hayes racing wheels. My other competition was a low wing Cosmo with a thin airfoil, basically the bottom of the rib profile cut out on the top to fit the wing cradle without mods and a sharp leading edge and a diesel converted BB .25 on a 9x9 prop.
Suffice it to say when we did our speed passes I pulled off 87 MPH and
...Continue Reading
Posted by ChillPhatCat |
Feb 21, 2017 @ 11:00 PM | 16,210 Views
I stalled for a couple months here hemming and hawing about the cabane struts, I'm just not that good at making accurate bends with wire so I decided to do something simpler. I got some streamlined aluminum tube and used that instead, bent in a simple A shape with 4 bolts for each into hard points inside the fuse. This is a sport scale model so I sacrificed a little of the scale appearance by not following there full scale lines. Oh well. Still trying to decide if I need a cross brace between the two struts.
I deviated in the mounting configuration too, I put hard points into the wing to be able to bolt right into the cabanes. Just need a couple more hard points for the flying wires and to finish sheeting the top wing and tree wingtips then it's down to the finish work.
Oh and the interplane struts are kind of a mess, they need some serious re-shaping, but it's a minor issue. Did I mention how much of a pain the top wing of a biplane is to line up? Oof.
Posted by ChillPhatCat |
Sep 30, 2016 @ 01:29 PM | 17,543 Views
I made a push to complete the plane before last weekend but failed. I had wanted to bring this to a local biplane event, but it just wasn't in the cards... well I brought it, but as you can see... not quite airworthy yet.
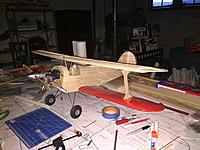
In my frenzy I made a decision to turn this into a semi-scale Pitts S1C. The only problem in fact is that the lower wing is one bay bigger than it should be to accurately follow the lines, but I figure more wing should probably fly better. I also decided to do a quick and dirty aileron servo install for more accessibility.
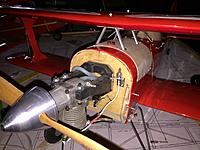
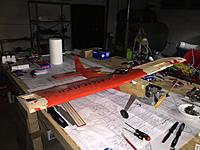
I have subsequently finished the lower wing and most of the sheeting is complete on the fuselage. The engine is mounted along with the remote glow plug (a real must with these 4 strokes that have a forward angled plug). I finished the landing gear and most of the cabane struts are sorted out. Still need to finish the second aileron and hinge everything and cover it all. I think I'm 95% done.
Anyway here's some pics!
...Continue Reading
Posted by ChillPhatCat |
Sep 01, 2016 @ 09:26 AM | 17,955 Views
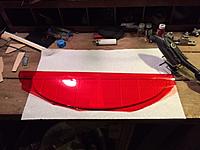
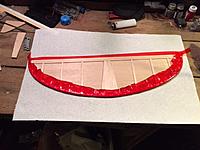
I completely finished the horizontal stabilizer so I spent some time sanding it and making it nice and smooth and decided to get some inspiration by covering it since it was the first entirely complete piece.
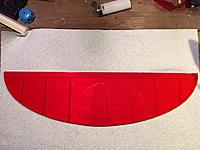
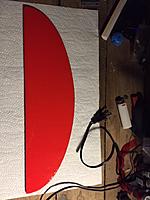
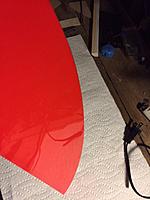
I decided that I'm doing transparent red on the bottom of the plane and solid red on the top and will go with the typical Pitts color scheme: red base with white checks and strips with this being the only modification... I kind of want to remember this build as it's the first in a line of planned Pitts Specials and what better way than to have a permanent peek under the covering? I know solid structures aren't that sexy with transparent covering but I love the depth and iridescence.
Posted by ChillPhatCat |
Aug 22, 2016 @ 07:07 AM | 17,501 Views
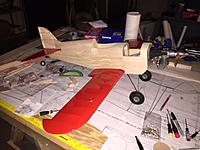
I had a small issue with the wing joint, the root rib on the starboard wing was angled outward at the leading edge giving the wing a minor sweep. Last night I finally ripped off the band-aid and broke a glue joint to reposition he root rib. Once it was corrected I couldn't resist joining the wings... Also reduces the number of edges that can take a hit of hangar rash.
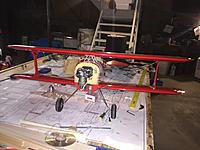
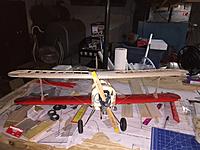
And of course we all know what happens once you've got most of the final pieces together... Yep, a mock up! Granted, there's no top wing yet but it could fly right? Haha
Posted by ChillPhatCat |
Aug 14, 2016 @ 05:23 PM | 16,722 Views
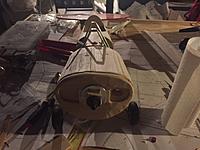
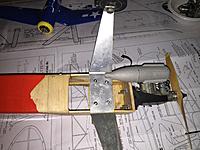
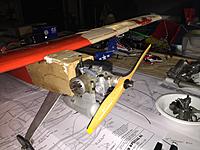
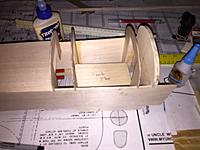
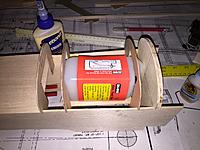
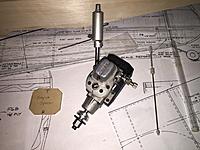
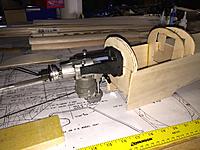
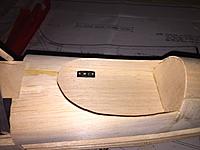
I have been picking away at this project here and there since the last entry and it is starting to really take shape. I added the turtle deck formers and sheeting, test fit the fuel tank, formed the main gear pieces (pic below before I cut the pieces apart) and the forward cabane struts, and mounted the engine.
While test fitting the fuel tank I realized that I had bought an 8 ounce and I had actually intended to buy a 6 ounce. The 8 is a tight fit there so it is just as well. I will be purchasing a 6 ounce with my next purchases. I am waiting on some Sullivan flex gold n rod pushrods to arrive in the mail so I can fit them and then join the bottom wings and fit the mounting hardware.
I am not sure about the right thrust it looks more like 2-3 degrees now that I have the engine on there. I may have to dial it back a tick so I'll have to fly this before I make the cowl which I am planning to do in balsa/fiberglass.
Lots of pics below.
...Continue Reading
 Views: 217
  Views: 225
  Views: 211
  Views: 214
  Views: 210
  Views: 223
  Views: 390
 Views: 344
Views: 331
 Views: 338
  Views: 341
  Views: 333
  Views: 338
  Views: 334
  So now I’ve taken notes and studied 3-view drawings to the point my wife probably thinks I’m nuts and I have scrawled all over my plans like I’m building Devils Tower out of mashed potatoes.