mwhidden's blog View Details
Posted by mwhidden | Jun 06, 2019 @ 09:10 AM | 9,902 Views
Not my video, but a detailed discussion of how to do a Juicy Flick, with some very well-executed example footage.

Check it out:

“The FPV Juicy Flick (and Friends) Tutorial” (14 min 12 sec)

Posted by mwhidden | Jan 04, 2019 @ 12:09 AM | 6,229 Views
Got my Waffles today.

RMRC Ye Olde WAFFLES 2018! (8 min 10 sec)

Posted by mwhidden | Sep 25, 2018 @ 09:40 PM | 5,983 Views
I didn't do well in any absolute sense during this race, but it was a personal record for me, better than I expected, and a lot of fun. It doesn't get too much better than that!

BMRC September 2018 Points Race -- Race 2, Heat 3 (2 min 13 sec)

Posted by mwhidden | Sep 17, 2018 @ 11:54 AM | 6,419 Views
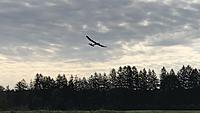
Been a while, but I did maiden the Wanderer, and she flies beautifully (or so I'm told, having newer flown a glider before). I was even able to thermal a bit. All in all, I enjoy flying it more than I would have thought.
Posted by mwhidden | Aug 04, 2018 @ 09:49 PM | 5,956 Views
I had the opportunity to fly in a couple of spots in the lakes and mountains region of Maine. Beautiful scenery and fun spots to fly FPV -- mostly my QAV CodeRed 3".

Flying around the yard in Maine (2 min 27 sec)

QAV CodeRed in Maine (1 min 36 sec)
...Continue Reading
Posted by mwhidden | Aug 03, 2018 @ 10:26 AM | 6,548 Views
I hope none of you are superstitious, because I'm closing out this build on Part 13. Maybe there will be a part 14 with images from the maiden flight.

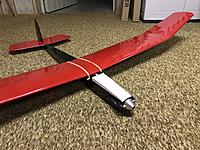
Since last time, the empennage has been carefully aligned and glued in place. I after double checking that the horizontal stab was a) level with the wings and b) perpendicular to the center line, I glued it down with epoxy after peeling away the Monokote where it contacted the fuselage. After the epoxy set, I positioned the vertical stab and glued that in place as well. Next, I glued the rudder in using epoxy on the nylon hinges, being careful not to let any epoxy into the moving areas of the hinge. Finally, I connected the clevises and made final adjustments to make sure all the surfaces were flat when the servos are centered.

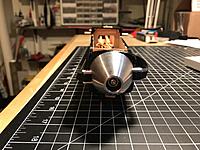
Earlier this week the motor, spinner, props, and receiver arrived. I'm using an eMax GT 2210 1270kv, a BB-45 folding prop spinner with 9x5 prop, a DualSky X18A V2 ESC, and a FrSky S6R receiver with gyro stabilizer. I mounted the motor inside the fuselage, with the shaft protruding out the front. I was nervous about anything accidentally coming loose inside and getting mixed up with the outrunner motor, so I put a small bit of foamboard leftover from a FliteTest build in there to separate the motor area from everything else.

All loaded up, it was still tail-heavy, so I hot-glued some steel washers opposite the battery which should help with the small lateral-imbalance I created by putting the battery...Continue Reading
Posted by mwhidden | Jul 26, 2018 @ 12:33 PM | 5,930 Views
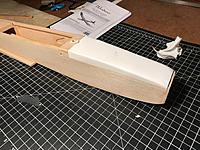
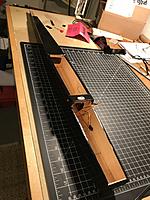
Put the final bit of sheeting on the fuselage, covering the top.

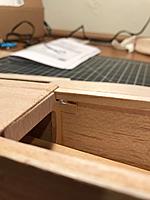
While I was test-fitting the wing and aligning the stab to the wing, I noticed that the rear holes for the wing dowels were very weak and tearing out, as they were only made through the thin balsa sheeting. So I glued a small scrap of plywood over the holes to reinforce them.

I was able to mooch a scrap of white covering from a friendly club member, and used that to cover the canopy in white. My daughter is not a fan of that color scheme (black, red, white) so that may or may not be subject to change.

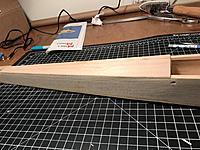
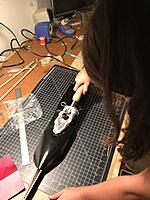
Finally, the fuse has now been covered in black Monokote, with some assistance from my daughter. I think we did a pretty good job for first-timers. By the way, don't forget to remove the film backing from the Monokote before trying to tack it to your model.

Next installment: gluing the empennage in place and finalizing the hookup of the push rods to the control horns.

On to Part 13
Posted by mwhidden | Jul 24, 2018 @ 09:18 PM | 6,348 Views
At this point I'm starting to feel like this thing is going to fly. It's no longer an abstract pile of sticks, but it's a plane.

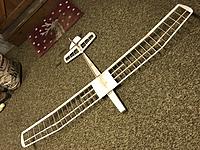
I've finished covering the wing. I did the bottom surfaces of the inner wing first. After affixing them I press the wing flat to the table and hit the Monokot with a heat gun to tension it flat. I shouldn't have tacked the Monokote to the ribs before I did that, but it seems to have been OK. Next I did the tops of the inner wings, and repeated the heat gun shrink while the panels were flat to the table.

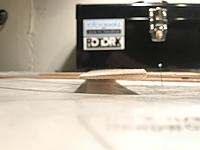
When I started the outer wing panels, I had learned that I should not tack the Monokote to the ribs, but only to the edges, before shrinking the film. Following the advice of the Dynaflite version of this model, I place a 1/4" shim under the outboard trailing edge of the tip panels, and pressed down on the inboard leading edge while shrinking the film to introduce a "washout" at the tips, to prevent tip stalls. I then tacked the film to the ribs. I repeated this process for both the top and bottom of each panel.

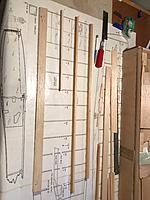
I also built the push rods. A hobby store employee recommended some plastic push rods that ride in plastic sleeves, but folks on the Balsa Builders forum here on RC Groups pointed out that for sailplanes, that much plastic will expand and contract with temperature and make the plane hard to keep trimmed. So I went with the hardwood push rods as specified in the plans.

On to Part 12
Posted by mwhidden | Jul 22, 2018 @ 08:11 PM | 6,091 Views
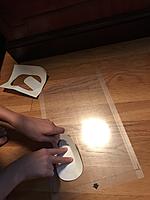
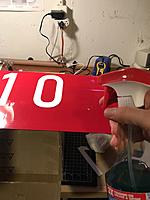
Monokote! First time ever trying to put a film covering on anything. I built a little square out of scrap balsa to experiment on, and it seemed not so tricky. I picked up a used iron from the classifieds here on RCGroups, so I suppose having the right tool helped a lot. By the way, a covering iron will warp your self-healing mat if you lay it down there.

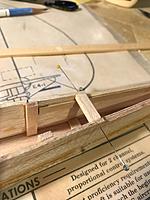
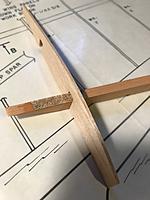
On the suggestion of my father, I added some small gussets to the stabilizer. Not sure if I did it right, but I'm sure it will add some resistance to shearing forces.

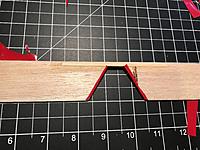
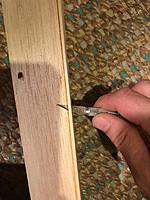
Finished up the hinge slots for the rudder and made sure they fit well before covering the vertical stab. I also added the strips of Monokote that form the hinge for the elevator. The empennage is turning out nicely so far.

A lot of pictures in this installment. Check the captions.

On to Part 11...Continue Reading
Posted by mwhidden | Jul 20, 2018 @ 01:49 PM | 6,346 Views
After shaping the canopy in the lats episode, I installed the dowel in the nose of the canopy and drilled the hole in the firewall to accept the dowel. This holds the front of the canopy down. Horizontal balsa rods wedge the canopy into the fuselage to prevent left/right movement, and a rotating tab locks the rear of the canopy down. It all works well without Monokote, but I'm a little nervous if it will all fit so nicely when all the parts are larger by the thickness of the Monokote.

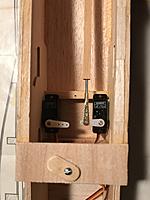
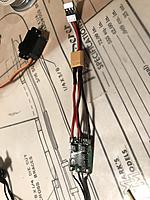
I started fitting the servos so I can get the pushrods assembled and measured, and I put new wires and connectors on an ESC from another plane, which I'm hoping to reuse.

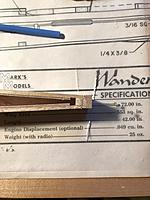
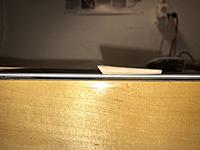
I put the bevel on the elevator. The elevator is hinged on the stabilizer with a strip of Monokote on the top, so the trailing edge of the stab stays straight, and the elevator is beveled on the bottom, giving a smooth top surface to the empennage.

On to part 10
Posted by mwhidden | Jul 19, 2018 @ 08:32 AM | 6,727 Views
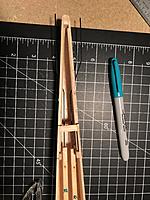
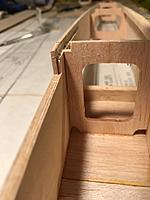
Turns out that the Mark's Models instruction booklet skips over a few steps. Although shown in the plans, the instructions don't mention the installation of the 3/16" square wing supports along the top of the fuselage. These run through the cutouts in the center two bulkheads, so I had to notch the bulkhead that I had installed upside down. It also omitted the horizontal braze at the tail,so I put that in as well.

I sheeted the bottom of the fuselage, but forgot to glue the sheeting to the bulkheads, so I came back with thin CA to fix that. With a knife, I pared away the excess sheeting, working from nose to tail so if the balsa split, the crack would run away from the fuselage, not toward it, and the grain drew the knife away from the sides, not towards. Then I sanded it flush.

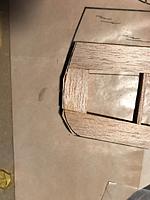
Since I'm planning to put an electric motor in this sailplane, I cut a plywood firewall to the shape given in the plans. I used some leftover plywood from an unrelated laser-cut kit of Tiny Whoop gates.

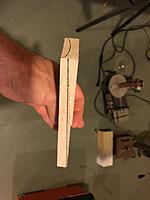
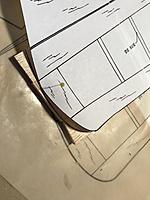
Shaping the canopy was tricky. I transferred the profile of the nose end to the end of the balsa block. Then I sketched the slope of the canopy along the sides, and marked the tail end profile on the back of the block. Then I spent a long time with a coarse sanding block hand-sanding it to the rough profile, and touching up with finer sand paper.

On to Part 9
Posted by mwhidden | Jul 17, 2018 @ 09:14 PM | 6,213 Views
There's been a lot of progress since my last post. I'm going to write it up in a few "installments".

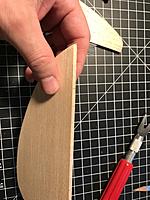
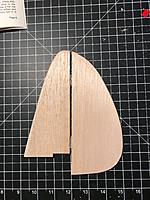
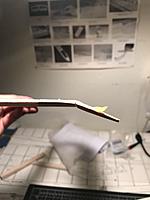
In this installment, I shaped the elevator. It needed a taper from the leading edge to the trailing, and a rounding-off of the ends. I was nervous about being able to make the taper flat and even along the length of the elevator, but I was patient and sanded it with long even strokes, and I'm pleased with the outcome.

In Part 6, I had broken a former, which I easily glued back together, and promptly glued upside down in the fuselage. I wasn't sure at the time what the impact would be, so I didn't do anything about it. After the formers were in, I installed the tow hook block. Shortly after I realized I forgot to glue in the very front most former (to which the firewall is glued) which holds the sides of the fuselage in a taper toward the nose. I braced the 2nd former so it wouldn't buckle while I clamped the nose together to glue the former in place.

Next came the 3/16" sheeting for the bottom of the fuse up by the nose. The instructions suggested dampening one side of the 3/16" sheet to help in bend, which I did. It seemed to do what it was supposed to -- the balsa bent on its own due to the uneven moisture. It took a lot of pins to clamp that in place while it dried.

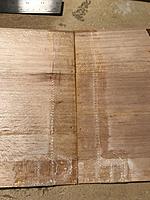
Surprise... it curved because it swelled on the wet side. After it dried, it shrunk back down and left gaps in the sheeting -- maybe 1/32". Not sure if that's a problem or not, but I filled them in with slurry of Titebond and balsa sawdust.

On to Part 8
Posted by mwhidden | Jul 06, 2018 @ 09:52 AM | 6,273 Views
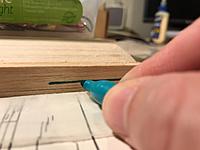
Decided just to hand-sand the taper in the elevator. Took it slow, starting with 60 grit, and checked frequently to make sure the angle was good and flat. Touched up with 150 grit and I'm happy with the result. Rounding the sides of the elevator and I think it is ready for hinge slots. A Du-Bro hinge slotter should be delivered today.

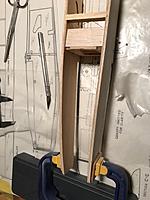
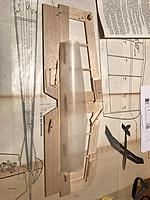
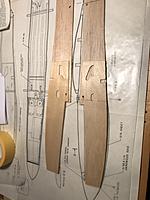
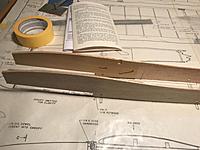
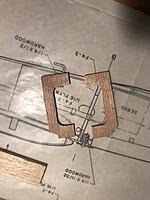
Started on the fuselage. Got the doubler plates and elevator support doubler glued on to the side. When I started to install the first former between the sides, I had the (not) brilliant idea that I would clamp it for a good glue-up. I could not judge the clamping pressure, and the former failed with a dramatic snap. Fortunately, it was a clean break, so I've glued it back together. I'll give it the day to dry before re-attempting. I'll stick with pins and masking tape to hold the parts in place this time.

On to Part 7
Posted by mwhidden | Jul 05, 2018 @ 11:12 AM | 6,763 Views
I applied the epoxy-embedded fiberglass reinforcement to the center wing joint and the wing tip joints, and also small patches on the trailing edges to prevent the rubber bands from damaging the edge. I think it turned out functionally, but not pretty, and I'm sure it won't look so hot through the Monokote.

After the photos below, I did apply a 2nd "skim coat" of epoxy to the middle to smooth out the checkerboard texture of the fiberglass that was still showing through.

Horizontal stabilizer and elevator construction is underway. I'm a bit stumped about the best way to taper the elevator surface. It should run from full thickness at the leading edge to about 1/32" at the trailing edge. I'm not sure if I'll hand-sand it to the right taper, or if I'll build some sort of jig to keep a sanding block at the right angle. I read that some put a 1/32" wire against the trailing edge to stop the sanding block from taking too much off that end.

Any ideas are welcome.

On to Part 6...Continue Reading
Posted by mwhidden | Jun 26, 2018 @ 07:59 AM | 7,188 Views
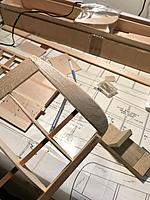
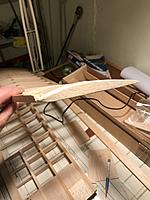
I finished shaping the leading edges of both wings. I marked the apex of the leading edge curve with a sharpie and sanded to it. Shaping the bevel on the lower surface of the wing tip block took some thinking, but in the end I just made a couple of guide marks and sanded them free-hand. They turned out very well.

I test fit the wings together, and touch up the surfaces a bit and committed to gluing them together. I wish I'd given more thought to how to clamp them together, as I don't own anything that would have been appropriate except a strap-type clamp, but I didn't consider using it until it was too late. I ended up just pinning the heck out of it, and then jury-rigging a something with a bit of clapboard as a wedge to hold things together tightly while the wood glue set up.

On to Part 5
Posted by mwhidden | Jun 25, 2018 @ 12:32 PM | 7,141 Views
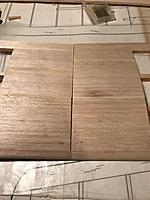
Balsa sheeting the left wing is completed. I used pins to hold the sheets tight to the wing frame while the glue set.

Right wing assembly is also complete know. I built a sanding tool from a scrap piece of spar with some sandpaper glued to it (on the recommendation of a member of my local RC club) . It works well for making adjustments to the depth of the spar cutouts on ribs. I also found it helped if I need to detail sand a high spot down to level. The un-papered part of the spar could rest on the reference surface, registering level, and the sandpaper would bite the high points only until things were leveled out.

I've also glued on the wing tip blocks and began the process of shaping them to match the airfoil shape.

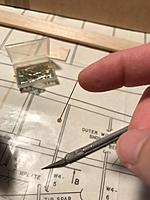
Finally, I discovered a new way to extract pins from their container.

On to Part 4
Posted by mwhidden | Jun 20, 2018 @ 03:09 PM | 7,151 Views
This is the 2nd post in my build log for the Mark's Models Wanderer balsa glider kit.

With some help from my daughter, we have built the outer panel of the left wing. Most of these ribs needed their tails trimmed a bit to fit, and one was about 1/32" short at the leading edge. I used a bit of epoxy there to bridge the gap, but I feel like there should be a better way.

Raising the tip to 3 3/8" above the table, it was glued into place and looks pretty good. I applied the 1/16" balsa sheet to the three inner ribs (my first ever balsa sheeting... it turned out pretty good I think). Next, the bottom sheeting needs to be applied to the three root ribs, and the wing tip and wing root need to be sanded flat. Then it will be time to work on the right wing.

I'm bringing this wing to my local RC club meeting for their review and comments/advice.

On to Part 3
Posted by mwhidden | Jun 19, 2018 @ 09:08 AM | 7,108 Views
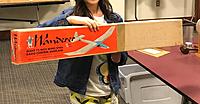
My daughter and I won the raffle at our local club meeting, and the prize was a 1976 Mark's Models Wanderer balsa glider kit. I've built a number of multirotors of all sizes and one FliteTest foamboard plane, but never anything of balsa, so this is a bit of a learning experience.

So far I've got the pre-cut ribs separated from their sheets and organized, and all the ribs for the inner part of the left wing glued between the leading and trailing edges.

Some of the ribs needed their spar notches deepened slightly to lay flush with the bottom of the wing. The inner 3 ribs threw me off until I realized that there is 1/16" balsa sheeting applied top and bottom, so these ribs are 1/16" shy of flush both top and bottom.

At this point I'm beginning to build the outer wing panel, which will be angled up (polyhedral) from the inner wing panel. I'm a bit nervous about getting all the angles right and how to get all the butt joints to meet tightly.

On to Part 2
Posted by mwhidden | Feb 05, 2018 @ 11:27 PM | 7,728 Views
Owl and Gate - Two Views (1 min 0 sec)