Troy's blog View Details
Posted by Troy | Nov 24, 2016 @ 11:47 AM | 16,431 Views
I've launched my official YouTube page with my projects from the last couple years. I'm working on many more cool projects so Subscribe and Tune in!
https://www.youtube.com/channel/UCbQ...GTtH5M_LhckE0A
Posted by Troy | Nov 02, 2015 @ 05:31 PM | 18,306 Views
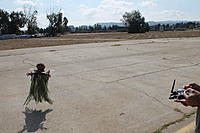
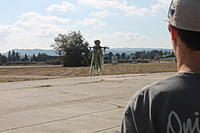
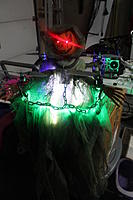
I've done this for a few years in a row and it's very simple. You can find lightweight, foam ghosts and ghouls with a draping shroud in many stores around Halloween (Walmart for example). I stiffen the fabric with a polyurethane to help prevent the loose fabric from blowing into the props. It works!

If you do something like this; fly safe, don't fly over spectators, and know your limits!
SCARY!! Flying Ghost Quad-copter - How To Build (6 min 8 sec)

Haunting 2 (0 min 36 sec)
...Continue Reading
Posted by Troy | Dec 17, 2013 @ 01:57 PM | 20,012 Views
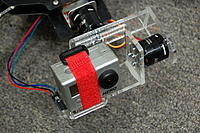
Filmed some test footage with the new scratch-built brushless gimbal.
Cyclone 600 Quad Frame - Beautiful Onboard Footage (2 min 8 sec)

Posted by Troy | Nov 13, 2013 @ 10:43 PM | 19,837 Views
A quick flight from my favorite flying spot; Sunset Ridge.
Enjoy!
Sunset Ridge - FPV Cyclone 600 (2 min 3 sec)

Posted by Troy | Nov 03, 2013 @ 06:47 PM | 19,987 Views
Finally got some pics of my Ghost-copter with the flying pumpkin at our flying field in the Irvine Great Park. Enjoy!
Posted by Troy | Nov 01, 2013 @ 02:42 PM | 19,966 Views
We had some fun with my Halloween quad at work this week. Many fine examples of Oscar worthy performances mixed with a little slap-stick.
Enjoy!
A Nightmare on Franklin Avenue - BJB Enterprises (1 min 6 sec)

Posted by Troy | Oct 11, 2013 @ 02:36 PM | 22,010 Views
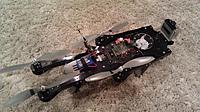
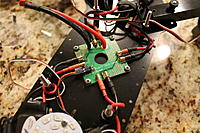
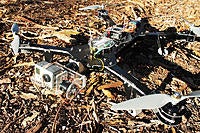
I finished up my Cyclone 600 spider frame this week and have flown it a few times already.


What can I say about this frame? It's super easy to build and the parts are all high quality. Along with all of that, Mike at www.multirotorsystems.com has given me great technical assistance over the build with a few questions I had. He is a wealth of knowledge and you can tell he has a passion for the stuff he designs and builds. I can really appreciate this kind of stuff because it's what I do all day for my customers at work and it's the way to build loyalty with your products.

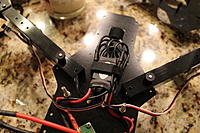
I'm also impressed with the quality of his accessories. I purchased his Cyclone 2217/950kv motors and 30 Amp esc's. I haven't had a chance to check balance on the motors but out of the box they run really smooth. The coolest feature about these motors is that they have very long leads to route all the way through the arms. This makes life soooo easy! I'm currently running 3S on 10 X 4.8 APC SF but also plan to test 4S on 9" APCs.

I was also a little surprised to see the newer design of the motor mounts at the end of the arms. I had to call Mike to see if this was going to be standard hardware for the kit. The short answer is yes! These will help lower the prop disk to be closer to the arms. It lowers the torque on the aluminum arms, dampens some vibration, and the motors are protected by the G10.

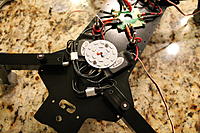
I also picked up one of his round LED modules and plugged it into the Hobby...Continue Reading
Posted by Troy | Sep 14, 2013 @ 12:41 PM | 21,066 Views
Tried out the new Gopro Composer.

Set up:
RC Timer 450 quad
kk2
1000kv motors
10 X 4.7 APC
4S 2650 Dinogy lipos
Gopro Hero 2 on custom vibration mount

GoPro Quad Mix (1 min 55 sec)

Posted by Troy | Jan 25, 2013 @ 06:50 PM | 21,965 Views
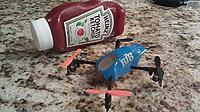
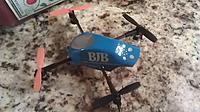
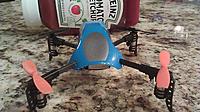
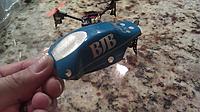
WL V939 Canopy replaced with a Heinz Ketchup bottle. I thought the shape looked cool; kinda like RC car meets alien ship. Gonna take this to a company trade show so I am sporting some company badging. Interesting thing about the ketchup bottle is that there are actually 3 layers of plastic lightly laminated together. So when you cut it, you'll see the layers delaminate. So instead of cutting one canopy, you get 3. I think one layer is a bit thinner than ideal but there is usable plastic in there similar to stock shell. You'll also have to rub or wash away a thin film used on the laminated layers. Not sure what it is but it comes off pretty easy.

The paint is regular Tamiya rc car body paint applied to the inside using some vinyl cut stencils for the graphics.

Enjoy!
Posted by Troy | Aug 04, 2012 @ 12:04 PM | 22,389 Views
I've been flying a sweet little Extra 300 from DW Foamies. Weight RTF is about 125g and uses a 2S 320mAh pack.

What a blast to fly. It's really an indoor foamy but I fly it almost every evening out in the front yard just as the sun goes down and the wind stops. It gets knocked around pretty good with the slightest breeze.

I have some fun taking off from the tanneau cover of my truck a la Kirby Chambliss style launching from the aircraft carrier.
Carrier take off:
Extra 300 DW Foamies (1 min 39 sec)

Street Huckin'
Extra 300 DW Foamies street huckin' (2 min 13 sec)
...Continue Reading
Posted by Troy | Oct 12, 2011 @ 12:18 AM | 25,003 Views
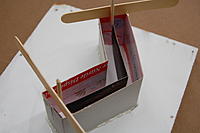
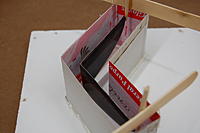
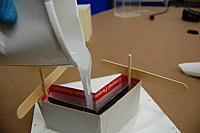
Welcome to my project in turning a small pylon racer airframe into a clear, cast piece of artwork! This tutorial and demonstration may present new materials and concepts to those use to using rigid composites (fiberglass and epoxy) to make our typical flying parts.

The materials themselves are not too far different than the typical epoxies and other two-part material systems we are use to. They have certain ratios to measure and mix just like you would a laminating epoxy. But there are some new concepts and methods in processing that may take some getting familiar with. I will go over the equipment used for my demo and how you might approach this type of a project in case you don't have access to it.

Since I am already building an airframe of the Micro Stinger (designed and produced by my good buddy Bret "Pdawg" Becker) I decided it was small enough to try this concept of molding and casting a solid, static model for display. I received permission from Bret to take a mold of this design on the premis that it would be for personal use and not for profit. I am already in the business of selling these materials and am not looking to produce cast parts for sale but rather show other people how it can be done for their own projects. Enough of the semantics, let's get on to the good stuff...!

The mold material I am going to use for this is a standard in the industry for casting two-part polyurethanes; Silicone. This is not the silicone found at local hardware...Continue Reading
Posted by Troy | May 25, 2011 @ 10:36 PM | 32,029 Views
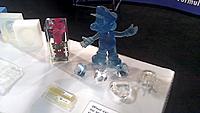
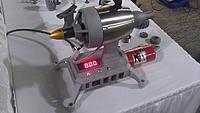
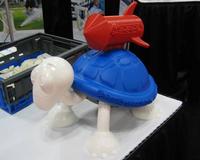
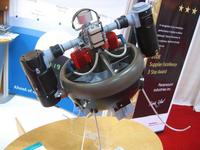
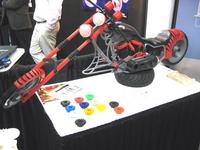
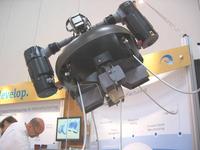
I'm finishing up the week over here in Minneapolis, MN at the SME Rapid Prototyping Show featuring "additive manufacturing" (a fancy way to say 3D printers). http://www.sme.org/cgi-bin/get-event...007-home--SME-

Tons of cool parts and technology. This is the cutting edge of product development from a wide variety of industries including medical implant breakthroughs and the latest engineering marvels. I'll grab some more photos of eye candy and post. Feel free to post comments or questions.

**be sure to see the added pics below in the comments thread**...Continue Reading
Posted by Troy | Nov 23, 2009 @ 01:23 AM | 27,914 Views
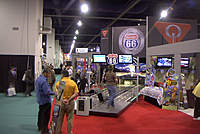
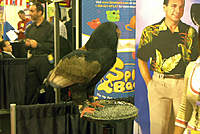
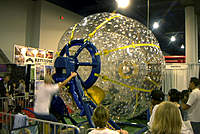
Just returned from a work trip. A lot of prep work and then a busy schedule during the week. The show is a lot of eye candy and neat attractions but make no mistake, there is a lot of serious business going on here. Though, it is funny to see men in suits and women in dress-skirts playing carnival games and munching on sample cotton candy....Continue Reading
Posted by Troy | Nov 10, 2009 @ 01:28 AM | 30,098 Views
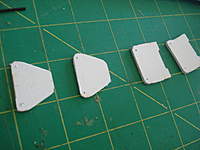
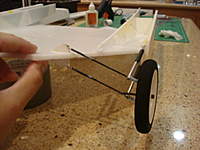
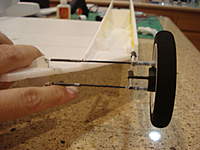
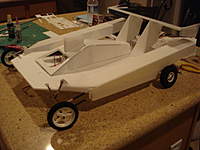
I have been rolling this idea around in my mind for a while but haven't had the chance to put foam and glue to the concept until recently. I am a big fan of flying things and have made many flying cars. I was getting ready for a trip out to the desert for some camping at Glammis and our good friends have an amazing sand rail (aka dune buggy). Having gone flying through the air 5-6 feet off the ground and being called back to earth by gravity, I have always been impressed with their suspension design and how much it saves my back. My other cars had suspension but it was more for preservation of the depron airframe and not so much for off roading... although they do pretty good on dirt and grass.

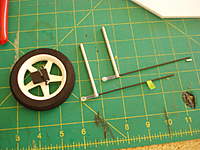
I studied the front suspension of my buddy's sand rail and was also inspired by Leadfeather's Mario Cart and a mod C/F did to one of my GTP cars a while back for light and easy rear suspension. I used the existing planform and parts from my GTP kits and scratch built the 4-link suspension using some 3/16" aluminum tubing, .060 carbon rod, piano wire, Dubro ball links, and some ABS plastic. The actual shock is aluminum tubing with a carbon tube inside with assorted pen springs for rebound. They work fantastic and the geometry is amazing to see in action. The rear suspension is a sudo trailing arm configuration using rubber bands for spring and tension.

The airframe itself is chopped and simplified, while the motor mount was raised to gain a little more ground clearance. I...Continue Reading
Posted by Troy | Aug 23, 2009 @ 11:39 PM | 29,412 Views
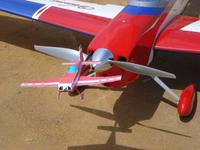
Here are some pics from our recent EMAC (an electric IMAC) contest. The SEFSD club runs the contest as a "run what ya' brung" scheme so that you can fly either a scale aerobatic ship (per true IMAC rules) or an appropriate pattern plane. This makes it so that almost anyone can fly something they have in the hangar or simply fly what they want.

The flying conditions for the day were a bit more challenging than usual due to a strong south cross-wind blowing 90* to the runway. This made staying on course difficult as well as some very tricky landings. The crosswind was anywhere from 10-15mph so with some of the lighter wing loading airplanes this really pushed airframes around. It is a good way to learn how to use the rudder through maneuvers and how to anticipate which way to go during the maneuver: example; hammerheads into the wind vs with the wind.

Enjoy the photos:...Continue Reading
Posted by Troy | Mar 05, 2009 @ 11:50 PM | 28,952 Views
Venus 40 (4 min 10 sec)

Posted by Troy | Feb 13, 2009 @ 12:51 AM | 29,832 Views
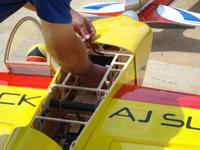
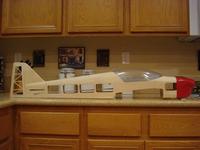
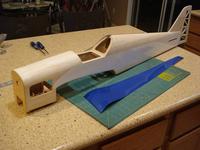
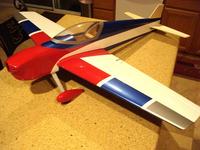
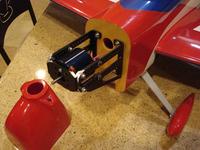
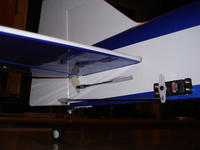
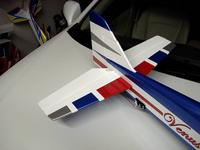
I am putting the finishing touches on an airframe I bought 4 years ago, tore all the covering off, and then procrastinated finishing it. I designed a color scheme on the computer for the fuse and hand drew one for the wing. This is a glo to electric conversion so I had to figure out a few custom details for batteries and motor. I had also Swiss-cheezed the fuse to lighten things up a bit. I am about 90% done but am waiting to mount the cowl until I get the thrust line dialed in and get a new spinner.

Power is:
Neu 1910-2Y
6S-3300 Lipo
13X10 or 14X8 prop

Maiden flight was last weekend. More pics and video soon. She flies on rails.
...Continue Reading
Posted by Troy | Dec 08, 2008 @ 12:22 AM | 30,003 Views