-
 Views: 669
Step 1. Glue carbon fiber rods to foam parts, except the wing hold down tubes. -
 Views: 594
Do not install the wing hold down carbon fiber tube dowels yet. -
 Views: 562
Step 2. Assemble two. -
 Views: 587
Finished vertical fuselage/pylon doubler. -
 Views: 613
Assemble doublers to vertical fuselage/pylon panel. -
 Views: 576
Lightening hole and pylon edges should be a match fit. There will be extra on top of the wing saddle area by design. -
 Views: 834
Step 3. Finish dihedral joint and glue together. Dihedral joint is finished with clear packing tape all around once graphics/trim is completed. -
 Views: 649
Step 4. Stack up of parts with wire landing gear. This makes the wire gear permanent. Glue this assembly with thin CA.
Comments (8)
Add Comment
-
 Views: 579
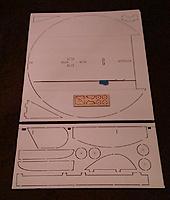
Overview of complete kit. Kits will also include pushrod keepers as well when they arrive, but I am not advertising them as part of the kit at this point. -
 Views: 494
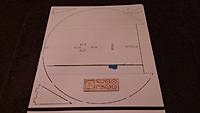
Main wing sheet with pushrods with pre bent Z bend and laser cut plywood parts sheet. -
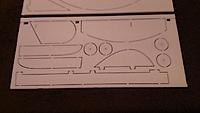 Views: 494
Sheet 2 -
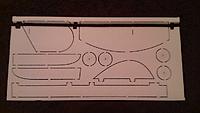 Views: 519
Square holes control the angle for a hobby knife to be run along a straight edge to bevel the control surfaces in one easy move. -
 Views: 483
Note the pocket milling on the wheel hubs. That's right, this kit includes its own wheels. Plywood hubs fit into the pockets for secure attachment. -
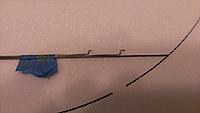 Views: 487
Two .032" music wire pushrods with Z bend and one 12" piece of .047" music wire for the landing gear are supplied. -
 Views: 526
Close up of 1/16" plywood parts reveals a firewall mount that will accommodate 10g, 16g, and Suppo style 1504, and 1510 motors. -
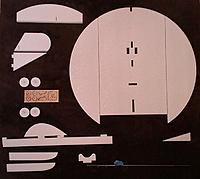 Views: 531
All parts released from the carrier sheet.
-
 Views: 627
This is the original prototype. It was designed to be an easy build with all horizontal laminations except the fin. -
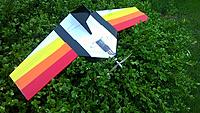 Views: 571
The finished model required shortening the nose to get the CG closer. Otherwise the battery was too far aft. -
 Views: 579
Size perspective with my hand on the wingtip. -
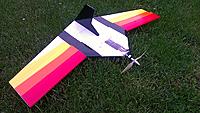 Views: 565
Just another shot. Notice the downthrust? There is 5 degrees. Pulls very level on 2s, and climbs slightly on 3s. -
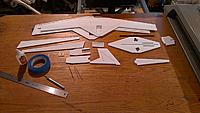 Views: 602
This is the start of the Preproduction model. -
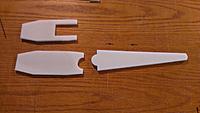 Views: 542
The fuselage lower panel and lower panel doubler here. In the plans the lower panel is shown as one piece. I made it into two for packaging reasons. -
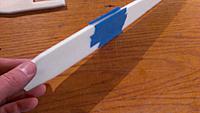 Views: 517
I am using Gorilla Glue White Formula for this build, so you are going to see alot of painters tape. Anyway put the fuselage lower panel parts together. -
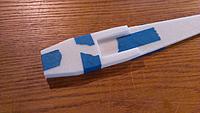 Views: 537
Then add the lower panel doubler.
-
 Views: 968
Change made to the horizontal stabilizer/elevator assembly. I kept the same area, but revised the profile to compliment the wing profile. The rectangular shape is the original. -
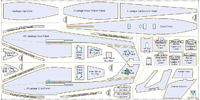 Views: 1588
This is the part name key for sheet 1 of 2. -
 Views: 1257
This is the part name key for sheet 2 of 2. -
 Views: 913
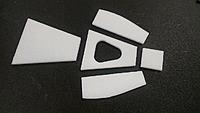
Wing Brace Panels - from left to right are, Front, Middle, and Rear, Uppers and Lowers. Note: Middle lower is laminated with the wing saddle side flush. This is at the step of the float, therefore the bottom is offset for the forward and aft hull. -
 Views: 773
Here are the motor mount box parts, top, bottom, sides, and back. -
 Views: 845
Start with adding the motor mount back to the rear of the motor mount box bottom. -
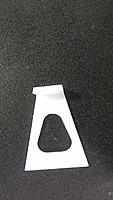 Views: 747
Edges of the back get beveled to match the bottom. -
 Views: 757
Be sure the back is 90 degrees to the bottom.
-
 Views: 1308
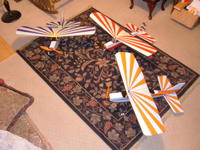
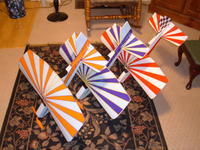
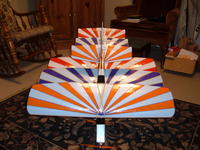
The red and white one with the checker tail was the first one. Ended up with Suppo 2204-14 motors on all three. Juice is supplied by 1000Mah 2s lipo. -
 Views: 1140
-
 Views: 1051
-
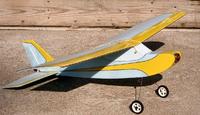 Views: 1165
This is 33" BB #5. A coworker asked me to build one for him and his son. RTF $165. #6 is coming right behind this one and will have the same trim scheme with red instead of yellow. It is selling for $40 just for the airframe and equipment installatio -
 Views: 985
#6 Born 23-May-2008 -
 Views: 900
#7 Born 15-June-2008. -
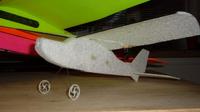 Views: 922
16" BB with Areo Ace equipment. -
 Views: 910
BB24 - This thing is the most acrobatic BB I've built to date.
-
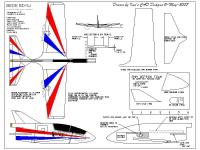 Views: 4276
This jpeg file is the output of the "save as" function from Turbo CAD (the system that I use) and is really only useful to let you know what the plans look like. The bitmap output is full size, but at 11MB and dial up connection it did not make -
 Views: 2366
Profile prototype after sucessful flight. I forgot to mention in the plans to tape the RX antenna to fuselage side. I guess you'll figure it out! -
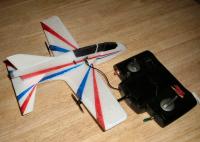 Views: 2129
Transmitter modded for multi-channel, 4 diode power off turning, augmented power in turn, and AC charging of flight battery. -
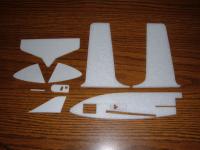 Views: 1863
This is the kit for #2, ready for graphics -
 Views: 1787
Receiver cavity detail -
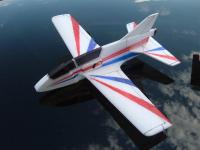 Views: 2212
#2 all finished. Sorry about no pic's between here and the kit. -
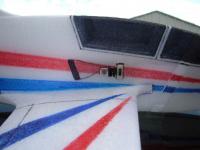 Views: 1897
Added rotary switch mod to RX on #2. -
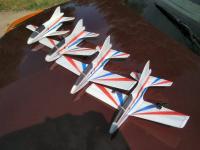 Views: 1936
Here is the fleet from left to right - original, #2 profile, #3 profile, #4 profile, and #5 profile.
-
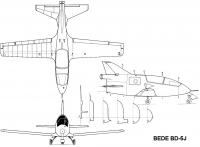 Views: 1680
This is the file that I printed with Posteriza at 12.5" wingspan -
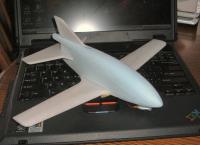 Views: 1271
After test flight. A few pine needle pricks is all. -
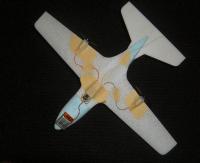 Views: 1369
AA Gear taped to airframe for test flight. -
 Views: 1218
Finished AA gear installation and belly fairing. Motor wires are inset to flush with the flying surface. Some of that white tape that AA uses to hide the wires would be nice. -
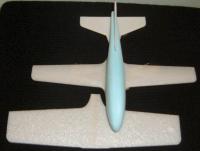 Views: 1097
2" scale root chord wing against 3" root chord wing similar to AA Sport wing. No undercamber, with Clark Y airfoil. 3/8" added to TE of horiz. stab. -
 Views: 1008
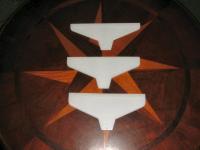
Three different Horizontal Stabilizers; Top - Scale to drawing. Not enough area at low speed. Middle - 3/16" TE extension. To be tested. Bottom - 3/8" TE extension. This flys well. -
 Views: 1066
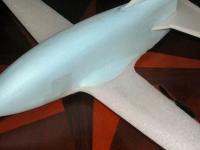
Wing fairings where time consuming but nice. -
 Views: 1039
Better view of fairing curve.


 ...
...

