-
 Views: 385
Aero Tiger by Parma.... who knew they made airplanes!!? -
 Views: 318
An artists rendering... -
 Views: 292
The "destructions"... -
 Views: 459
Cutting bottom sheeting. -
 Views: 320
Applying glue to bottom sheeting. We try to apply glue to both surfaces being joined. -
 Views: 317
Gluing ribs. -
 Views: 305
Ribs pre-pinned and ready for glue. -
 Views: 298
Concentration.
Comments (25)
Add Comment
-
 Views: 362
Fresh out of the box bench(dining room table) fly!!! -
 Views: 290
It looks like a plane! -
 Views: 266
Mmmmmm.... carbon goodness. -
 Views: 301
Pre-bagged Kevlar hinged tail surfaces. -
 Views: 349
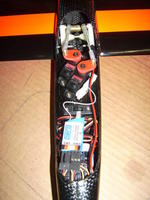
All set up- HS85MGS. 4.8v AA square pack in nose. Receiver will be a Hitec Electron 6. -
 Views: 329
Blingy-blingy!! -
 Views: 333
A pleasing design. -
 Views: 320
-
 Views: 742
A new family member. -
 Views: 761
Brushless motor mount. These had to be fabricated because the stock mounts would not work with the brushless motors. -
 Views: 851
Motor mounts are made with plywood, hardwood, fiberglass, and carbon fiber. -
 Views: 947
Nacelles had to be relieved slightly to allow the motors to fit. The motor mounts will be simply Gooped in place. -
 Views: 1043
Turnigy Plush 25A ESCs. -
 Views: 760
Turnigy 5A UBEC next to Tenergy 2200 Lipo. -
 Views: 798
Electronics. -
 Views: 949
ESC fairing.
-
 Views: 455
Assembling the center joiner spar box. 1/4" steel joiner rod will be used. -
 Views: 377
30 minute epoxy and clamps. -
 Views: 360
Center spar box. -
 Views: 356
Waiting for the cure. -
 Views: 357
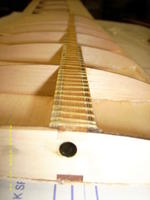
Root rib. Spars are 1/8" x 3/8" hardwood. Shear webs are solid 3/8" vertical grain balsa. -
 Views: 412
This shows the bottom of the wing at the poly break. I added 1/4" carbon fiber to the bottom of each spar on the center sections. -
 Views: 379
Both center sections will be wrapped in kevlar tow out to the poly break -
 Views: 437
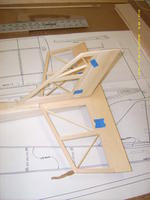
Left wing showing Schuman planform.
 ...
... . The level of prefabrication on the full kit is excellent and has to be seen to be believed. The wings were complete, needing only touch-up sanding and finishing. I chose to use iron-on covering to finish the wings instead of painting them. Monokote trim sheet was used to add color to the tail surfaces which were supplied bagged in white. The covering used on the wings was fluorescent orange Ultracote followed by black Monokote. To save as much weight as possible, I cut all the pieces of wing covering separately. The fluorescent orange was applied first and was cut oversized by 1/4". This allowed the black Monokote to overlap slightly and ensure a good seal/bond. Hitec HS85MG servos were used per the included building DVD which is very well done and fully explains the building process. A 4.8v square pack is fitted in the nose and despite the pictures, I will be using a Hitec Electron 6 receiver for guidance with my Evo 9. Assembly of a full kit is very quick and easy thanks to the amount of work done for you by Adam in his shop.


