Comments (1)
Add Comment
-
 Views: 291
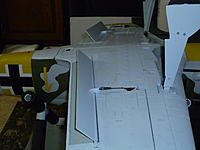
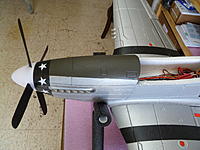
Before photo. -
 Views: 295
Before, prior to cutting. -
 Views: 312
Upper forward fuselage sliced off cleanly along panel lines. -
 Views: 297
View of battery compartment prior to shaving sides. -
 Views: 316
1/8" shaved from both sides of battery compartment. At the same time ,I replaced the 30amp ESC with the 60 amp. -
 Views: 325
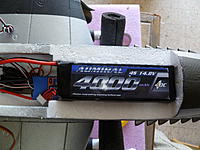
Fit check for 4S 4000 mah battery. -
 Views: 293
All taped up to let the glue cure. -
 Views: 304
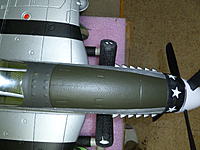
Anti-glare panel repainted.
-
 Views: 195
Tail surfaces repainted in neutral grey. The latex paint covers and adheres well. -
 Views: 179
Fuselage/tail repainted in neutral grey. -
 Views: 187
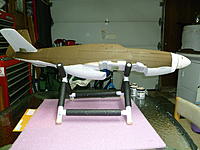
Upper and lower initial coats on now. -
 Views: 195
Second (different) upper color added. Decals added, but I messed up on the "kill" markings. I got too cocky. -
 Views: 201
I will have to re-do the "kill" markings. I messed these up.
-
 Views: 171
-
 Views: 186
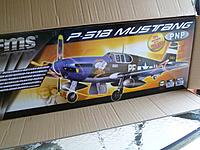
A Dallas Darling box, but a label on the end said "All SiIlver". -
 Views: 184
Prior to unpacking. -
 Views: 192
-
 Views: 186
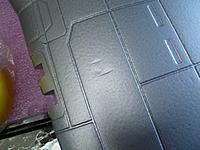
Here is the ding in the wing. Nothing that can't be fixed. -
 Views: 199
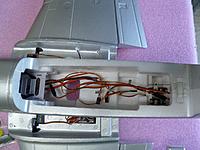
View of the battery compartment. -
 Views: 193
This is the loose servo. Again, nothing than can't be corrected. -
 Views: 188
It has a good paint job overall.
-
 Views: 177
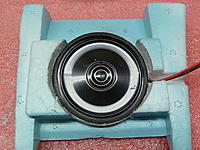
Here are the radiators that I have opened up to contain the speakers. I simply drew a circle using the speaker as a guide, then used aDremel to remove the foam. -
 Views: 184
After a fit check, I used the glue that came with the plane to secure the speakers to the radiator. -
 Views: 183
Here is a view with the speakers in place. -
 Views: 183
A closer view of the same. -
 Views: 176
Side view of the speaker in the radiator. -
 Views: 178
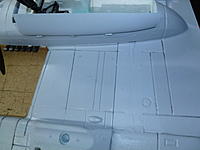
Here is a view of the wire channel from the nacelle to the fuselage. I covered it with tape then painted it to match the underside of the wing. You can see the slot, while crude, is not too noticable in the nacelle. -
 Views: 170
To secure the wire away from the landing gear, I simply taped it to the rear of the gear bay.
-
 Views: 305
Here is what I was facing prior to the mod. It was simply a rats nest. -
 Views: 325
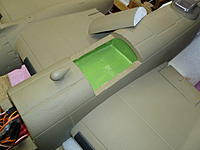
I cut a 4", approximately 105mm, long hatch in the top of the fuselage. Although not necessary, I painted the interior of the new receiver bay. -
 Views: 338
Here is a view of the completed mod. The AR8000 with satellite receiver have plenty of room in their new home. The new BEC is, at the moment, sitting in the battery area awaiting installation. -
 Views: 315
Another view of the now almost spacious battery bay. -
 Views: 321
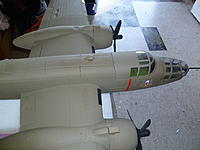
Here is a picture of the plane with the hatch in place. I used rare earth magnets for closure.
-
 Views: 166
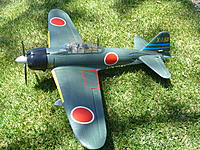
ready for maiden flight. -
 Views: 222
Here are the parts I made or modified for the wing mod. -
 Views: 225
Tubes were made from the Catalina stand that came with the plane. I used JB weld to fasten the threaded inserts into the tubes. Then I ground off the flanges. -
 Views: 211
I made the base support out of plywood. I traced the stand onto the plywood to give it the correct angle. -
 Views: 244
Here is the rear tube base support prior to epoxy. -
 Views: 202
Here is the picture with the rear support tube in the base prior to epoxying. -
 Views: 228
This is prior to putting the epoxy around the tubes. -
 Views: 223
I filled the gap with epoxy to make a strong support. I am sure I went overboard with this mod.
-
 Views: 221
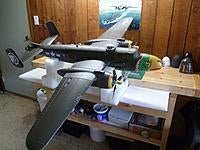
The decals were the toughest part of the mod for me. -
 Views: 211
I used the strafer nose that I vacuum formed. I still need some detail work to be completed -
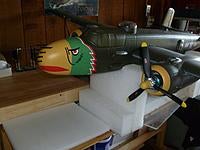 Views: 182
The machine guns are simply pushed into a foam insert in the nose. I will glue them later. The vacuum formed noses worked out very well. -
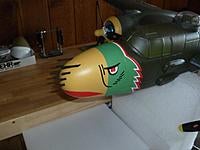 Views: 181
I still have the cockpit masked off. I will be spraying a few coats of water-based polyurethane over the entire aircraft. -
 Views: 183
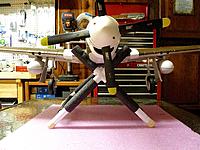
Front view of the new livery.


