Justapoke's blog View Details
Posted by Justapoke | Jun 13, 2020 @ 12:47 PM | 758,512 Views
This is the follow-up thread linked from the Official Fimi X8-SE ***Owner's Thread*** that can be found HERE

Here's the DIRECT LINK to this thread. Make sure to subscribe in the Thread Tools in upper right!


As requested by the user-base: For ordering / shipping questions please use the old v1 thread for that.
Any other questions / discussions / owner reports etc. are in its place now right here


This is a work in progress!


Thanks.


Posted by Justapoke | Sep 01, 2019 @ 04:40 PM | 19,909 Views
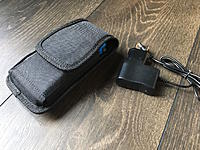
THE Ultimate .. Goggles Battery Pack [Suprisingly Good / Suprisingly Cheap]

After using a few different FPV goggles, and different batterys I've found myself on the search for the best battery pack possible.


--
I've started out in FPV with the Quanum box goggles and FPV monitors varying from 7 to 10 inches in size, and used regular lipo's for them.

My first "real" goggles where the low budget Eachine EV100 goggles, I liked the EV100 and EV200D batterys, but did not like the short run time / price.
Later I upgraded to the FXT Viper goggle, and also got the Aomway Commander V1 - that I paticurly like because of the low weight.

The Viper needs a fairly large / heavy pack to get the unique box style type goggles to balance, so I bought the Fat Shark 18650 battery pack.
At that time I had the idea that would be the best battery pack possible, I already used 18650 Li-on batterys so while I found the Fat Shark holder fairly expensive I went ahead and started using it.

However I was still not that happy with it. It's a bit hard to push it in the Viper strap, I can't even use the battery indicator properly and for the Aomway I've found it way to large and heavy to my licking. Also the 18650 pack is not always that conveniant to charge.

Than I found these Quanum 2S 1500mAh Head Set batterys on Hobbyking, these works rather well on my Aomway, easy to strap on and fairly cheap to obtain a few. Runtime still not that great however, I've found myself...Continue Reading
Posted by Justapoke | Feb 11, 2019 @ 07:43 PM | 26,779 Views


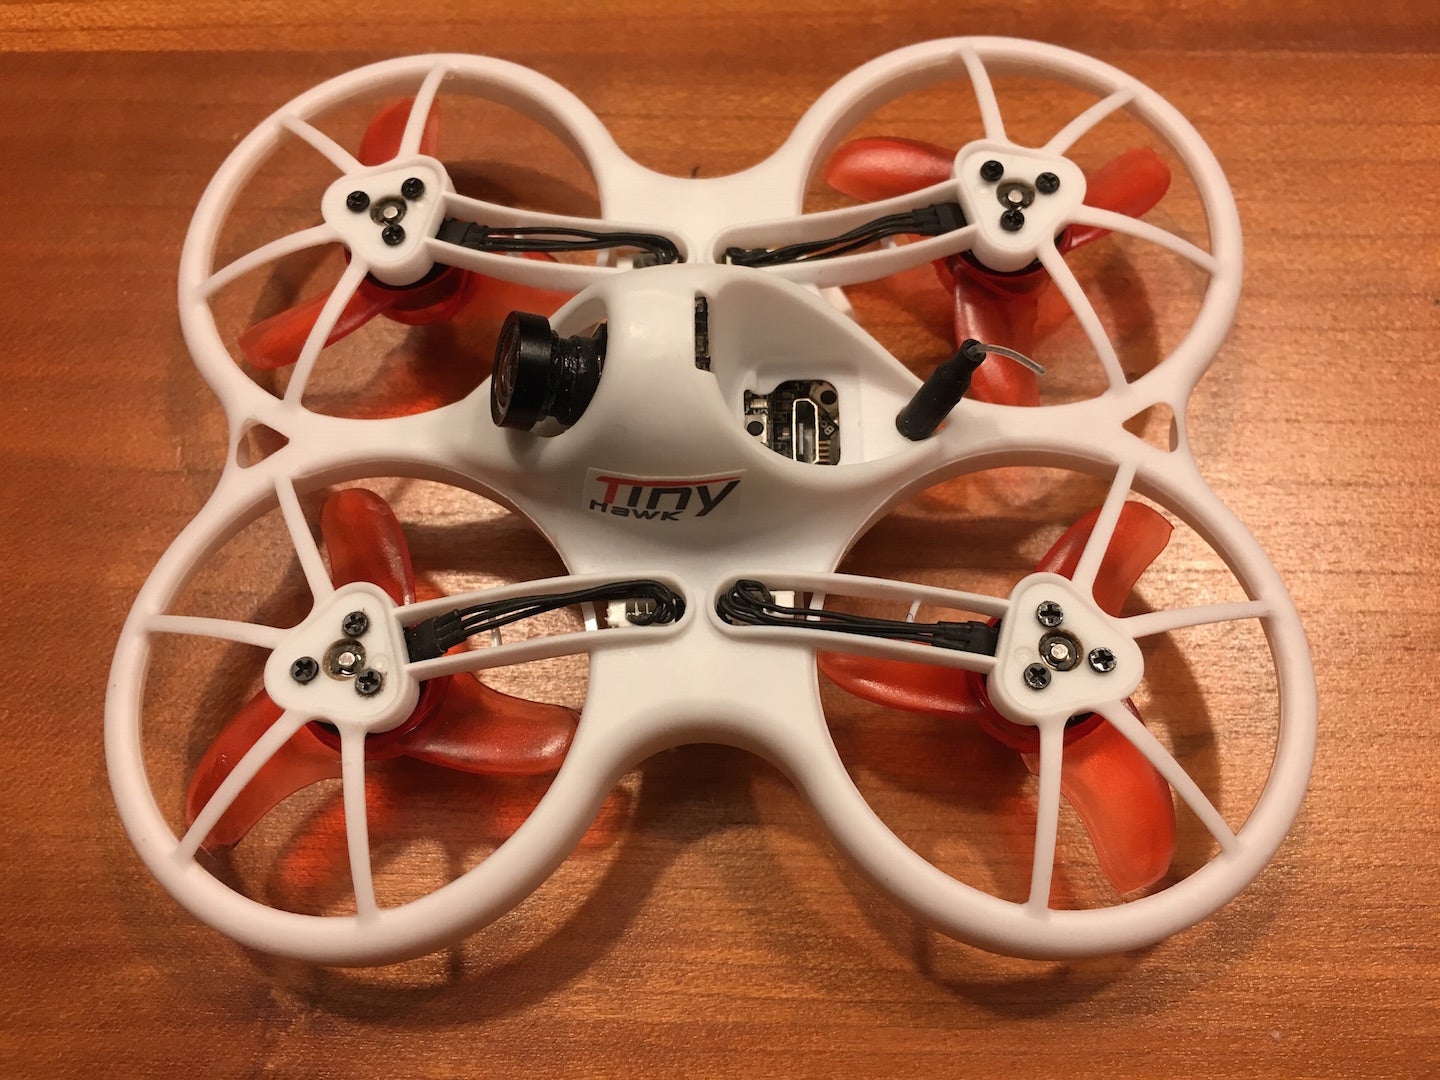
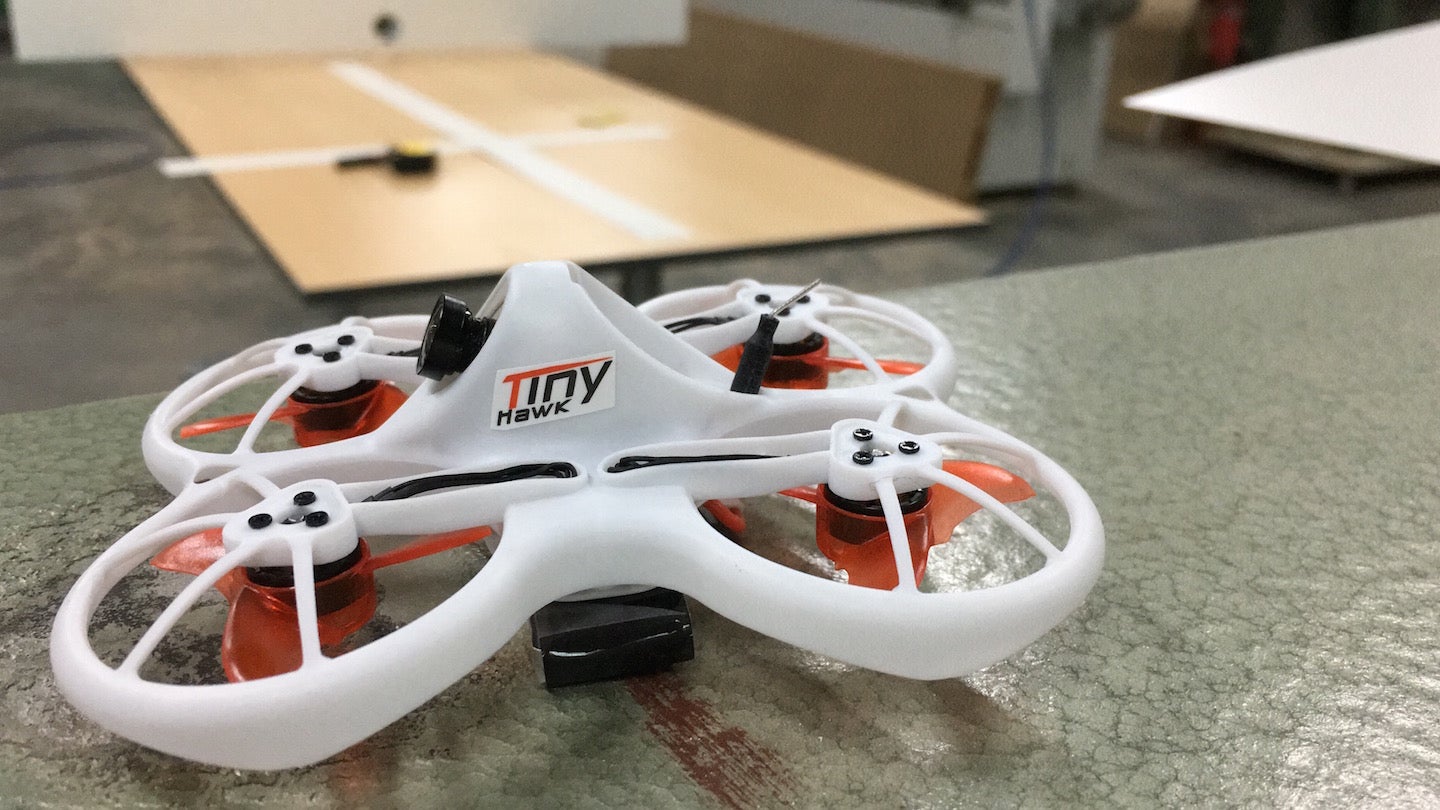
So I finaly recieved my TinyHawk, what a nice 1S drone to fly, but boy does that VTX suck!
Had the idea Emax fixed the problem by now, but I guess they don't care charging full for a product that basicly has a huge fault in it's design.

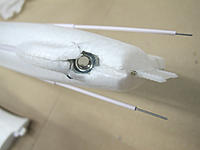
I pulled the board out to re-route the 5.8 antenna ouside the canopy like most have done, but I did not like at all how it was hanging and wiggle around. Looked at some other options and made de hole in the back slightly larger with a dril to route it from under the back of the board / frame up to the outside. (it needs just another 0.5mm more space)


...Continue Reading
Posted by Justapoke | May 07, 2016 @ 01:49 AM | 42,444 Views


---------------------------------------------

Here are my up-to-date recommendations for the CZC:

[ EDIT: some links might be outdated, use google to search. Sorry about that! ]


- Use water-based polycrylic (Glitsa Parketlak PT) to protect the blue and grey paint.

- Put some clear or colored tape over the edges in front of the fuselage / canopy to protect the paint.

- Use 3700/4000 mAh 35/40C lipo's to stay light, easy balance and no need for batery tray.

- Stock ESC has no headroom: Strongly advised to disable ESC's build-in BEC and use a UBEC


- Best to change the EC3 to EC5 or XT90 connectors.

- Tie-wraps or velcro around main landing gear in socket to stop vibration.

- Easy battery tray mod with Velcro: https://www.rcgroups.com/forums/show...ostcount=14357


- Carefully balance the prop - be aware for heavy vibrations !

Stock motor / ESC is fine for normal / scale flying. !! Do not overprop !!
14x8E suggestion with more info: https://www.rcgroups.com/forums/show...ostcount=17397


The stock motor has plenty of power, but overheats when doing more than short bursts. (throws magnets)
When motor fails, or more aggresive / 3D flying is prefered, it's best to do a power upgrade:


Motor: Aerodrive SK3 5055 430kv +/- $50,-
All warehouses:
https://hobbyking.com/en_us/turnigy-aerodrive-sk3-5055-430kv-brushless-outrunner-motor.html


ESC: Turnigy Plush 100A (80A will do, program card not needed / factory settings) +/- $44,-...Continue Reading
Posted by Justapoke | May 06, 2016 @ 12:20 PM | 38,821 Views
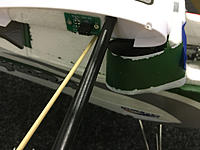
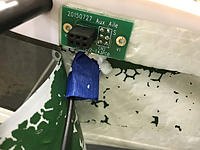
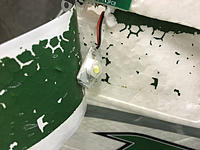
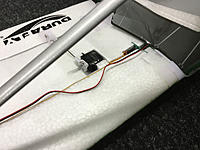
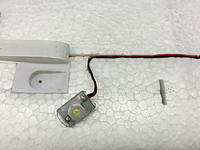
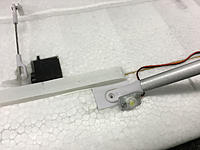
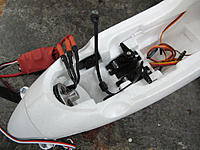
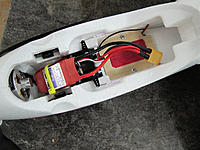
Here's a basic how-to / install guide on the TURNIGY Super Bright LED Low Voltage Alarm Device, that I've used on my Durafly Tundra.

Also as seen on the pre-release christmas teaser video on youtube

Durafly TUNDRA - Part 2 [ Christmas Lights Bonus ] (3 min 19 sec)


(in case it's blocked: watch it here on Vimeo!


I'm using a plug-and-play LED system from Hobbyking, this can be easy installed without the need to do any soldering:

TURNIGY Super Bright LED Low Voltage Alarm Device
https://www.hobbyking.com/hobbyking/s...h=9107000349-0
+
Turnigy Super Bright 2 x White Add On LED Light Set
https://www.hobbyking.com/hobbyking/s...h=9107000357-0

These LED's are VERY visible, also during the daytime in bright sunlight.
The set also functions as a low-voltage alarm: The LED's will start to blink very fast when your cell reaches 3.5Volt, so you know that you have to land right away.

There's also an option to add a beeper, but I did not feel the need.


The only downside of this devise is that it reads only from the first cells on your lipo. It's not a good idea to connect the LED's and run them for a long time without flying around.
But for normal use (when flying around) the unballance is not bad at all. Just be aware that you need to ballance-charge your packs most of the time to keep your lipo healthy.


Note: I don't remove my wings for transport, and this install is based on that.
If you do need to to remove the wings: you will have to...Continue Reading
Posted by Justapoke | May 06, 2016 @ 10:46 AM | 33,033 Views
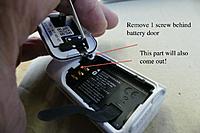
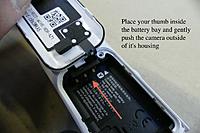
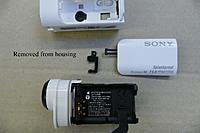
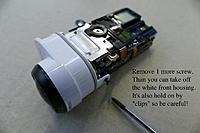
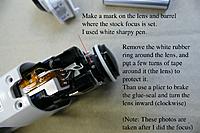
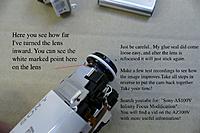
Here's a short guide on how to refocus the Sony AZ1. Could not find anything on the net about this model, so this short guide might be helpful to some.

My AZ1 was only focussing on short distance, by turning the lens inward it now has a lot sharper image on the longer end. Perfect for my use as head-cam to record flights.

It's just basic info, just with the steps on what screws/parts to remove etc.
But read the text on the pictures, take your time and just be careful not to brake anything! I've turned my lens inward all the way to it's end, that gave the best result.

Hope this is useful to some!

Disclaimer: if you brake your cam, and void warranty: It's not my fault!

Video link that I found on how to do this with another type Sony actioncam.
Posted by Justapoke | Nov 21, 2014 @ 07:46 PM | 34,434 Views
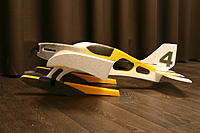
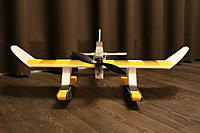
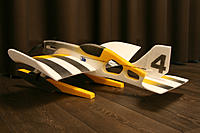
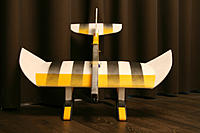
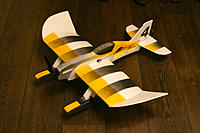
Here's some pics of my Magnum, build it 2 weeks ago and had some fun flying it indoor and outdoor. Loads of fun to fly! Have not had the time to try the floats on water but hope to find a nice spot to test that soon. Maybe we get some snow this year for even more joy..

I've bought a white kit from a local that cut it, quality is very good. ESC is glued inside the EPP of the fuselage, reciever and servo's above wing, used thin velcro for floats.

Setup:

Motor: SunnySky X2204 KV1480
ESC: Hobbywing FlyFun 12A
Servo's: HXT500 or TowerPro SG50 0.8kg 5g
5Channel Hitec Minima Comp. micro reciever

Weight:

Kit before build and paint: 85 gram
Floats before build and paint: 21 gram = 106 total

After build and paint: 152 gram

AUW - about 184 gram (incl. 32gram 500mAh 2S) 212 gram incl floats

I am flying mine with the CoG on 80 mm from the...Continue Reading
Posted by Justapoke | Sep 01, 2014 @ 04:56 PM | 34,000 Views
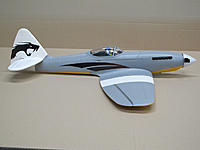
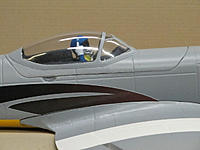
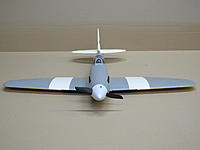
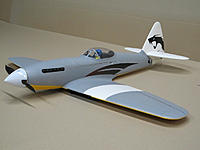
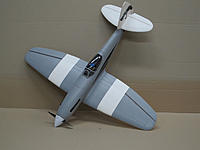
Here's the update on my Dragon.. Uhm Dogfighter build.

Did not make more pics after the canopy mod, and all of a sudden it is just done. Used 3.5mm carbon rods in the fuselage, and stiffened the complete wing and underside with glass fiber cloth 18g/m2 with water based polycrylic floor grade finish. Simple spray-cans for some basic colors and stripes, and a finish layer with polycrylic. Nothing to fancy, wanted to keep it simple with some decals I had. But in the end I think it looks nice, a bit different and good visibility.

The colors I used are basic grey primer, black, white and yellow (Tamiya TS-47)

My setup:

Warhead 3545-1850KV EDF Motor 90mm

TURNIGY K-Force 100A Brushless ESC (discontinued)

Alternative ESC's: Hobbywing Platinum 100A V3 or the HobbyWing FLYFUN 80A V5

ZIPPY Flightmax 2650mAh 4S1P 45C

TGS Sport 7x5E Precision propeller

Nylon Spinner with Alloy Backplate 63mm

Servo's: EMAX ES08MD 12g/ 2.4kg/ .08 sec High-speed Mini Metal Gear Digital

Canopy: Durafly Spitfire MK24 Replacement clear canopy

Pilot: Major Bird - Jet pilot

Decal: Dragon Fighter Decal Sheet Large 445mmx300mm

Images of the completed build, ready for maiden:...Continue Reading
Posted by Justapoke | Aug 03, 2014 @ 02:52 PM | 33,499 Views
Enjoy summer! E-Flite Carbon Z Cub
- Onboard with Calvin Harris

[Recorded with Mobius Cam]

E-Flite Carbon Z Cub - Onboard with.. (7 min 25 sec)

Posted by Justapoke | Jul 24, 2014 @ 02:38 PM | 33,587 Views
Lot's of video's on my channel, please check it out and subscribe!

Gee Bee EPP 1000mm (8 min 44 sec)