-
Views: 90
Miss Micki and the Senior Sassy, an all-wooden predecessor to the Sequel -
 Views: 71
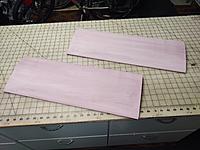
Modified Clark YH airfoiled cores, hot wired from pink house insulation foam. -
 Views: 80
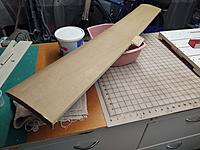
Papered and joined wing, ready for finishing. Cool Whip container holds the thinned Titebond II used to glue on the paper. -
 Views: 85
Marble lifters, wooden jig outers, and aluminum jig center are all plastic sandwich wrapped so glue doesn't stick as it dries -
 Views: 86
Just like building a balsa fuse, strips and all, but with foam instead of balsa. 'Monoliths' in the background are marble threshold scraps, used here to hold elevators in place whilst bass joiner dries. -
 Views: 87
Sides joined and top & bottom sheeted with more 1/4" pink foam -
 Views: 79
Lite ply servo tray and main LG mounts. There's almost no balsa in the model -- which really helps my allergies! -
 Views: 84
Thinned Titebond doesn't stick to the plastic clothespins. The thinned glue does drip and run, though, so floor protection is needed during drying.
Comments (3)
Add Comment
-
 Views: 371
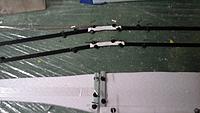
First step in wing construction is to join the carbon fibre spars with 1/16" birch ply. -
 Views: 383
'Normal' KFM2 is on left, 'fastback' version on right -
 Views: 358
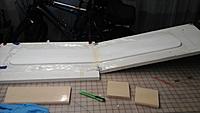
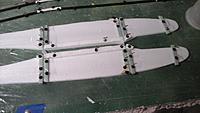
Both wings were sanded to shape first, then joined over the spars on this simple jig. -
 Views: 373
Main ply bits and tail feathers. Note: rear peg on fin was removed before installation. -
 Views: 378
1/8" HIF bulkhead reinforcements glued on. -
 Views: 386
Bulkheads have been glued in, let dry, then the fuse sides are joined at the wing LE and TE. -
 Views: 384
Fuse (inverted) is in simple jig, sides joined at firewall. The fuse is then sheeted on the bottom from the wing TE forwards, plus the LG plate is glued on. -
 Views: 372
Now right-side-up, the turtledeck gets sheeted with 1/8" HIF.

